How to make friendship bracelets the easy way. Beginners guide
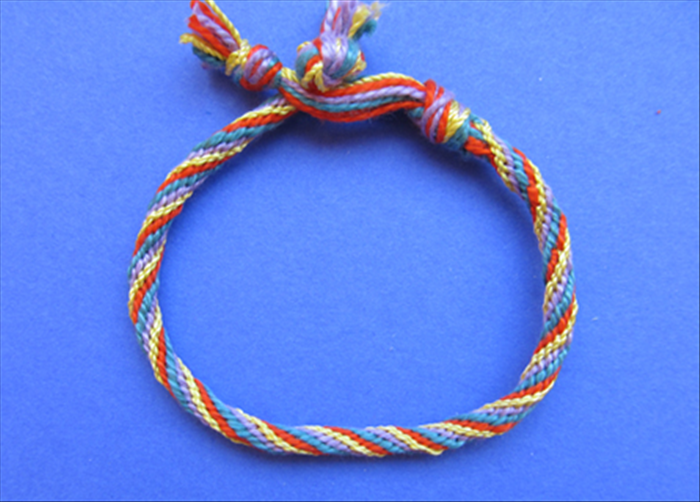
This guide will show you how easy it is to make friendship bracelets, with 16 strings, using a Japanese Kumihimo style disc, that you make yourself.
Easy 16 views
Steps
- 1
Step 1
 You will need to make the disc: cardboard scissors pen bottle cap or similar sizes round object 4 different colored magic markers To make the bracelet: 16 strings - each 20 inches long
 - 2
Step 2
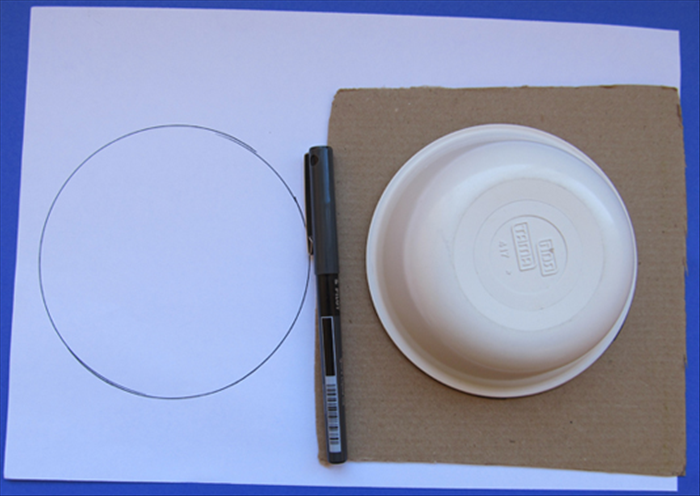 Use a round object about 4 1/2 inches across to trace a circle on a piece of paper and also on a piece of cardboard Cut out the circles
 -
- 3
Step 3
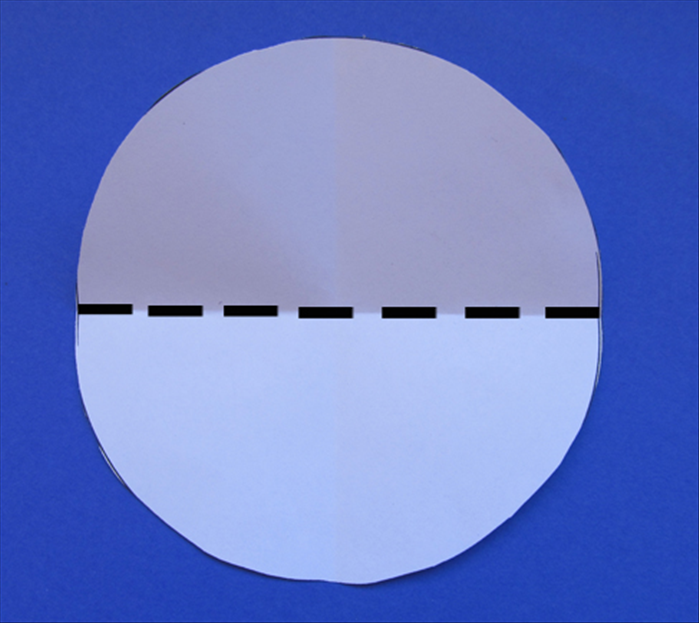 Fold the paper circle in half
 - 4
Step 4
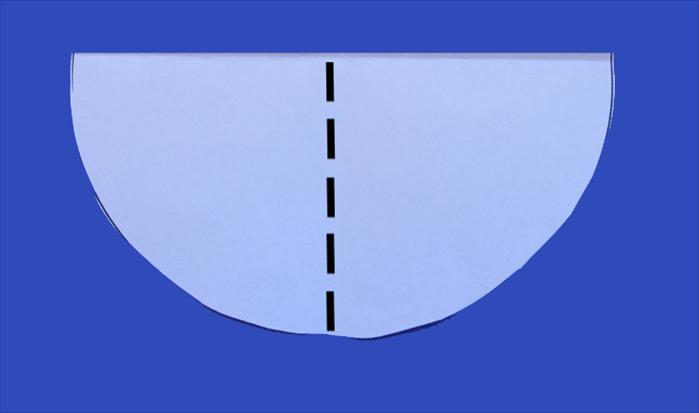 Make one more fold in half and unfold -only this last fold
 - 5
Step 5
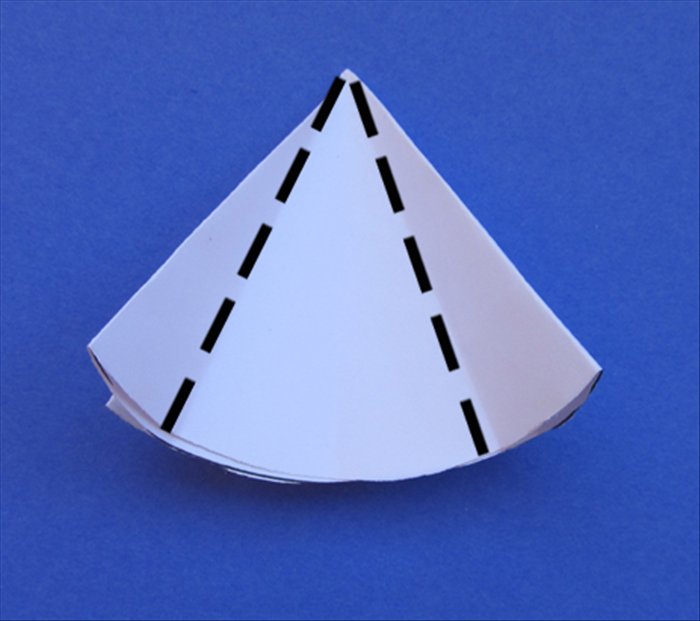 Fold the sides to the center crease you just made
 - 6
Step 6
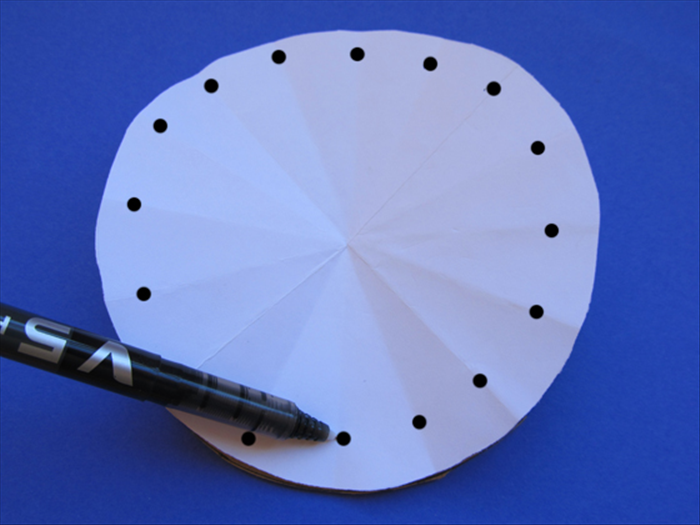 Unfold and align the paper on top of the cardboard circle Pierce the paper at each fold to mark a dot where it is underneath on the cardboard
 - 7
Step 7
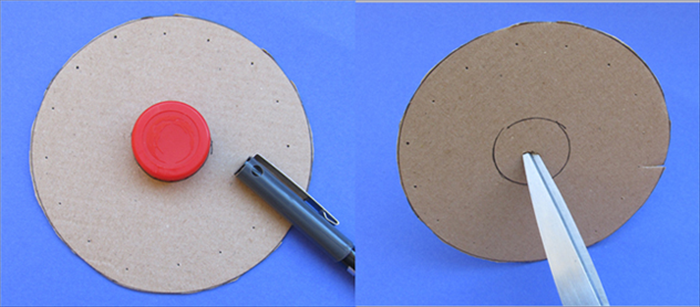 Trace the outline of a bottle cap or similar object. Pierce the cardboard at the center with your scissors and cut out the circle
 - 8
Step 8
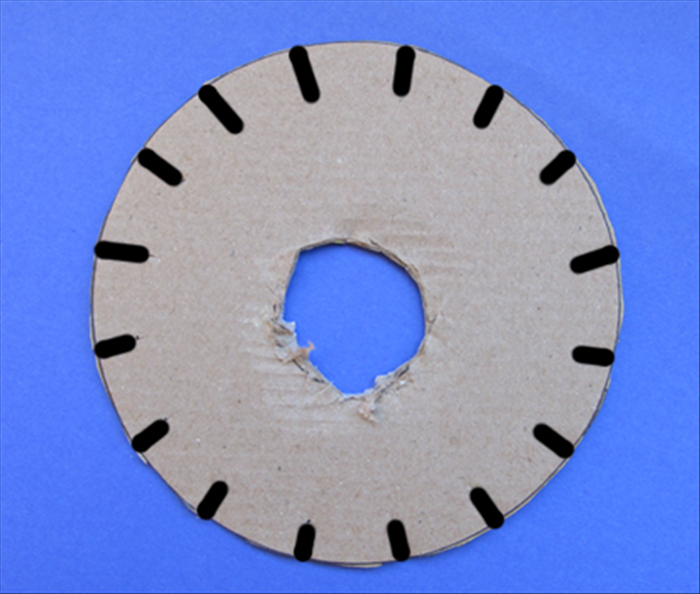 Cut ¾ inch long slits at each pen mark on the cardboard circle. There should be 18
 - 9
Step 9
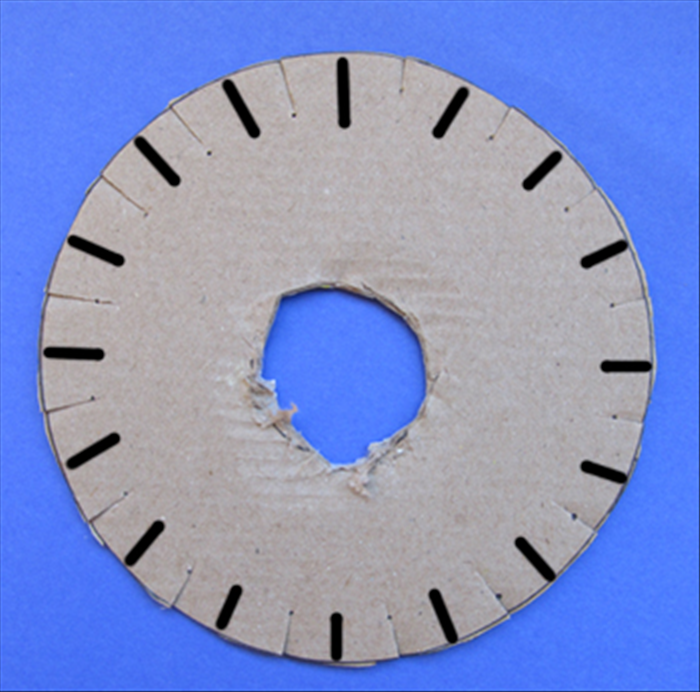 Make slits between each of the slits you just made. That will make a total of 36 slits
 - 10
Step 10
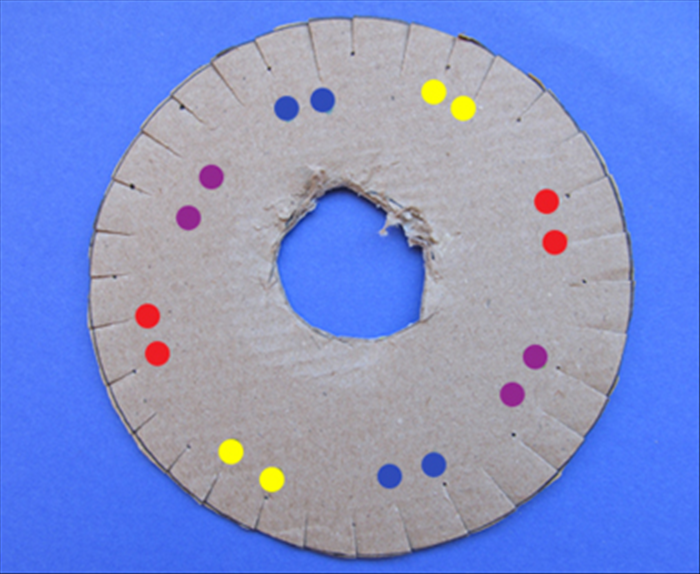 Mark the colored dots as shown. There are pairs with a space of 2 slits between pairs. This is the set up for the spiral design shown in the introduction picture. Any other colors or design can be used.
 - 11
Step 11
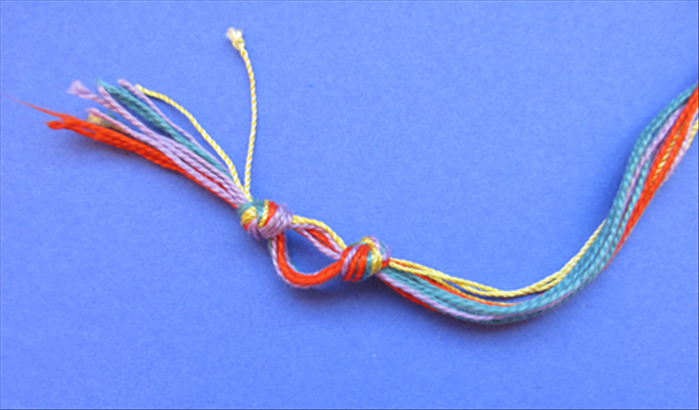 Line up the threads and make a knot about 1 inch from the end Make another knot about 3/4 inch down from the first knot
 - 12
Step 12
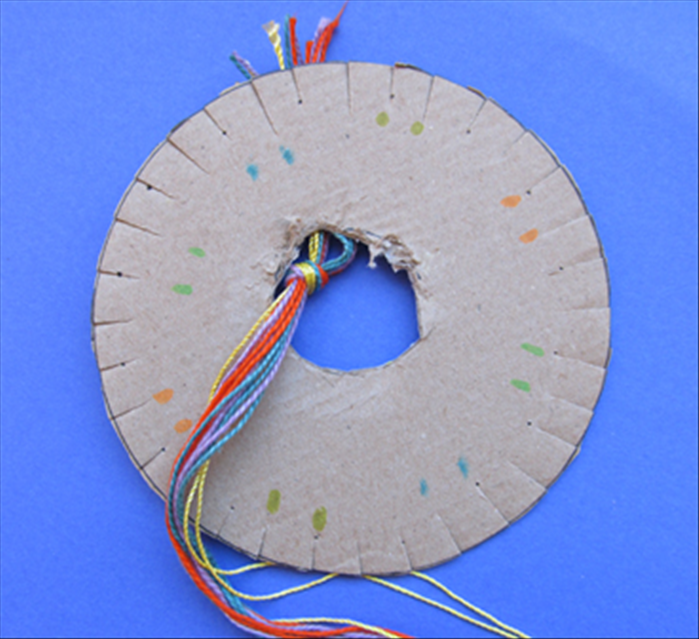 Push the knotted end through the hole in the disc
 - 13
Step 13
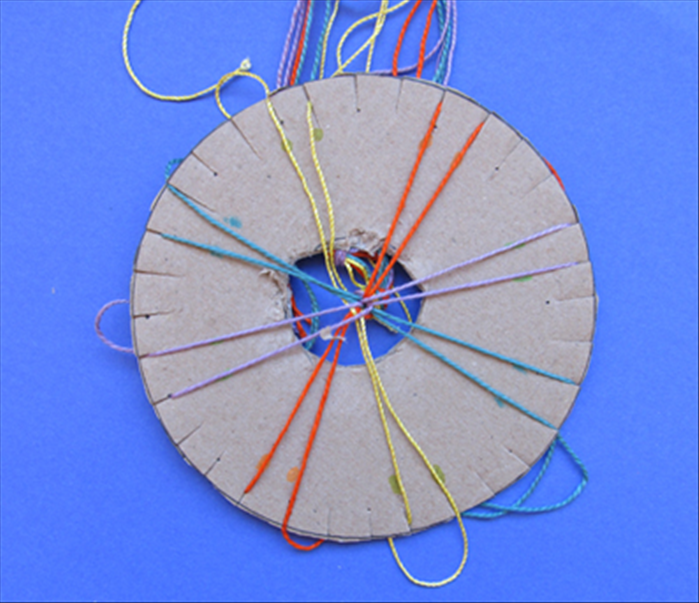 Put the same color threads in the slits to match the color dots. Notice that the threads are in pairs Notice that there are 2 slits between each pair
 - 14
Step 14
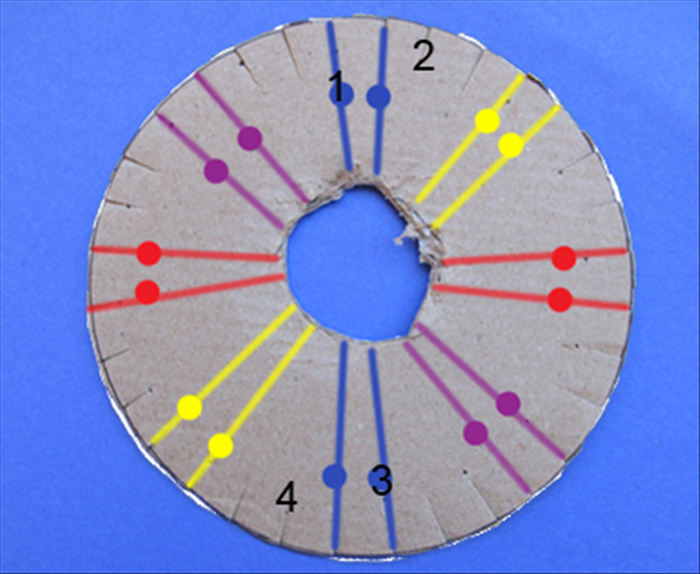 Now your strings are set up and comes the fun part. Hold the disc so that a pair of threads are at the top. Bring the left thread (the one marked with א ) down to the slit on left side of the pair opposite on the bottom (marked with א ). Now bring the bottom right thread (marked with ב ) up to the slit of the right side of the pair opposite on top (marked with ב )
 - 15
Step 15