How to Easily Fix Bathroom Grout: A Quick DIY Repair Guide
Learn a quick and easy DIY method to fix disappearing or crumbling grout between your bathroom tiles. Restore your grout with this simple repair guide!
What You'll Need
- New grout mixture (sanded for joints larger than 1/8 inch, unsanded for smaller)
- Grout sealer (optional but highly recommended)
- Tile cleaning solution or bleach (for mold/mildew)
- Water
- Protective gloves
- Safety glasses
- Masking tape (optional, for protecting tiles)
- Grout saw or oscillating tool with a grout removal blade
- Utility knife (for tight spots)
- Vacuum cleaner or stiff brush
- Bucket
- Grout mixing tool (or sturdy stir stick)
- Rubber grout float
- Sponge (several, or one large heavy-duty)
- Clean cloths or microfiber towels
- Measuring cup
Is your bathroom grout looking tired, cracked, or even disappearing? Don't let crumbling grout compromise the integrity and appearance of your bathroom tiles. Fixing damaged grout is a common DIY project that can dramatically improve the look of your bathroom and prevent water damage. This comprehensive guide will walk you through the entire process, from preparing your workspace to sealing your newly repaired grout, ensuring a lasting and professional finish. This project typically takes 2-4 hours, excluding drying time, and costs around $20-$50 for materials.
Preparation & Safety First
Before diving into the repair, gather all your tools and materials. Ensure your bathroom is well-ventilated by opening windows or using a fan, as grout removal can create dust, and cleaning solutions may have fumes. Don your protective gloves and safety glasses to shield your hands and eyes from dust and chemicals. It's also wise to lay down drop cloths or old towels to protect surrounding fixtures and floors from debris.
Always wear safety glasses and protective gloves when working with grout and cleaning chemicals. Ensure adequate ventilation to avoid inhaling dust or fumes.
Old Grout Removal
Carefully remove all loose, crumbling, or stained grout. Use a grout saw or an oscillating tool equipped with a grout removal blade. For fine lines, a utility knife can be helpful. Work slowly and methodically along the grout lines, taking care not to chip or scratch your tiles. The goal is to remove as much old grout as possible, creating a clean, uniform channel for the new grout to adhere to. Pay special attention to corners and edges.
If you're using an oscillating tool, practice on a scrap piece of tile or an inconspicuous area first to get a feel for the tool and avoid damaging your tiles. For very stubborn grout, multiple passes may be necessary.
Surface Cleaning & Preparation
Once the old grout is removed, thoroughly clean the empty grout lines and the surrounding tile surfaces. Vacuum or brush away all loose dust and debris. Next, use a suitable tile cleaner or a diluted bleach solution (if mold/mildew is present) to scrub the area. This step is crucial for ensuring proper adhesion of the new grout. Make sure to rinse the area thoroughly with clean water and then allow it to dry completely—ideally for at least 24 hours. Any residual moisture can weaken the new grout.
New Grout Application
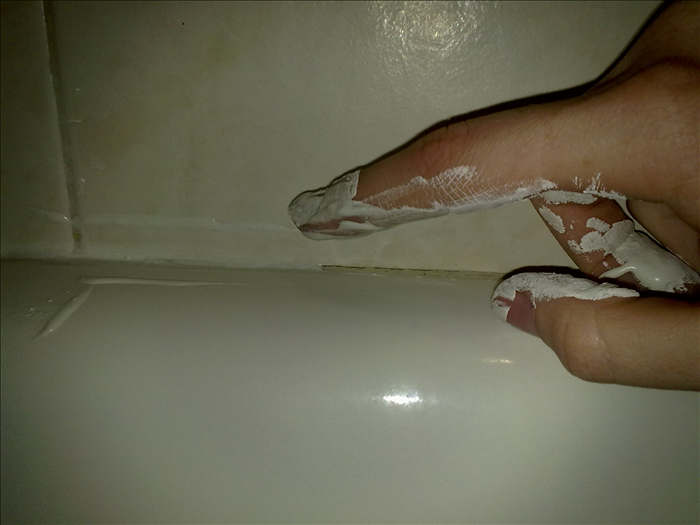
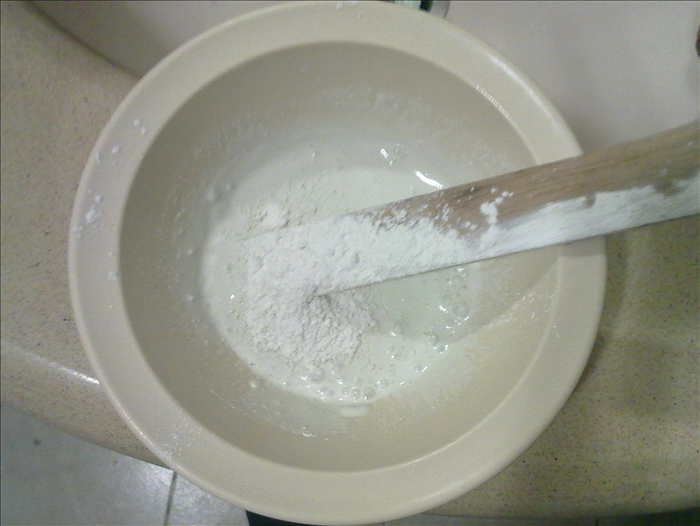
Prepare your new grout mixture according to the manufacturer's instructions. This usually involves slowly adding water to the grout powder while mixing until you achieve a consistent, paste-like texture (like peanut butter). Avoid making it too watery, as this can weaken the grout. Using a rubber grout float, scoop a small amount of grout and spread it firmly and diagonally across the tile surface, pressing it deeply into the clean grout lines. Work in small sections to prevent the grout from drying prematurely. Ensure every groove is fully packed with grout.
When mixing grout, add water gradually. It's easier to add more water than to correct an overly wet mixture by adding more powder, which can change the grout's color and consistency.
Grout Finishing & Curing
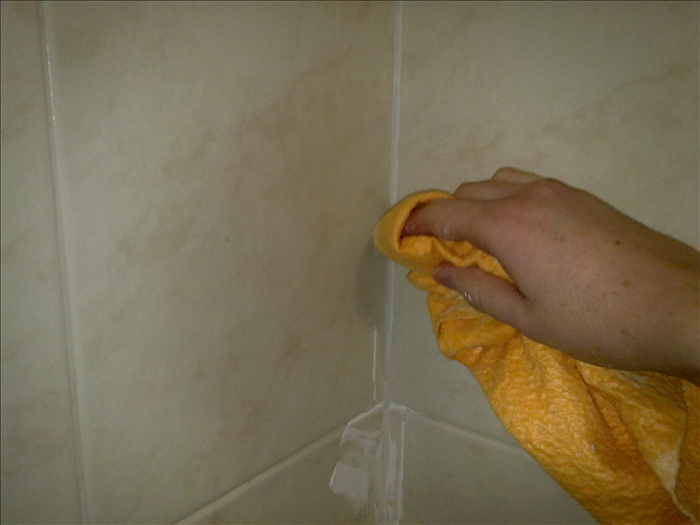
After applying the grout to a section, wait for about 15-30 minutes, or as recommended by the manufacturer, for it to stiffen slightly. Then, using a damp (not wet!) sponge, gently wipe away the excess grout from the tile surface in a circular motion. Rinse your sponge frequently in a bucket of clean water and wring it out thoroughly. This step also helps to shape and smooth the grout lines. Continue wiping until the tiles are clean and the grout lines are uniform. Allow the newly applied grout to cure for the recommended time (typically 24-72 hours) before exposing it to moisture or heavy use.
Do not allow the grout to get excessively wet or be scrubbed too hard during the initial curing period, as this can wash out the grout or cause it to weaken.
Maintenance for Longevity
To keep your newly repaired grout looking fresh and prevent future issues, adopt regular cleaning habits. Use pH-neutral cleaners, as harsh chemicals can degrade grout over time. After the grout has fully cured (usually 1-2 weeks), consider applying a high-quality grout sealer. A sealer penetrates the grout, making it more resistant to moisture, stains, and mildew, significantly extending its life and making cleaning easier. Reapply sealer every 1-2 years, depending on product recommendations and bathroom usage.
Troubleshooting Common Issues
Even with careful application, you might encounter some common problems:
- <b>Grout Shrinking or Cracking:</b> This often happens if the grout mixture was too wet or if it dried too quickly. Ensure proper mix consistency and avoid excessive ventilation immediately after application. If severe, you may need to remove and reapply.
- <b>Crumbling Grout:</b> If your new grout crumbles, it usually indicates poor adhesion due to inadequate cleaning or moisture in the grout lines before application. Ensure all old grout is thoroughly removed and the surface is bone dry.
- <b>Persistent Mildew:</b> If mildew returns quickly, improve bathroom ventilation. You might also consider using a mildew-resistant grout or a high-quality, mold-inhibiting sealer.
Repairing bathroom grout is a satisfying DIY project that restores your bathroom's appeal and protects your home from water damage. By following these detailed steps, you can achieve a professional and long-lasting finish. Regular cleaning and sealing will ensure your newly repaired grout stays beautiful for years to come.