How to Fold Paper Arrows: Easy Origami Guide for Crafts & Decoration
Learn to fold paper arrows step-by-step! This easy origami guide uses simple paper strips to create fun arrows for signs, decorations, and more.
Are you looking for a fun and simple craft project? Learning how to fold paper arrows is a delightful and easy origami activity perfect for all ages! These versatile paper arrows can be used for a variety of purposes, from pointing the way on party signs, adding a playful touch to decorations, enhancing scrapbooking projects, or simply as a creative outlet. Our step-by-step guide will show you how to transform simple paper strips into charming arrows with clear instructions and helpful tips.
Step 1: Gather Your Materials

Before you begin folding, make sure you have all your materials and tools ready. For the best results, we recommend using standard origami paper or lightweight construction paper, as these are easy to fold and hold their shape well. You'll need paper strips that are approximately 6 inches (15 cm) long and 1 inch (2.5 cm) wide. Having a ruler, pencil, and scissors nearby will make preparation easier, and a touch of glue can be handy for a secure finish.
Step 2: Prepare Your Paper Strips
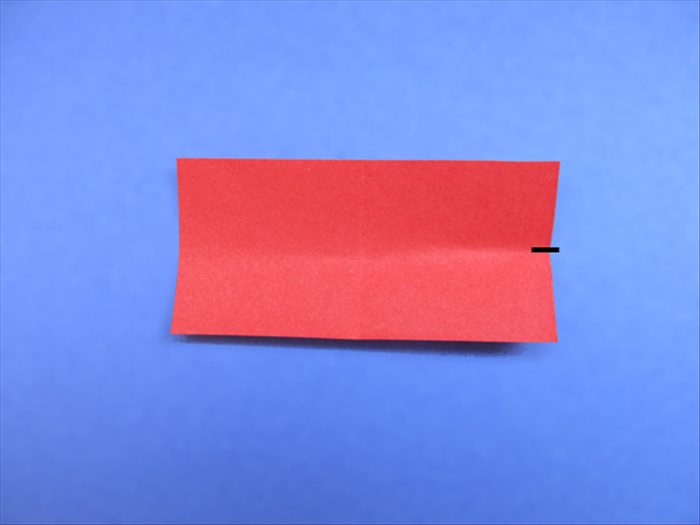
If your paper isn't already cut into strips, this is the time to prepare it. Lay your chosen paper flat and use a ruler and pencil to mark out several strips, each measuring about 1 inch (2.5 cm) wide and 6 inches (15 cm) long. Carefully cut along your marked lines to ensure straight and consistent strips. Uniform strips are key to a neat and symmetrical paper arrow.
Step 3: Basic Fold for the Arrowhead
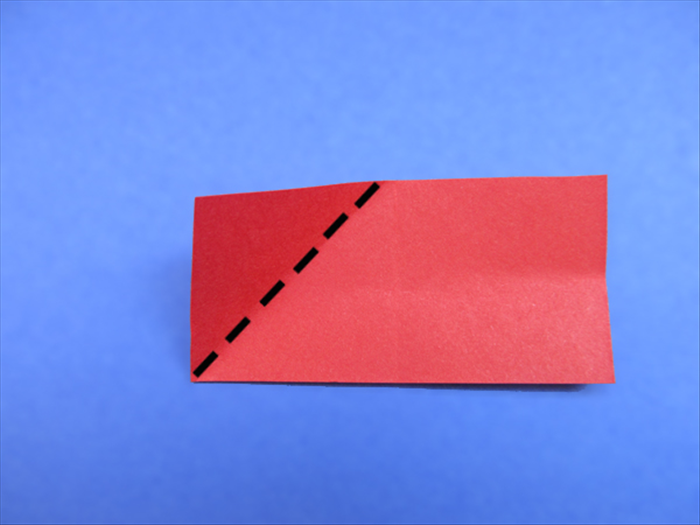
Now, let's create the distinct point of your arrow. Take one of your prepared paper strips. Hold it horizontally and fold one end diagonally to form a precise triangular point. This will be the sharp tip of your arrow. Make sure to crease the fold sharply and firmly to define the arrowhead clearly. The crisper the crease, the more defined your arrow will be.
Step 4: Forming the Arrow Shaft
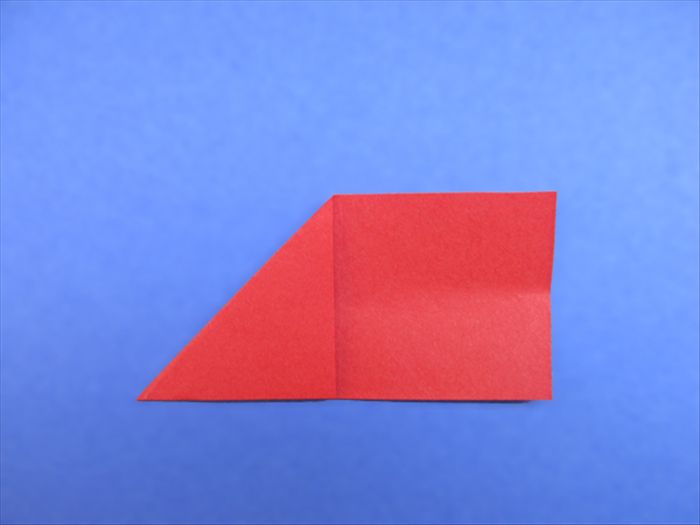
With the arrowhead established, it's time to build the body, or shaft, of the arrow. Continue folding the paper strip from the base of your arrowhead in an accordion or zig-zag pattern. Aim for even folds as you work your way down the length of the strip. Each fold should be consistent in size to create a structured and uniform arrow shaft. This technique adds depth and character to your arrow.
Step 5: Refining the Arrow Shape
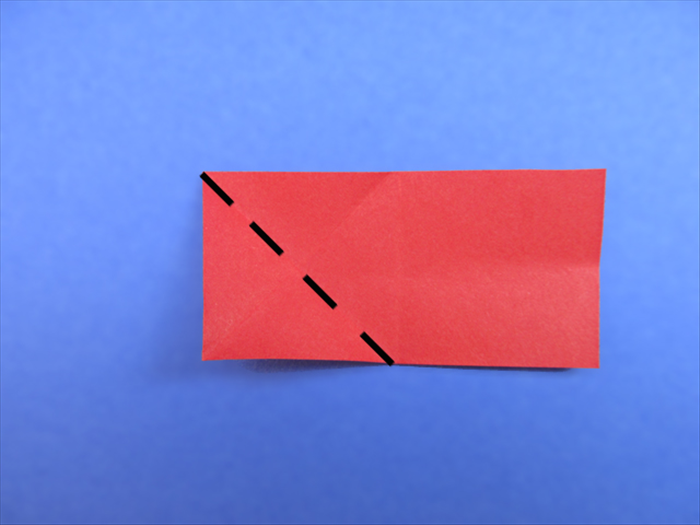
Once the shaft is complete, take a moment to refine the overall shape of your paper arrow. You can sharpen the arrowhead further with small, angled cuts if you desire a more pointed tip, or by adjusting the initial diagonal fold. Gently curve the shaft if you want a more dynamic, flowing look, or keep it straight for a classic design. Go over all your creases again, pressing them firmly to ensure they are crisp and distinct, giving your arrow a polished finish.
Step 6: Finishing Touches and Uses
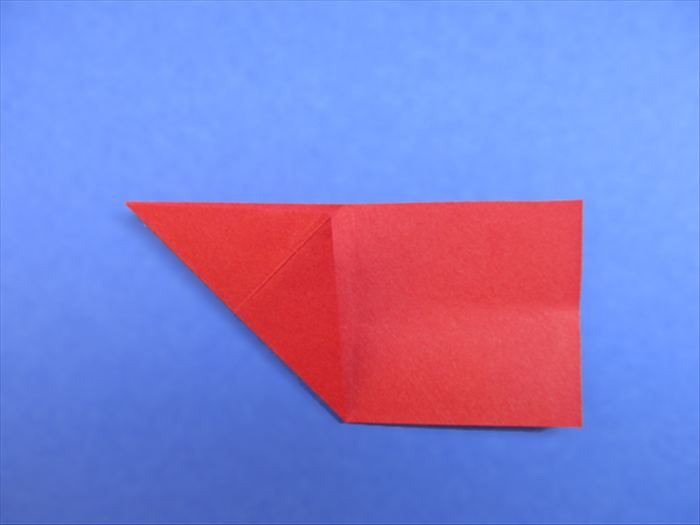
For a more durable arrow, especially if it will be handled frequently or used in displays, apply a tiny dab of glue to secure the final fold of the shaft or the arrowhead. Your paper arrow is now complete and ready for action! Get creative with how you use them: they make fantastic scrapbook embellishments, directional signs for parties or events, charming classroom aids, or simply fun crafts to enjoy. Experiment with different paper colors, patterns and sizes to create a whole quiver of unique paper arrows!