How to Fold Shirts for Display: Easy Guide for a Tidy Wardrobe
Master the art of folding shirts for perfect display on shelves, in drawers, or for travel. Achieve a tidy wardrobe with this simple, step-by-step guide.
Transform your chaotic closet into a picture of perfect order! This easy-to-follow guide will teach you the ultimate method for folding shirts for display, whether you're tidying open shelves, organizing drawers, or packing for a trip. Say goodbye to messy piles and hello to a wardrobe that looks as good as it functions.
Step 1: Prepare Your Shirt for Folding
Find a clean, flat, and firm surface like a table, bed, or even a clean floor. Lay your shirt completely flat on this surface. If it's a button-up shirt, make sure all buttons are fastened. Take a moment to smooth out any wrinkles, especially across the front and back. A smooth start guarantees a beautifully folded finish, which is key for a polished display.
For the crispest fold, ensure your shirt is completely wrinkle-free before you start. A quick iron or steam can make a big difference, especially for shirts destined for open display.
Step 2: Fold the Right Side In
Imagine a vertical line running from the middle of the right shoulder straight down to the bottom hem, approximately one-third of the way in from the right edge. Carefully fold the right side of the shirt inward along this imaginary line. Now, take the right sleeve and fold it back over the newly folded section so that it lies flat and straight along the folded edge. Ensure no part of the sleeve extends beyond the main body of the shirt.
Step 3: Fold the Left Side In
Mirror the previous step on the left side of the shirt. Envision another vertical line, about one-third of the way in from the left edge. Fold the left side of the shirt inward along this line. Then, fold the left sleeve back over the section you just folded, ensuring it lies flat and parallel to the right side. The goal is to create a symmetrical rectangular shape with both sides now folded towards the center.
Step 4: Create the Bottom Fold
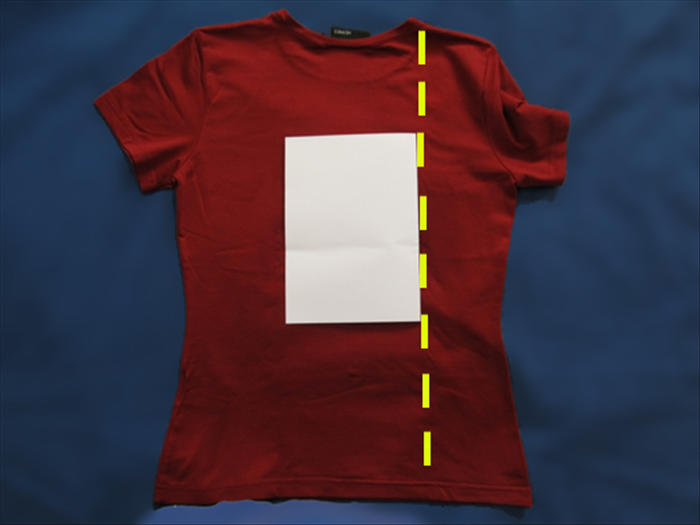
With your shirt now a long, neat rectangle, take the bottom hem and fold it upwards by about 2 to 3 inches. Press firmly to create a crisp crease. This initial upward fold provides a stable base and ensures your final folded shirt maintains its compact and tidy shape.
Step 5: Complete the Main Fold
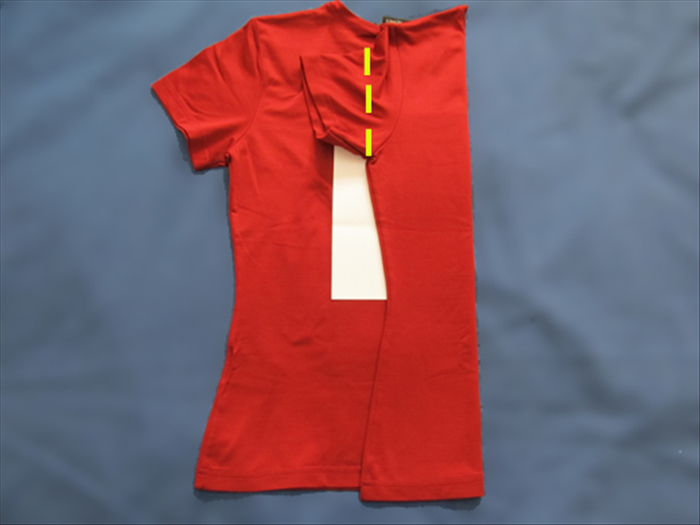
Now for the final main fold! Take the bottom of the shirt (where you made the 2-3 inch fold) and bring it all the way up to meet the collar or top edge of the shirt. Press firmly along the new fold line to secure it. If you need an even more compact fold for small drawers or thick garments, you can fold it one more time in half, or even into thirds for extremely tight spaces.
For bulkier sweaters or t-shirts, consider folding into thirds in Step 5 for a more compact and stable result, ideal for deep drawers or tight shelving units.
Step 6: Refine and Display Your Shirt
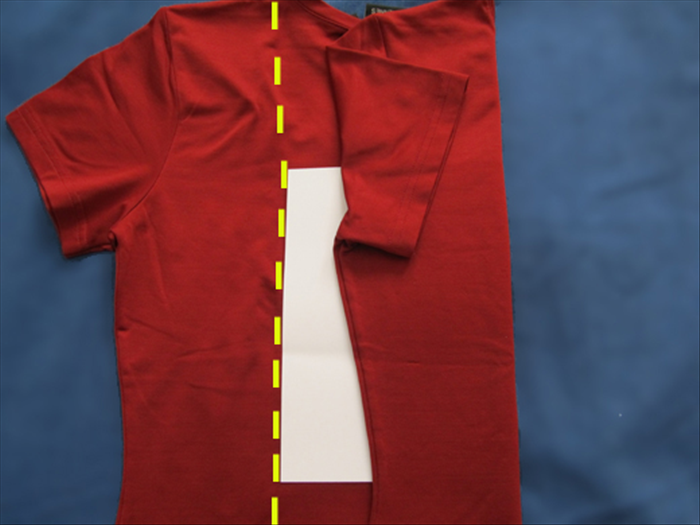
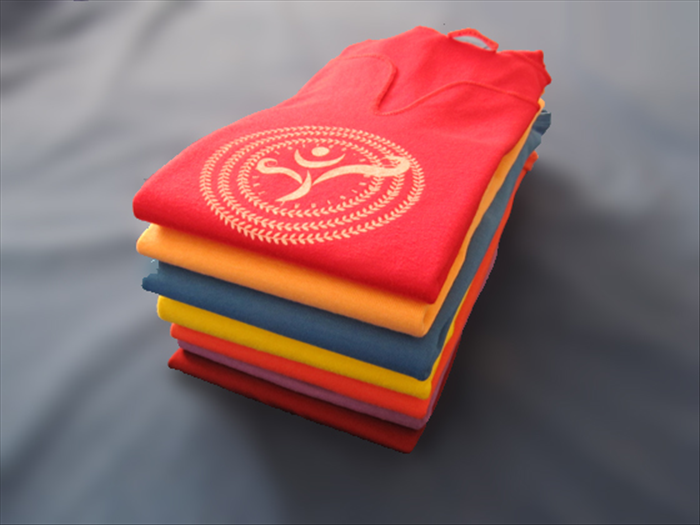
Gently give your perfectly folded shirt a final pat down to release any trapped air and help it hold its new shape. Congratulations! Your shirt is now ready for perfect display on open shelves, neatly tucked into drawers, or efficiently packed in your luggage. Revel in the beauty of your organized wardrobe!
Mastering this simple shirt folding technique will not only make your wardrobe look immaculate but also help you easily find what you're looking for. Enjoy the satisfaction of a beautifully organized space!