Uninstall Windows from Mac Boot Camp: A Complete Guide
Safely remove Windows from your Mac using Boot Camp Assistant. Free up disk space and reclaim storage with this step-by-step DIY guide.
What You'll Need
- uninstall Windows from Mac Boot Camp
- Boot Camp Assistant remove Windows
- delete Windows partition Mac
- free up disk space Mac
- reclaim storage Mac
- how to remove Boot Camp Windows
- erase Boot Camp partition
- Mac dual boot delete Windows
- uninstall Windows from macOS
- how to completely remove Windows from Mac Boot Camp
- delete Windows partition Mac Boot Camp Assistant guide
- safely remove Windows from Mac with Boot Camp
- free up space after uninstalling Windows from Mac
Is your Mac running low on storage due to an old Windows installation? This comprehensive guide will walk you through the process of safely uninstalling Windows from your Mac using Boot Camp Assistant. Reclaim valuable disk space and optimize your Mac’s performance with our easy-to-follow, step-by-step instructions. Say goodbye to your Windows partition and hello to more storage!
Before you begin the uninstallation process, it is absolutely critical to back up all important data. This includes any files you wish to keep from your Windows partition, which should be moved to an external drive or cloud storage. Additionally, perform a full backup of your macOS using Time Machine. While the process is designed not to affect your macOS, unforeseen issues can occur, and a backup is your best safeguard against data loss. Ensure your Mac is connected to a power source throughout the entire process to prevent interruptions.
Launch Boot Camp Assistant
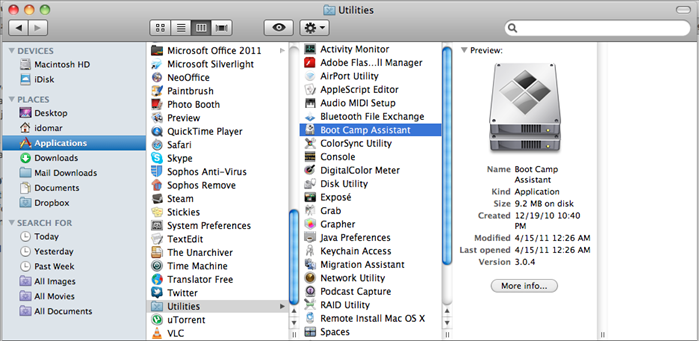
To begin the process of removing Windows, you need to open the Boot Camp Assistant application. This tool is built into macOS and guides you through managing your Windows installation.
1. Navigate to Applications: Open a Finder window, then click on "Applications" in the sidebar.
2. Open Utilities Folder: Scroll down or use the search bar to find and open the "Utilities" folder.
3. Double-click Boot Camp Assistant: Locate and double-click on the "Boot Camp Assistant" icon to launch the application.
Select the Remove Windows Option
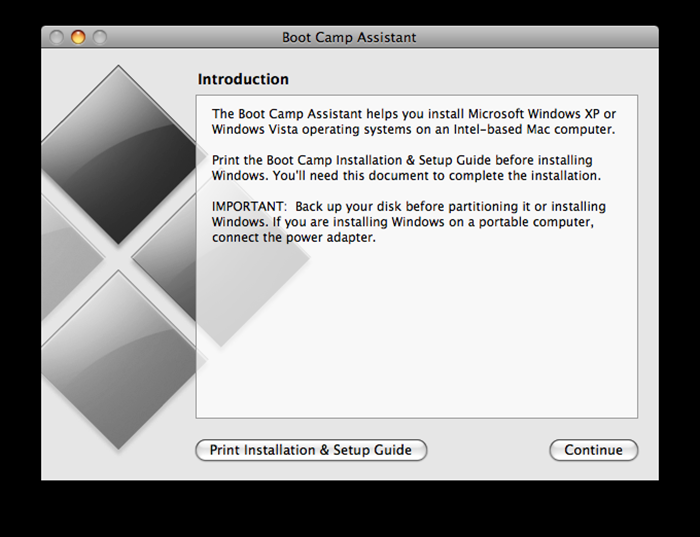
Once Boot Camp Assistant is open, you'll see a welcome screen or an interface showing your current Boot Camp status. You need to choose the option that allows you to remove the Windows partition.
1. Continue: Click "Continue" on the introductory screen.
2. Identify Task: The assistant will present options. Select the task that says "Remove Windows 7 or later version" or a similar phrasing, indicating the removal of the Windows partition.
3. Review Warnings: Carefully read any on-screen warnings about data deletion. This step will permanently erase all data on your Windows partition.
Confirm Deletion and Reclaim Space
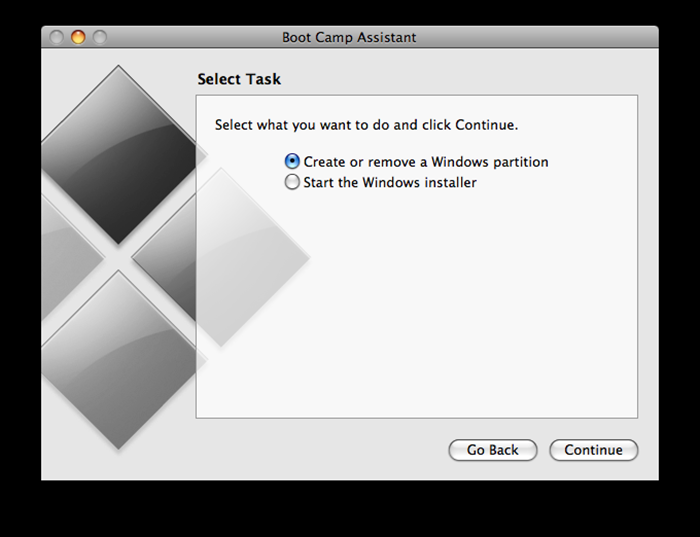
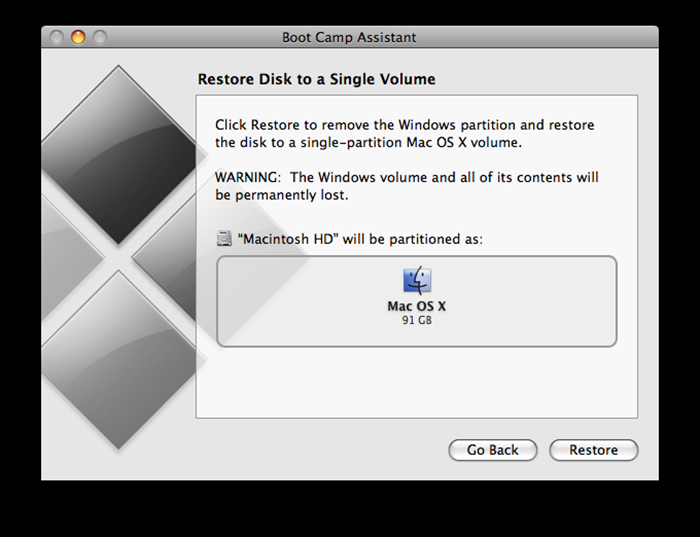
After selecting the removal option, Boot Camp Assistant will guide you through confirming your decision and performing the actual deletion.
1. Confirm Action: You will be prompted to confirm that you want to delete the Windows partition and restore the disk to a single macOS partition. Click "Restore" or "Remove" to proceed.
2. Authenticate: If requested, enter your macOS administrator password. This authorizes the system to make changes to your disk partitions.
3. Process Completion: Boot Camp Assistant will then begin deleting the Windows partition and automatically merging the freed space back into your macOS partition. This process can take some time, depending on the size of the partition and your Mac's speed.
Verify Disk Space and Troubleshoot Common Issues
Once Boot Camp Assistant finishes, it's a good idea to verify that the space has been reclaimed and to know how to address potential issues.
1. Verify Free Space: Open "Disk Utility" (found in Applications > Utilities) and select your main hard drive. You should see that the space previously occupied by Windows has been merged back into your macOS partition, indicating increased free space.
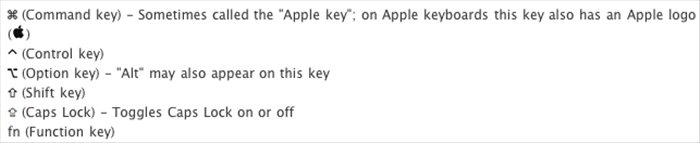
2. Troubleshooting - Application Freezes: If Boot Camp Assistant freezes during the process, try to force quit the application (Command + Option + Esc) and restart your Mac. Then, try the process again.
3. Troubleshooting - Partition Deletion Failures: If Disk Utility shows errors or the partition doesn't seem to merge correctly, try running "First Aid" on your main drive from within Disk Utility. This can repair minor disk errors.
4. Troubleshooting - macOS Boot Issues: In rare cases, if your Mac struggles to boot into macOS after the removal, you might need to boot into macOS Recovery Mode (restart your Mac and hold Command + R) to use Disk Utility or reinstall macOS if necessary (without erasing your data).
Congratulations! You have successfully uninstalled Windows from your Mac and reclaimed valuable storage space. Your Mac should now have more room for your macOS applications and files. If you wish to further organize your disk, you can use Disk Utility to manually extend your macOS partition (if it wasn't fully extended automatically) or create new partitions for different purposes from the newly freed space. This might involve dragging resize handles within Disk Utility to adjust partition sizes. Enjoy your optimized Mac!