How to automatically sign all messages sent from Gmail
A signature is a personalize text appearing at the end of your email. It can include your name and contact information, your favorite quote, an image, a link or any other text you want to appear at the bottom of your emails. This guide will explain how to use the Gmail auto signature feature to save you from the tedious task of adding your signature to each Email that you send.
Easy 1,519 views
What You'll Need
- gmail
- email signature
- gmail signature
- internet
Steps
- 1
Step 1
You will do the following steps only once and it will appear on all messages you write from that moment on. Go to your gmail account. - 2
Step 2
 Bring you mouse over to the icon of the gear ( it sort of looks like a flower) at the top right of the screen. The word "Settings" will appear. Click on it and a pull down menu will appear.
 -
- 3
Step 3
 Click on "Settings"
 - 4
Step 4
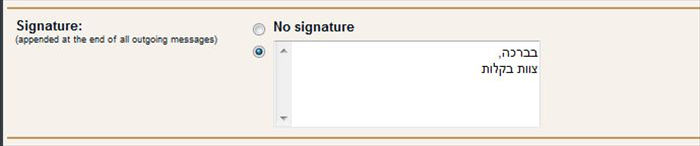 A new page will appear. Scroll down the page to where it says "Signature" If there is ball inside of the "No signature" click the empty circle beneath it ,
 - 5
Step 5
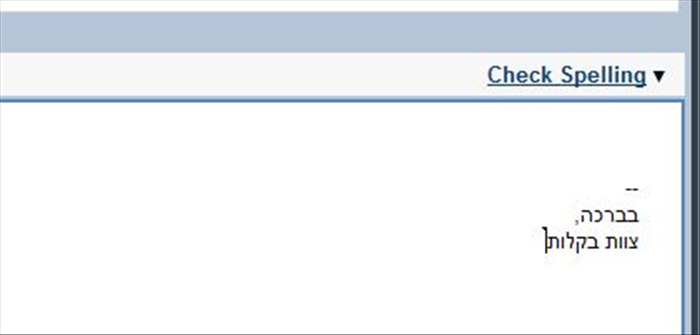
 Type into the text box what ever you want in your signature . Hover you mouse over the icons on top of the text box to see what additions you can add to your signature, such as the chain icon to add a link or what looks like a mountain to add a picture.
 - 6
Step 6
 To disable the signature check the button "No Signature" Go down to the bottom of the screen and click the button "Save settings" From now on, whenever you write a message, the signature will appear automatically at the end of the message.