How to Braid Paper Strips into a Napkin Ring or Bracelet
Cut three 1-inch paper strips, braid them, glue the ends, then join into a ring for a napkin or wrist.
What You'll Need
- Colored paper or cardstock (or recycled magazine/newspaper)
- PVA craft glue or strong tape
- Ruler 12 inch
- HB pencils (pack)
- Craft scissors
Use scrap or construction paper you have; glue is the only buy if needed.
Three equal strips, a three-strand braid, glue at both ends, then overlap into a circle. Construction paper or cardstock holds up; magazine pages work if you fold each strip lengthwise once for strength. One ring takes about 15–20 minutes.
Cut three strips
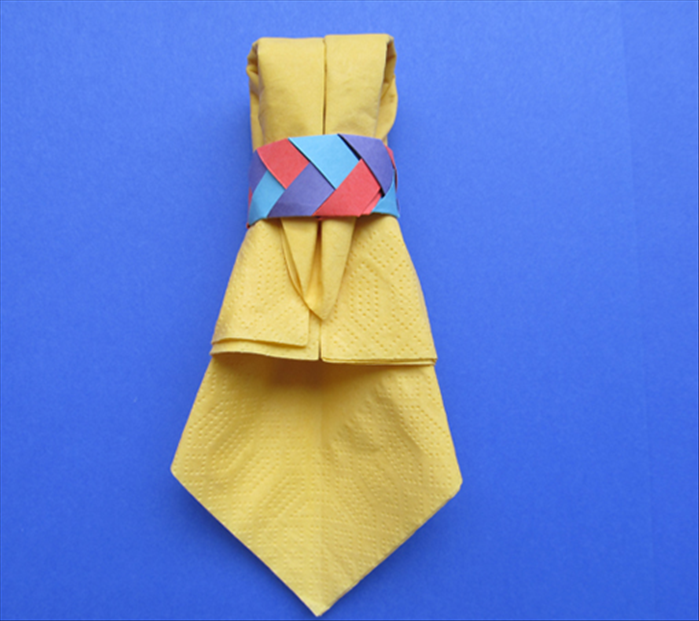
Mark and cut three strips about 1 inch (2.5 cm) wide and 10–12 inches (25–30 cm) long. Same length and width for all three. For thin paper, fold each strip lengthwise once to double the thickness.
Pre-sort colors if you want a pattern (e.g. red–white–blue) before you tape the start.
Start the braid

Align the three strips at one end. Tape or glue that end so it stays flush. Tape the secured end to the table if you want both hands free.
Braid

1. Cross the right strip over the middle.
2. Cross the left strip over the new middle.
3. Repeat, keeping even snug tension — not so tight the paper tears.
Stop when about 1 inch (2.5 cm) of unbraided strip remains.
Finish the ends
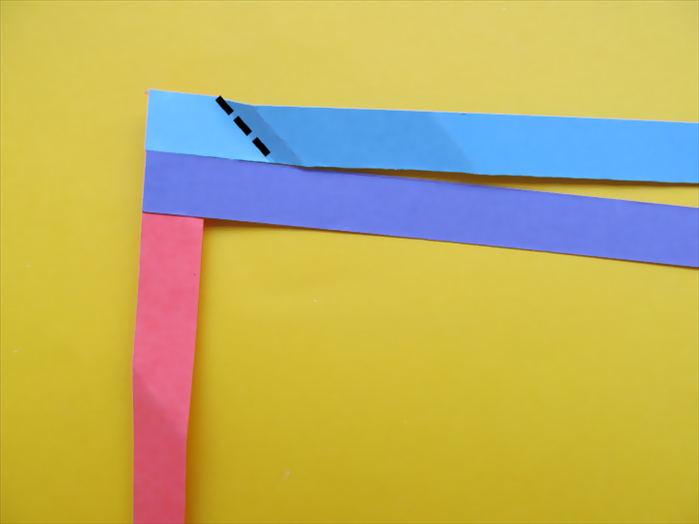
Glue or tape the loose ends together. Trim ragged bits after the adhesive sets.
Let glue dry before you bend the braid into a ring or it will pull apart.
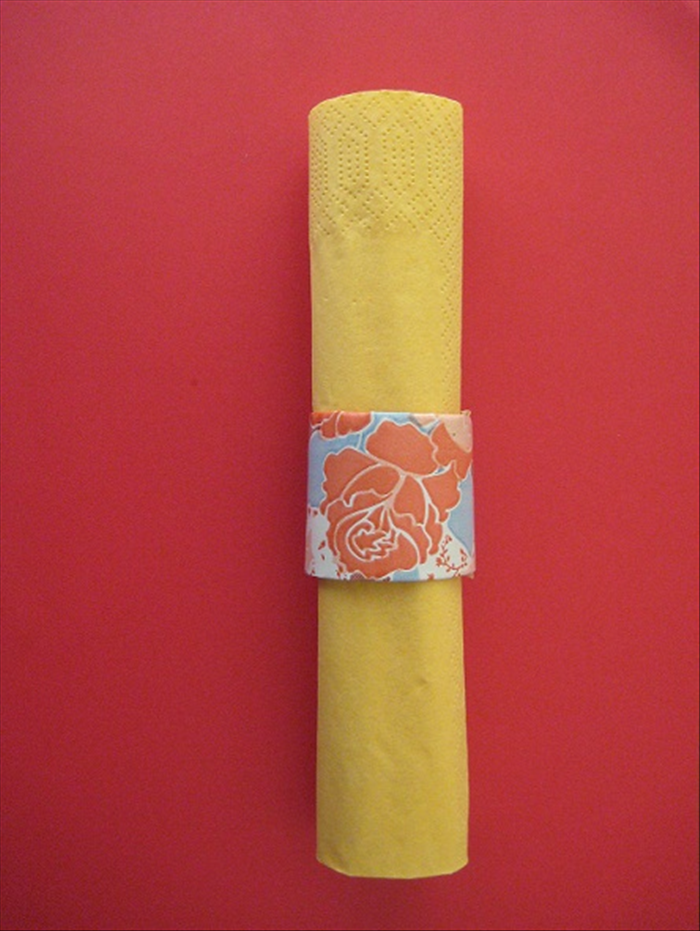
Napkin ring
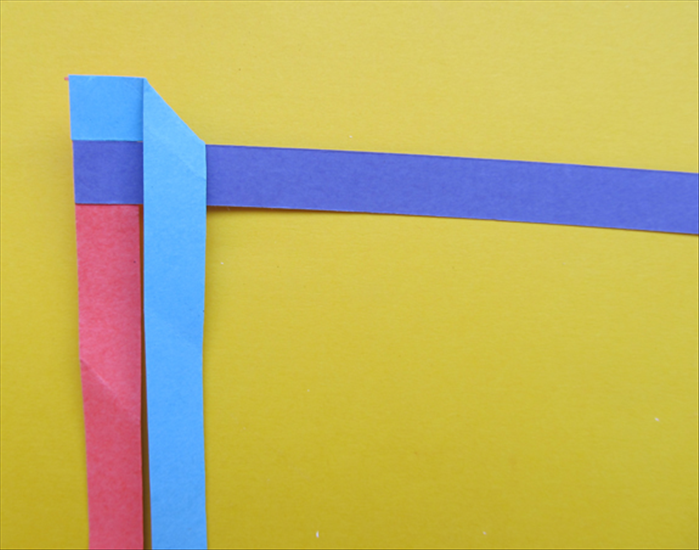
Bring the ends together into a circle sized for a folded napkin. Overlap about ½ inch (1.25 cm) and glue or tape. Dry fully before use.
Bracelet
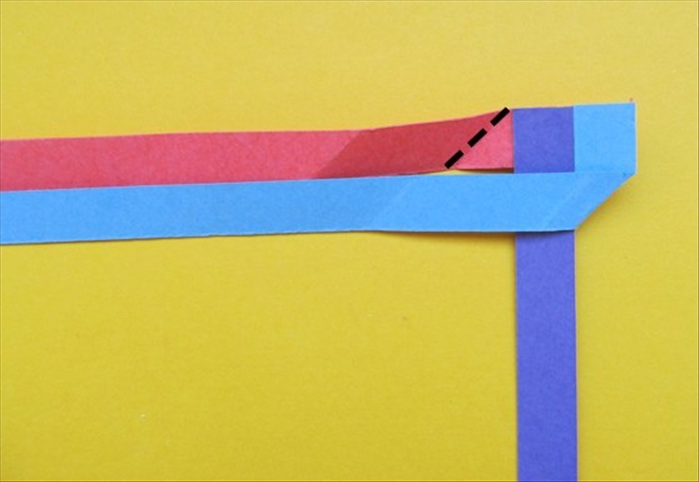
Wrap the braid around the wrist, note the overlap, glue or tape those ends. Dry before wearing. No beads or charms required.
To lengthen mid-braid: overlap a new strip ½ inch (1.25 cm) on the back of a short strip, glue, then keep braiding.