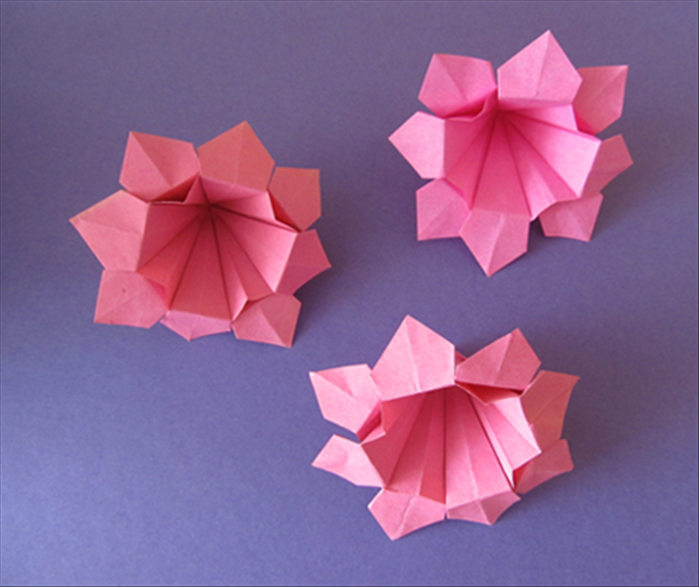
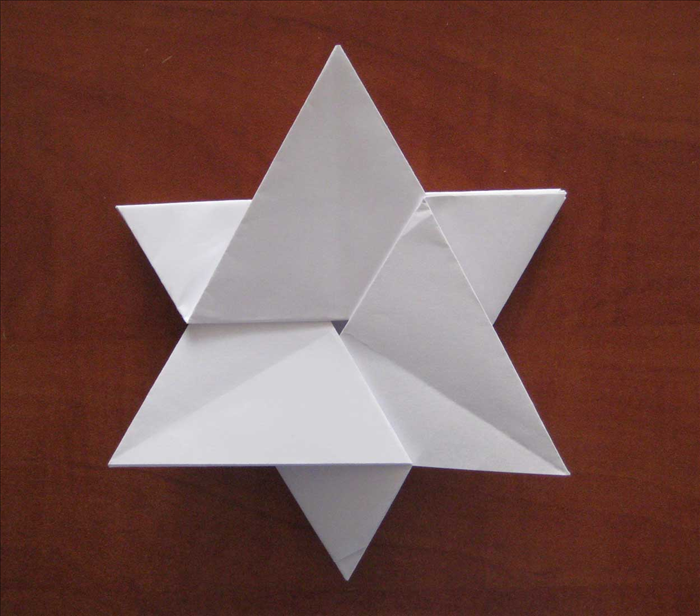
How to fold a cherry blossom or Sakura flower
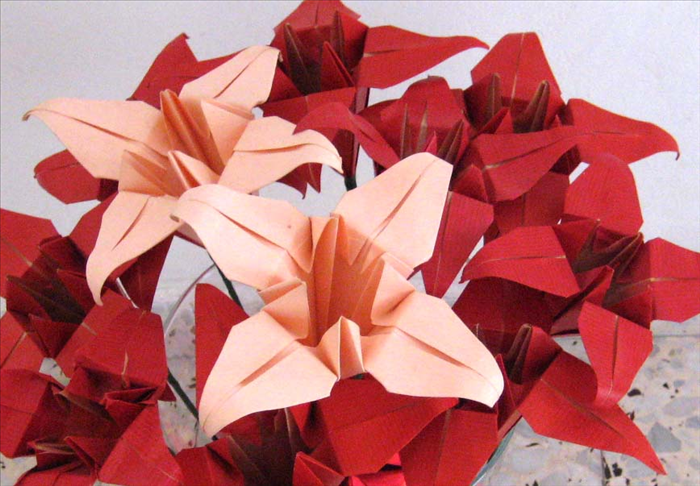
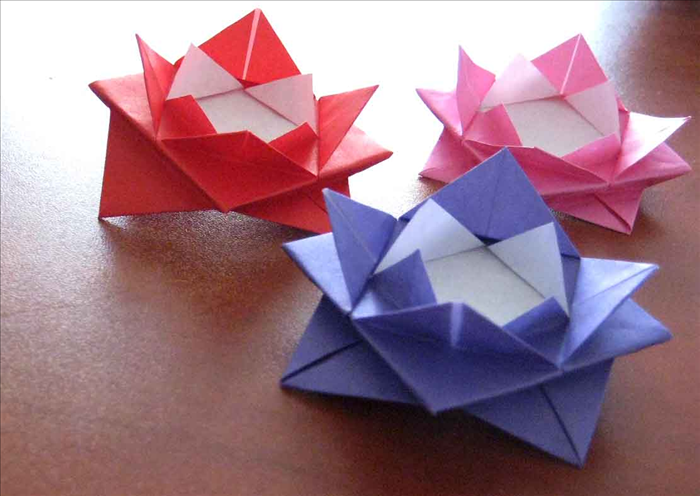
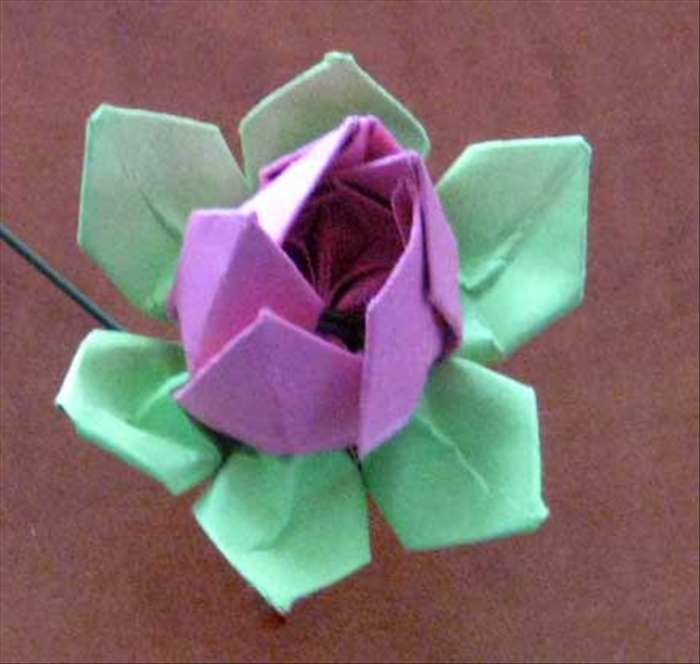
This guide will show you how to fold a traditional cherry blossom, also known as the Sakura flower.
Easy 11,331 views
What You'll Need
- Sakura flower
- cherry blossem
- origami flowers
- paper flowers
- origami
Steps
- 1
Step 1
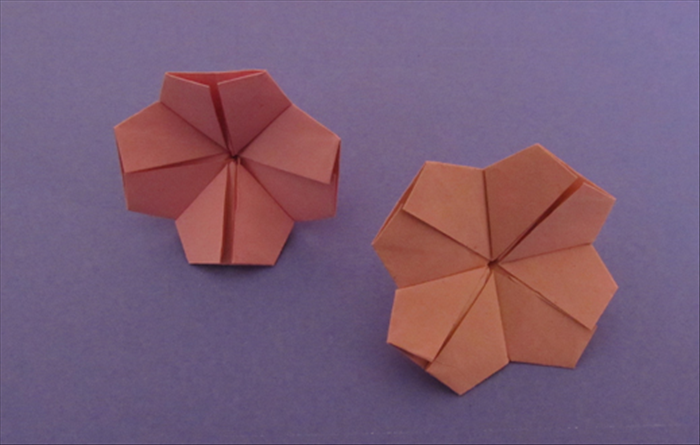 Materials: 1 square paper
 - 2
Step 2
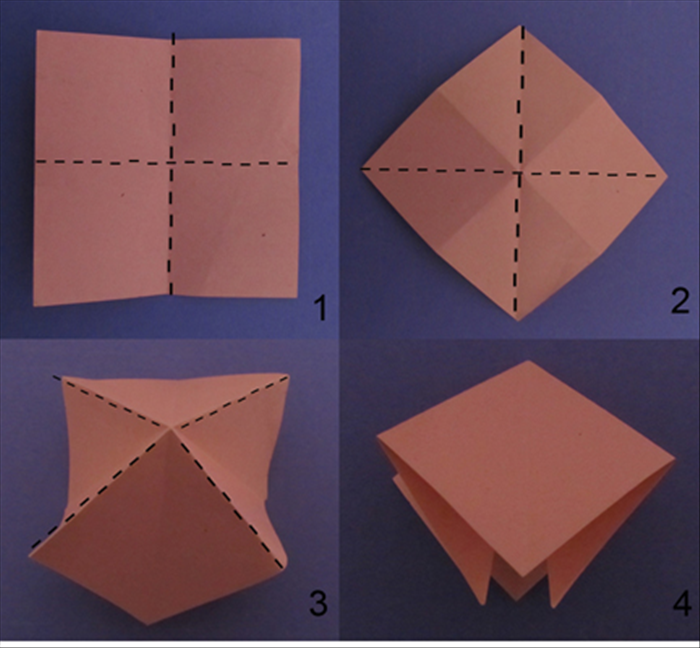 This model begins with the square base. If you do not know how to fold it, click on the guide for how to fold a square base.
 -
- 3
Step 3
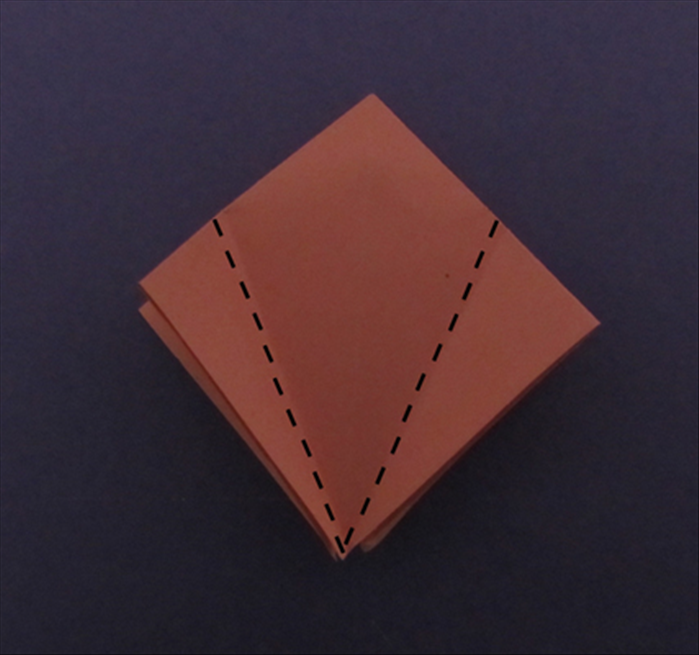 The open end of the square base should be on the bottom. Fold the bottom sides up to align with the center crease.
 - 4
Step 4
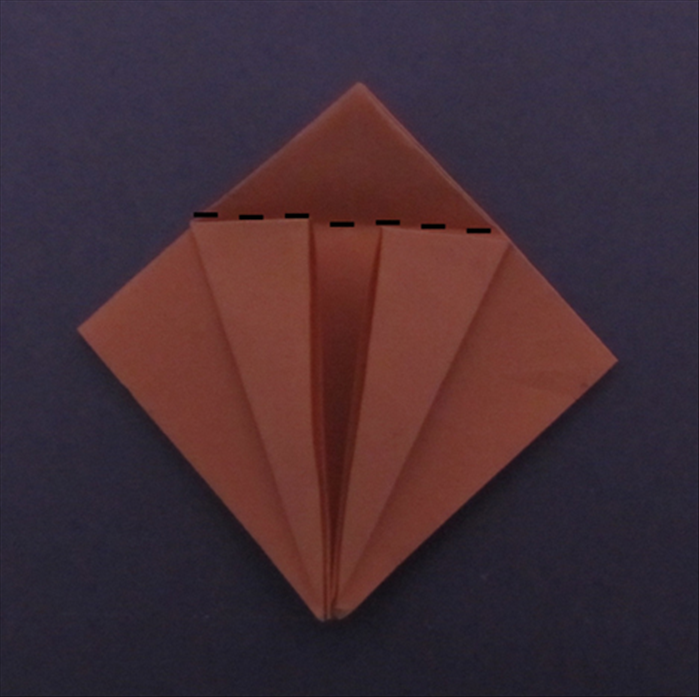 Fold the top point down along the edges of the flaps you just made. Unfold Unfold the 2 flaps.
 - 5
Step 5
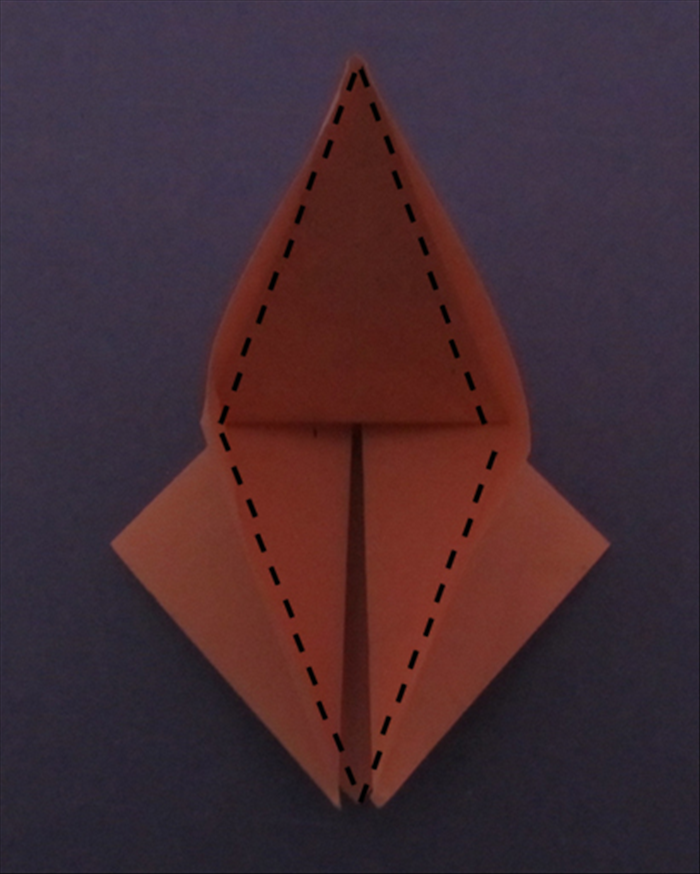 Lift the bottom point up to the crease. Fold the sides inward along the creases.
 - 6
Step 6
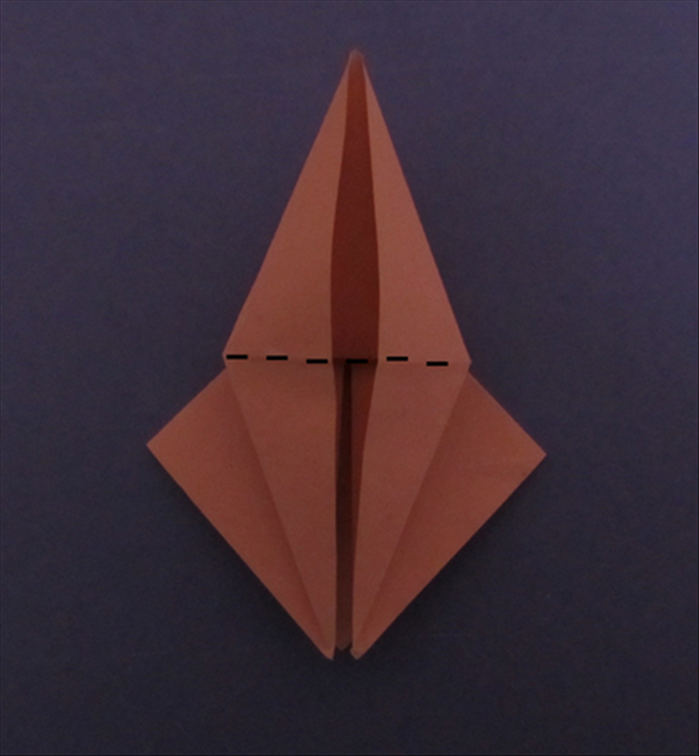 Fold the top flap down. Flip the paper over to the back side and repeat steps 3 to 6.
 - 7
Step 7
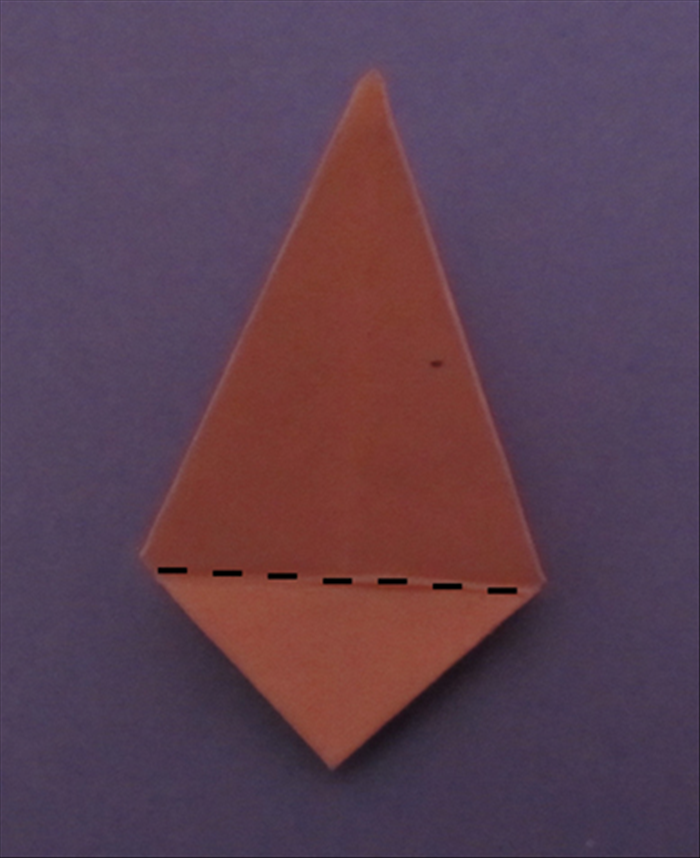 Rotate the paper so that the small point is on the bottom. Fold the top flap down.
 - 8
Step 8
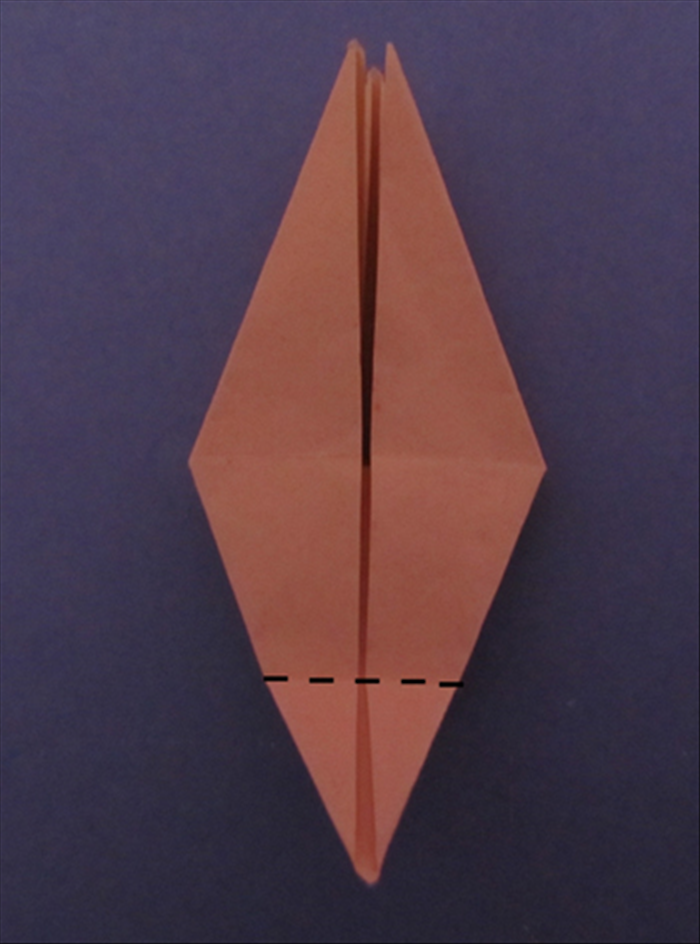 Fold the bottom point up to the center crease. Unfold
 - 9
Step 9
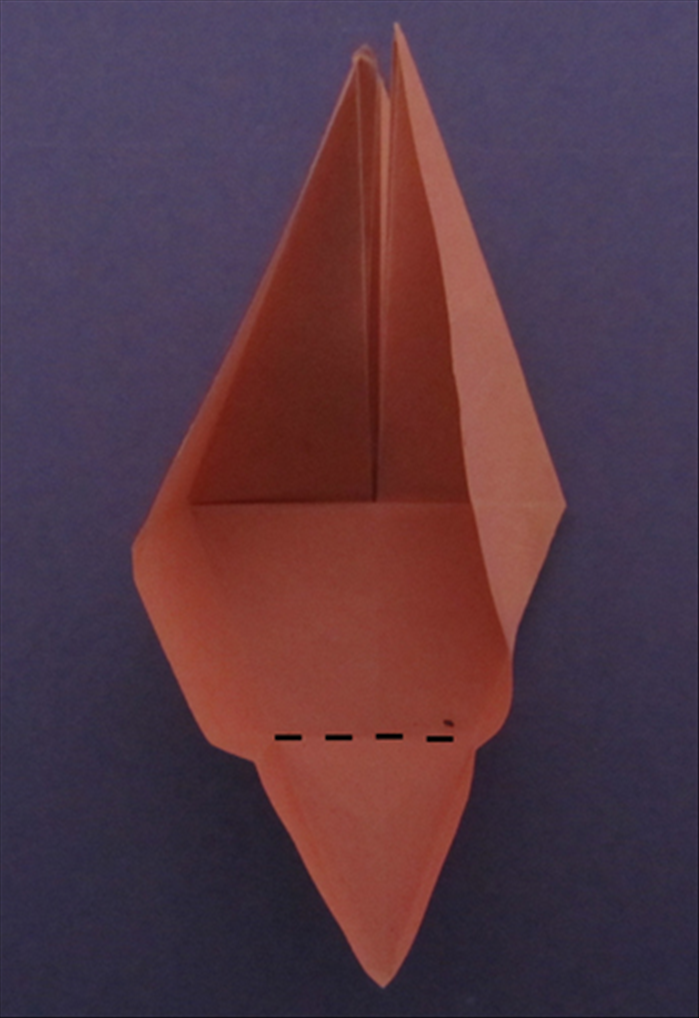 Open the flaps at the bottom. Fold up the bottom point to the center along the crease.
 - 10
Step 10
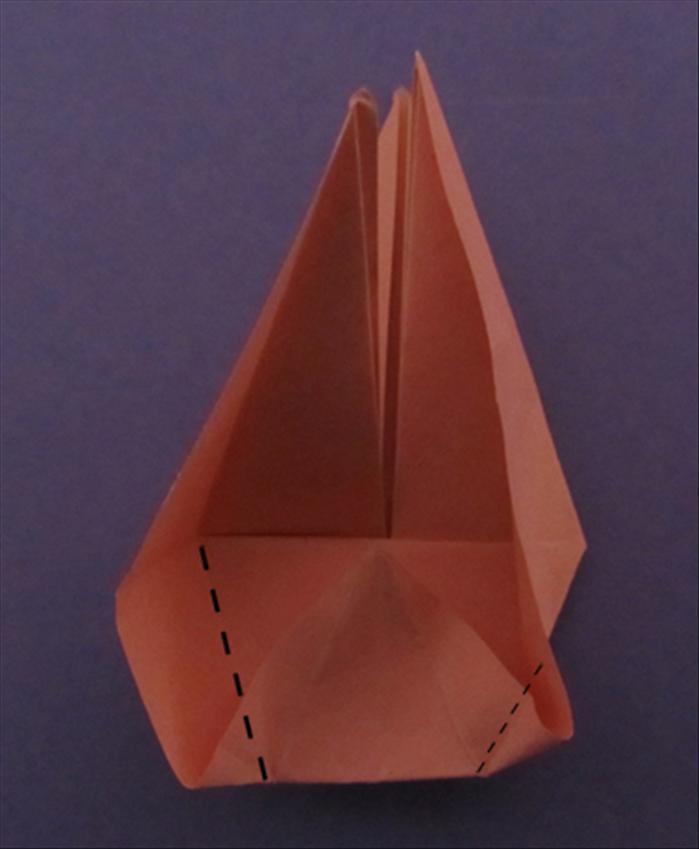 Fold the sides back to the center. Pay attention that the edge made by the fold is straight - see the next picture You may have to stick your finger in to straighten it out.
 - 11
Step 11
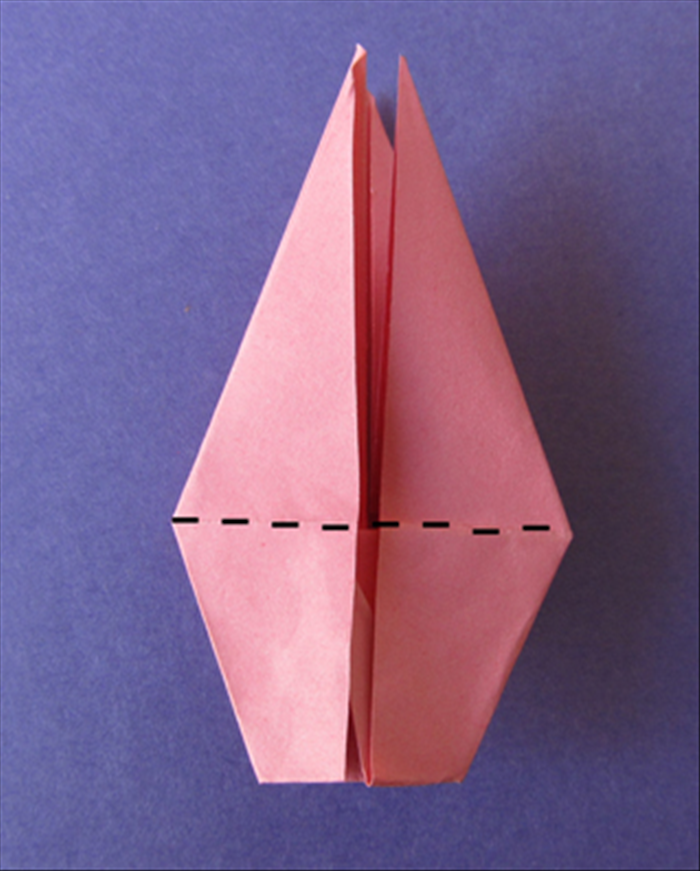 Result Fold the bottom up. Flip the paper over and repeat steps 7 to 10 on the back.
 - 12
Step 12
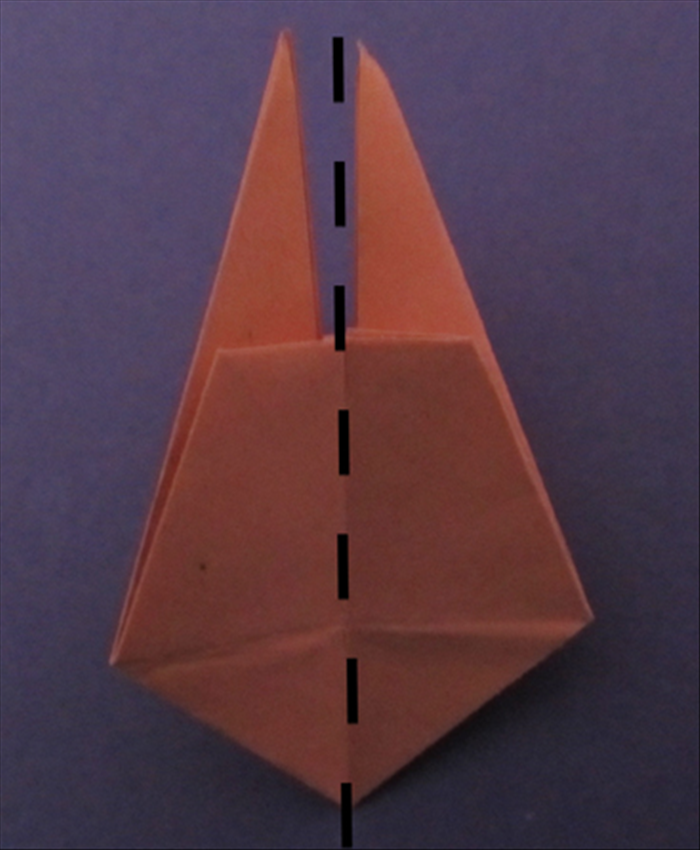 Fold the front left top layer to the right as you would the page of a book. Flip the paper over to the back side. Fold the front top layer to the right as you would the page of a book. Repeat steps 7 to 11 on front and back.
 - 13
Step 13
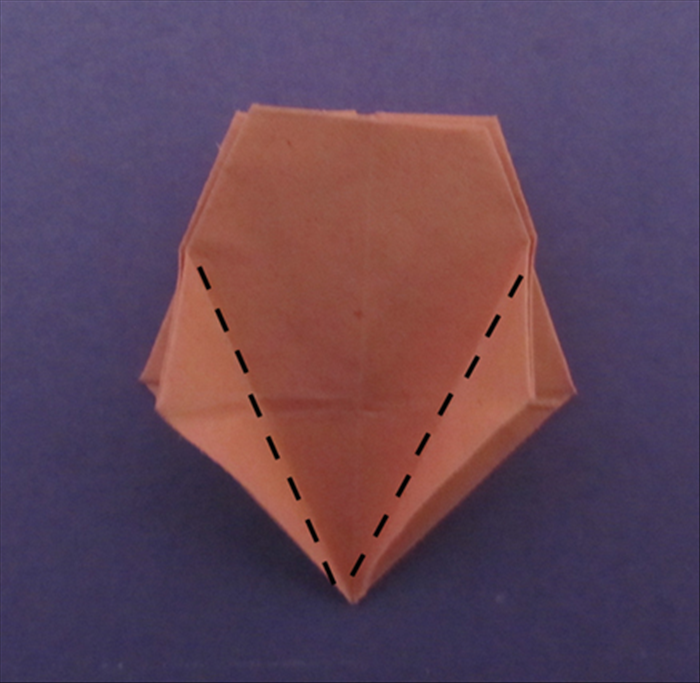 With the straight edge on top, fold the bottom left and right points to the center. Flip the paper to the back and repeat.
 - 14
Step 14
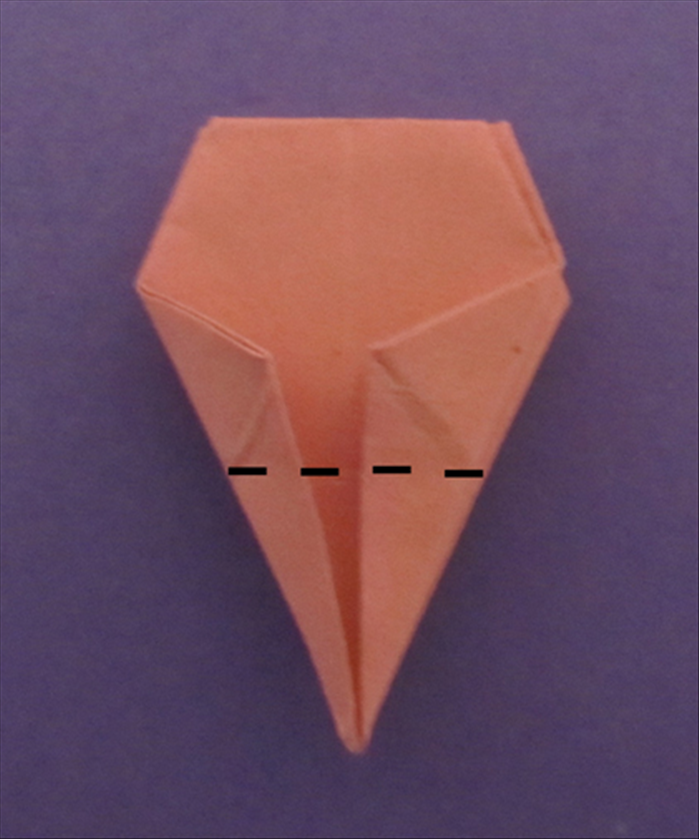 Hold the bottom with one hand and bring the top layer down in the front and in the back.
 - 15
Step 15
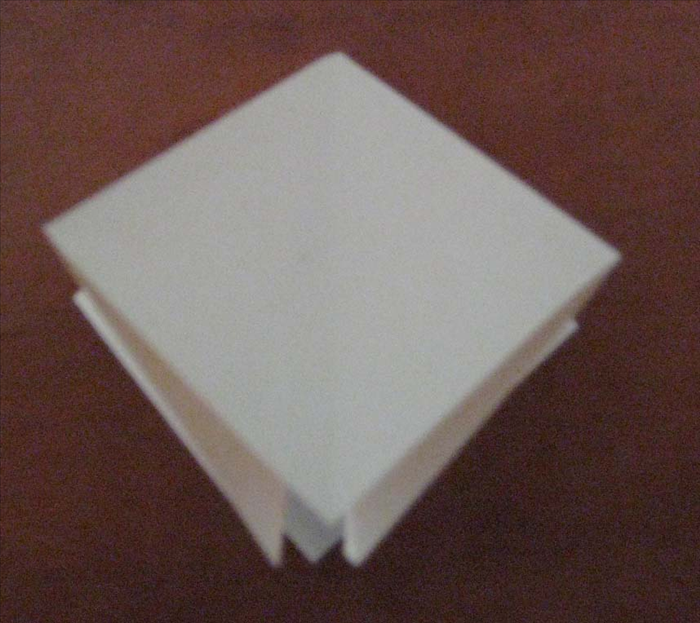
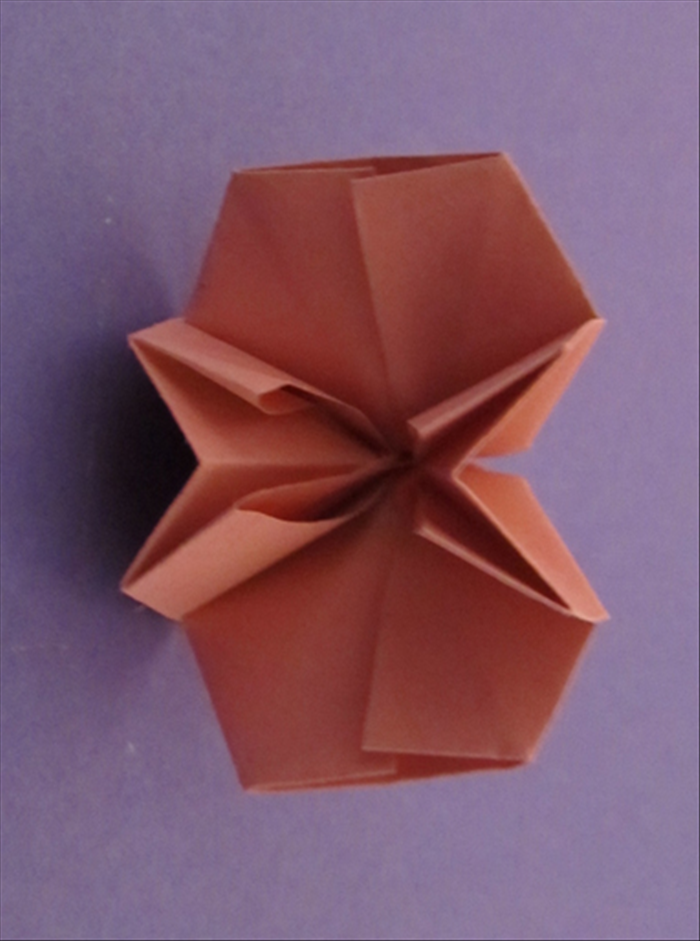 This is a view from the top. Push the top and bottom flaps down.
 - 16
Step 16
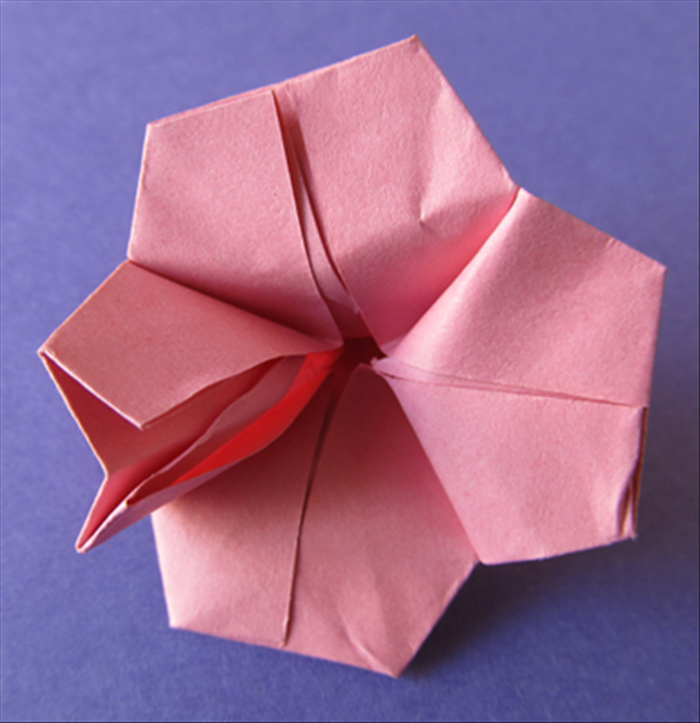 Press the sides down. It may help to flatten the creases if you put the flower face down on the table.
 - 17
Step 17
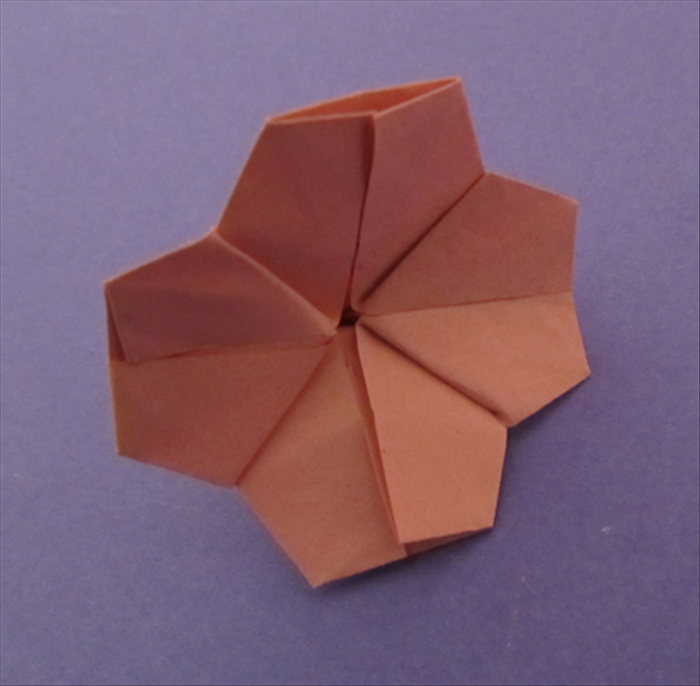 Your Cherry Blossom flower is finished!