How to fold the traditional Origami Iris
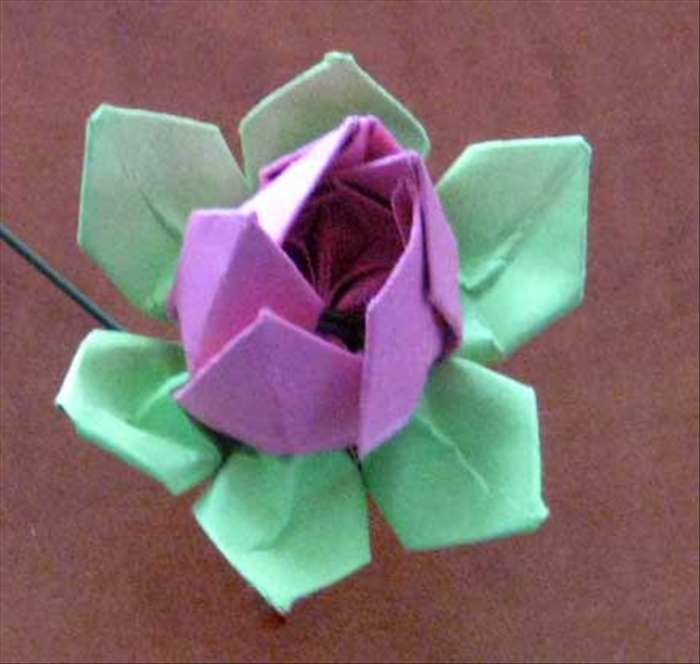
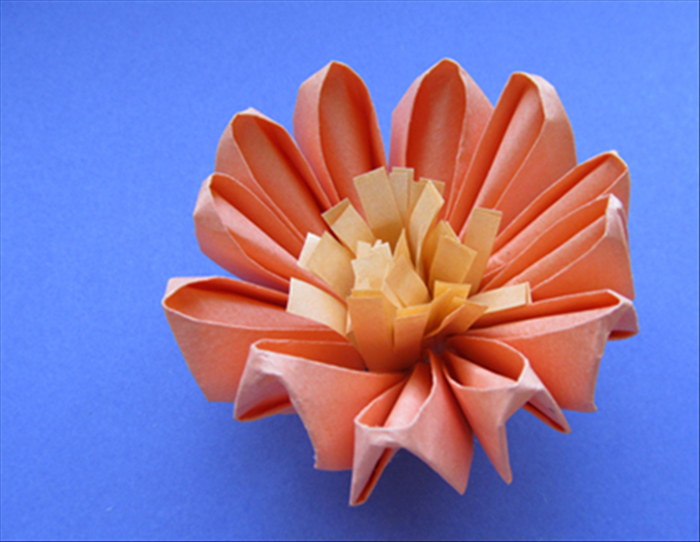
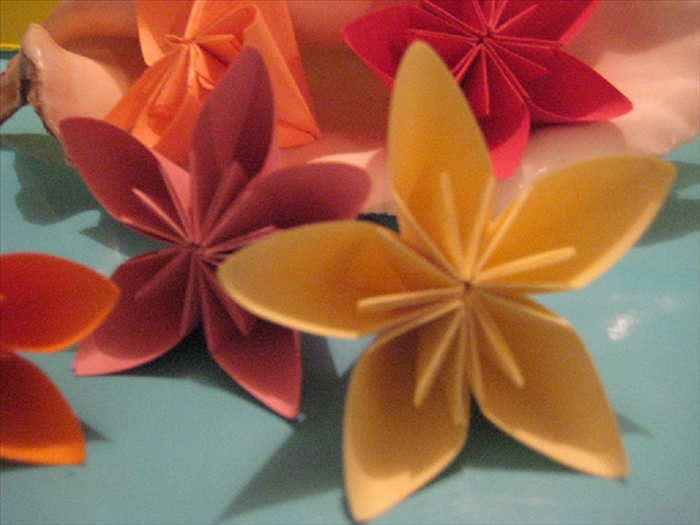
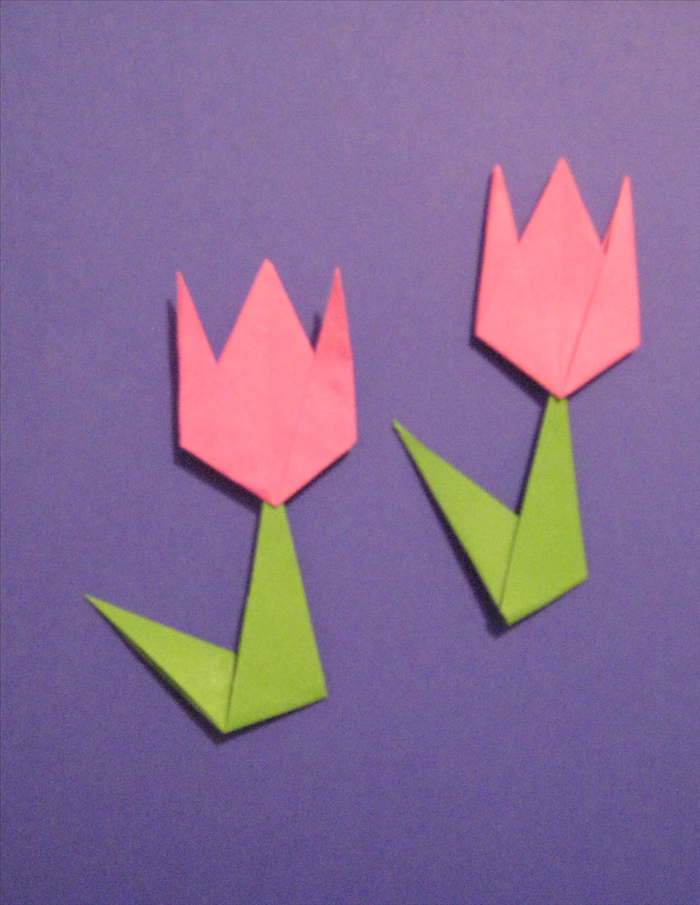
This guide will show you how to fold a beautiful paper iris.
Easy 13,776 views
What You'll Need
- Origami flowers
- origami iris
- traditional origami
- paper flowers
Steps
- 1
Step 1
 Materials: 1 square sheet of paper
 - 2
Step 2
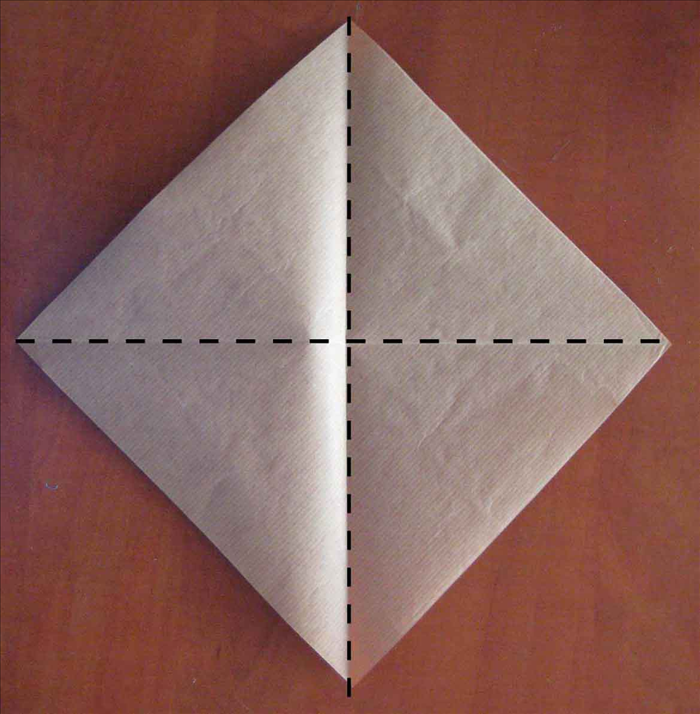 Place the paper so that the points are at the top, bottom and sides. Fold paper in half horizontally and unfold Fold in half vertically. Unfold
 -
- 3
Step 3
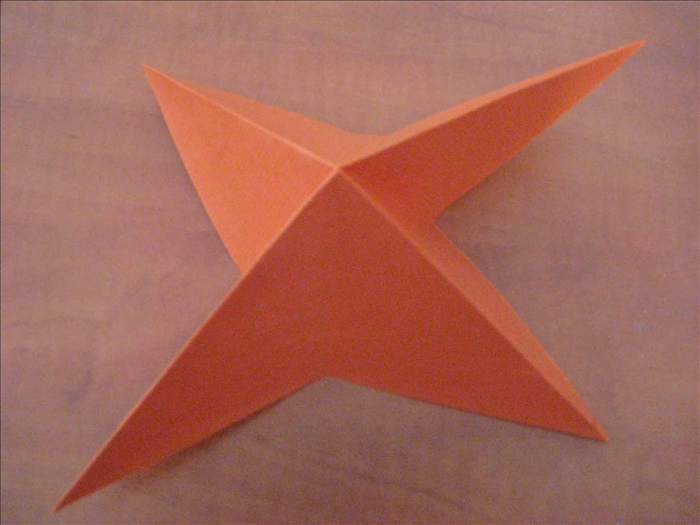 Continue pinching and squeezing the diagonal folds. The horizontal creases will fold inward. . Squeeze the paper together and flatten
 - 4
Step 4
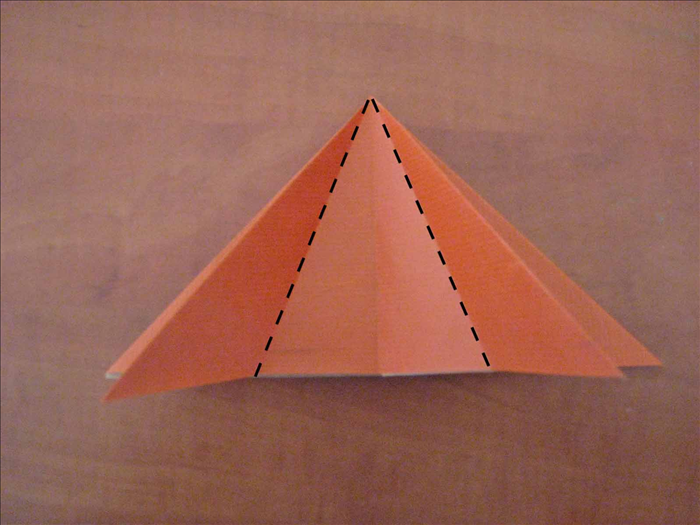 Fold the sides of the top layer towards the center and align them to the center crease. Flip the paper over to the back side and repeat.
 - 5
Step 5
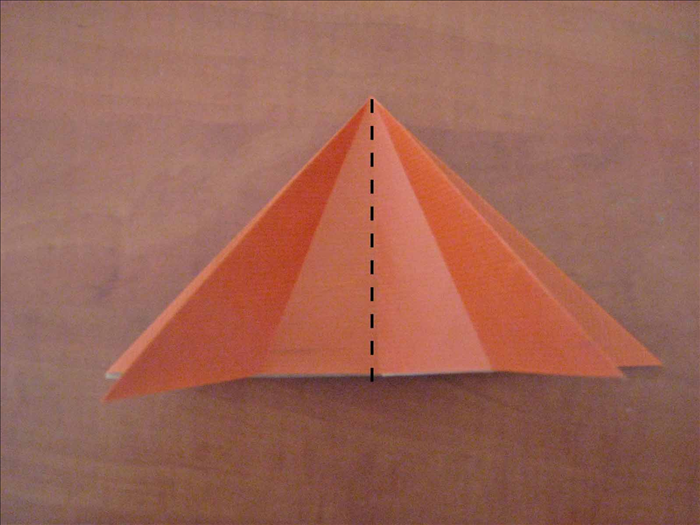 Unfold the folds you just made in the last step. Bring the left side of the top layer over to the right side as if it was a page in a book. This is called the book fold Flip the paper over and do the same to the back Repeat step 6
 - 6
Step 6
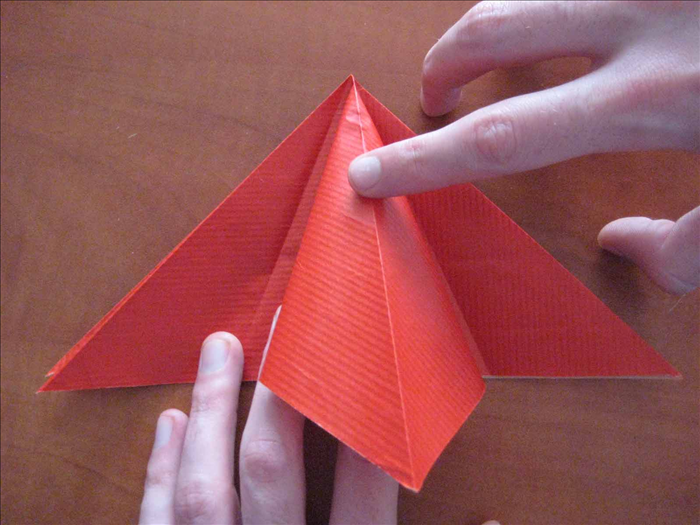 Lift one layer of one of the sides and put your finger inside so that the side crease stands out and up . Align it with the middle crease below Press down from the top point and flatten. The crease lines you made before should easily fall into place on the sides
 - 7
Step 7
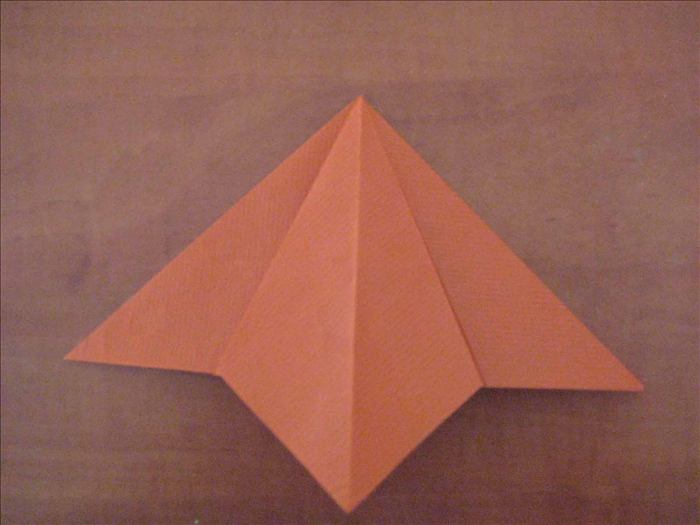 Turn the paper over and repeat on the back. Book fold the front and back and repeat step 8 on the 2 remaining layers
 - 8
Step 8
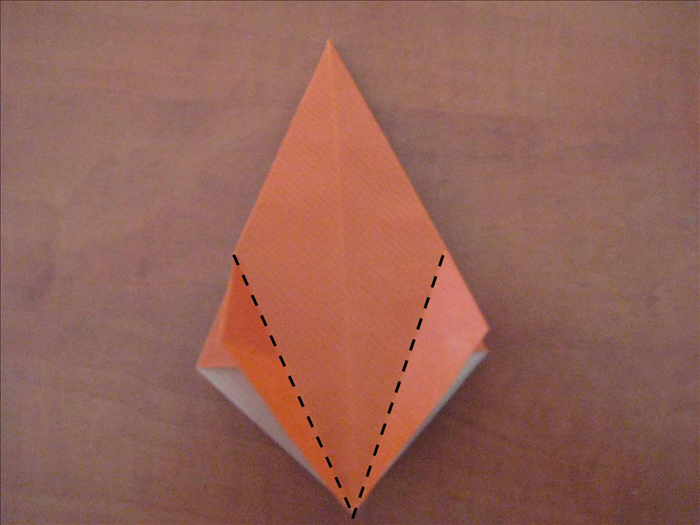 With the open end at the bottom, fold the side points so that the edges aligns with the middle crease. Turn over and repeat on the back. Book fold the front and back and repeat on the 2 remaining layers
 - 9
Step 9
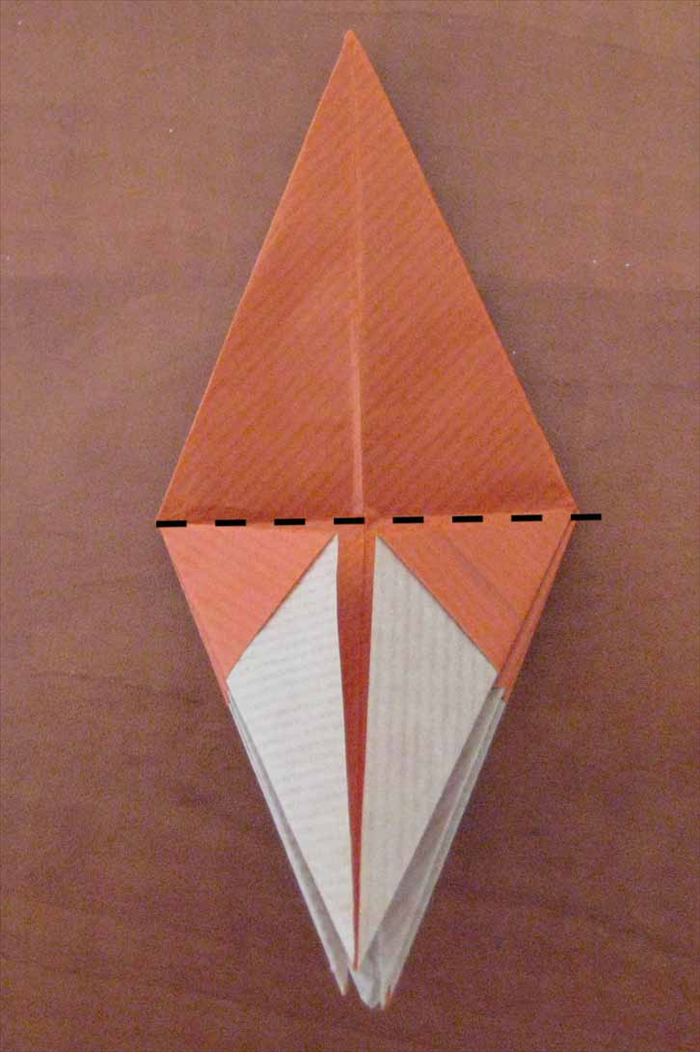 Bring the top point down to fold in half and unfold
 - 10
Step 10
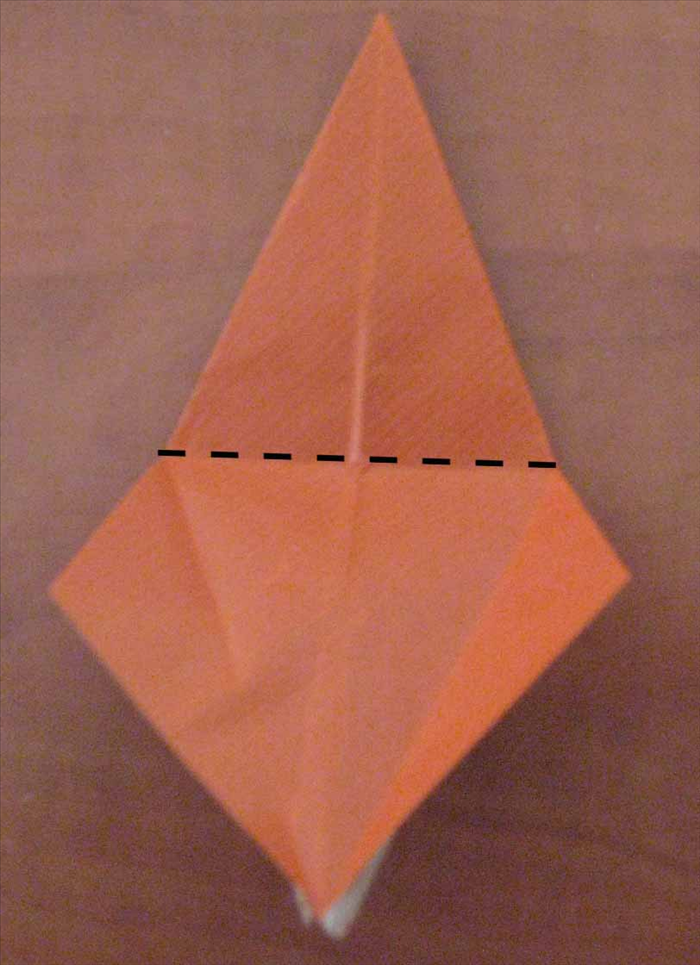 Open the 2 bottom flaps and fold upward along the halfway crease you just made
 - 11
Step 11
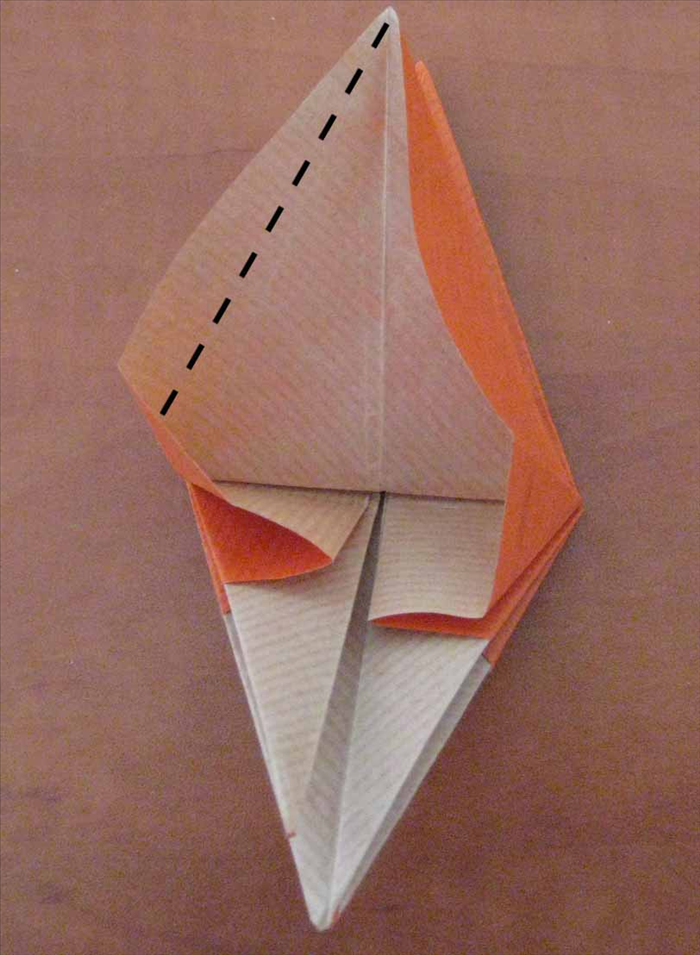 This should make the sides pop up and curve towards the center. Press down on the crease lines to flatten
 - 12
Step 12
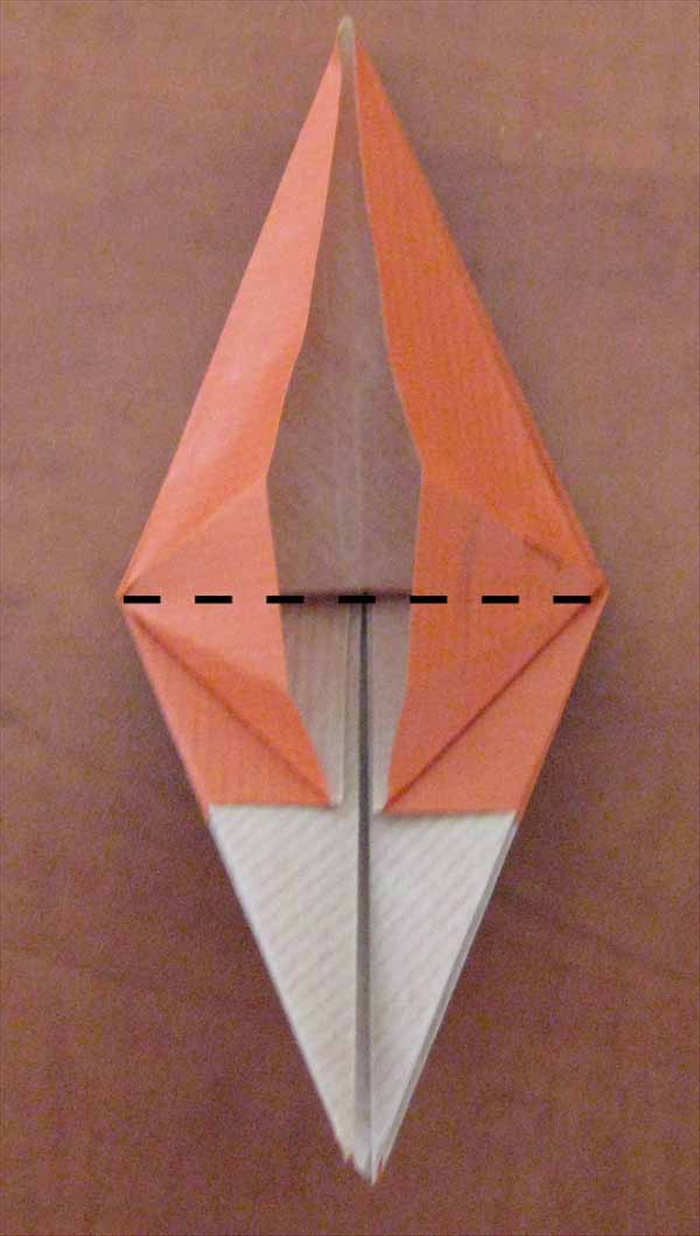 Take the top layer you just creased and fold it down to the bottom edge Turn over and repeat steps 13 and 14 on the back Book fold the front and back and repeat on the remaning 2 sides
 - 13
Step 13
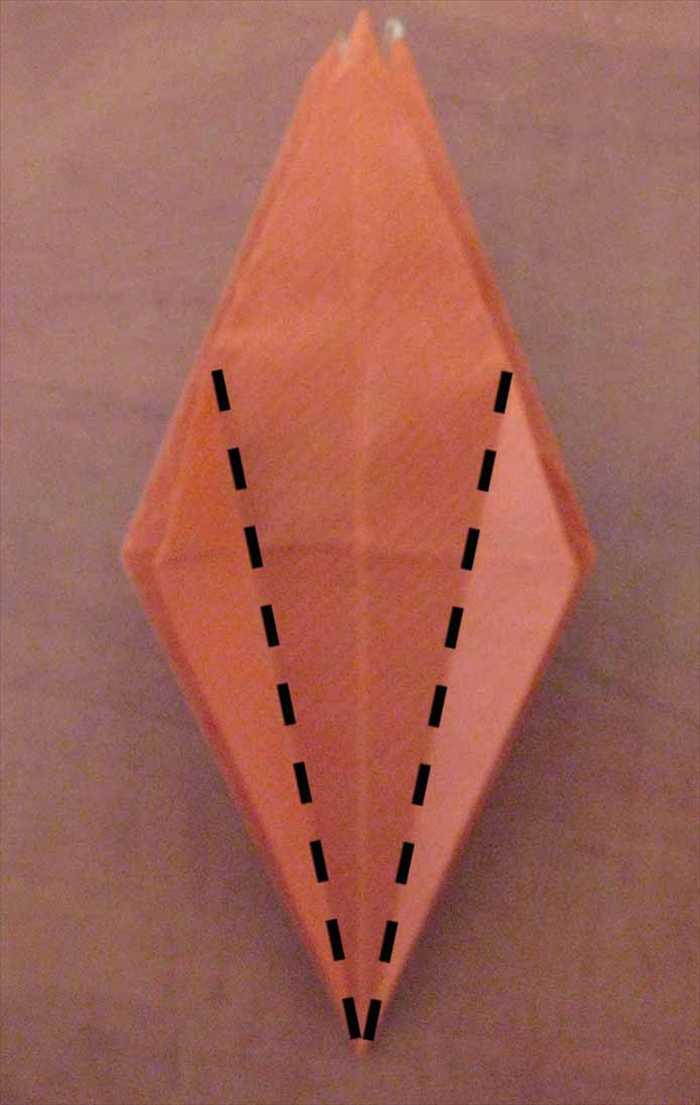 Fold the 2 side points inwards and align the side edges to the center crease Repeat for the remaining 3 layers
 - 14
Step 14
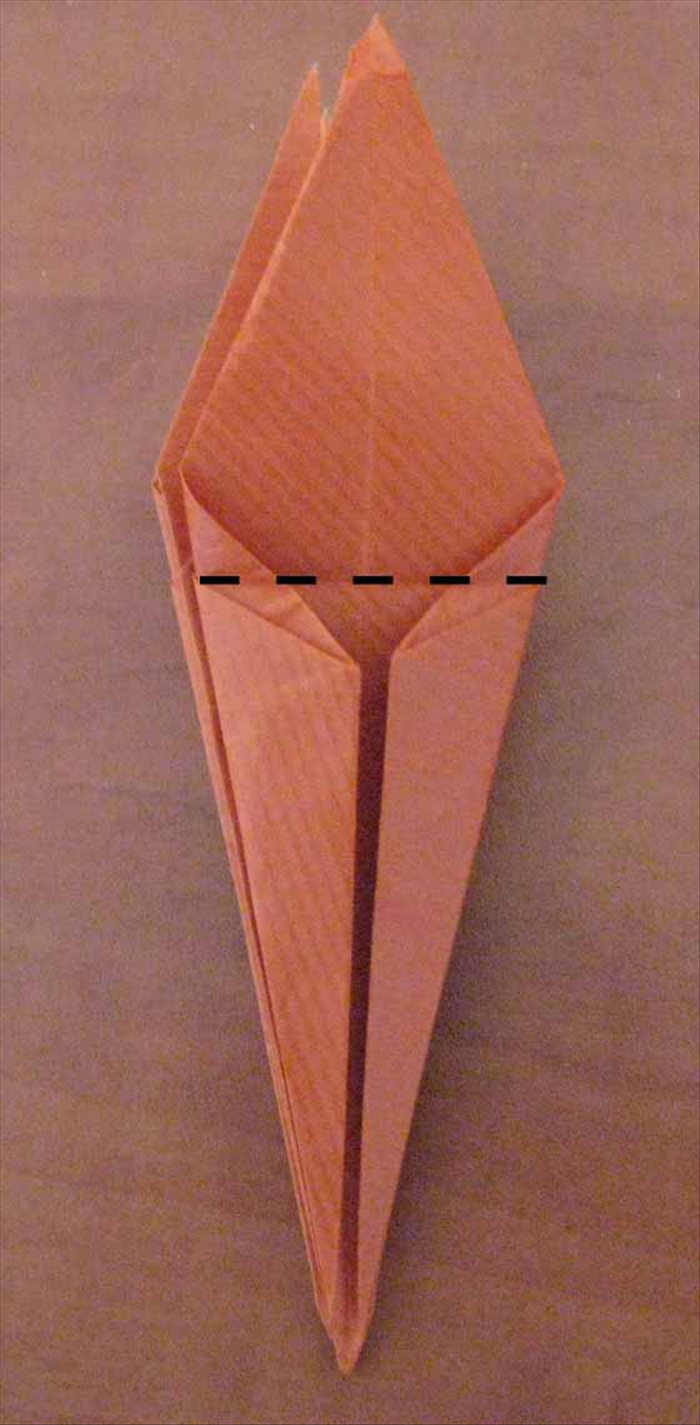 Fold the top point of one layer down as far as it will go. Repeat for the other layers
 - 15
Step 15
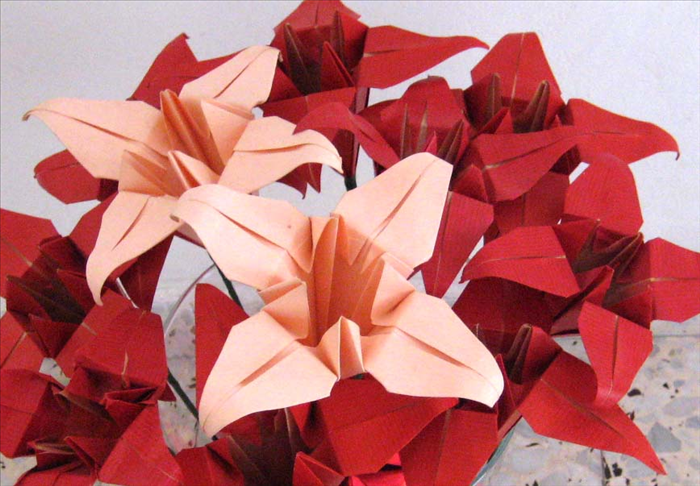
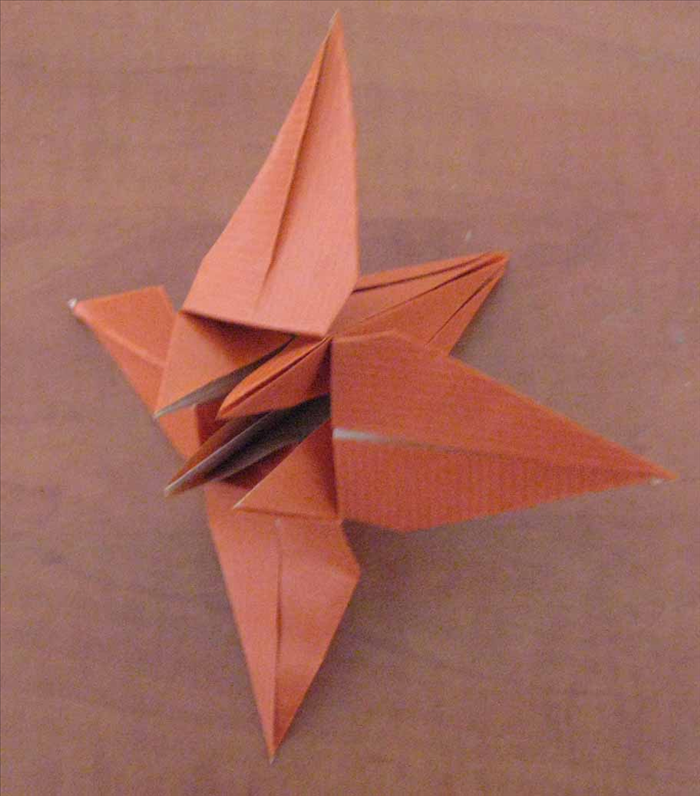 Your iris is finished.
 - 16
Step 16
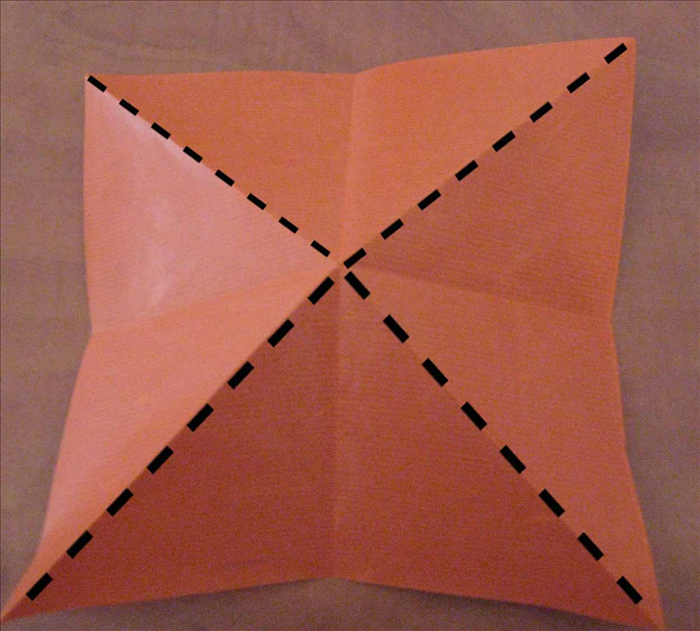 Pinch and squeeze the diagonal folds to make them stick up
 - 17
Step 17
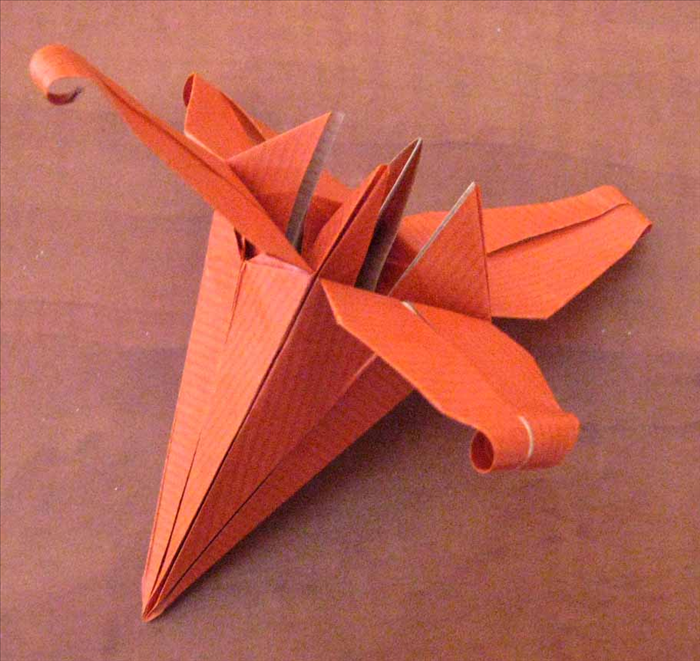 You can curl the ends over a pen or paintbrush.
 - 18
Step 18
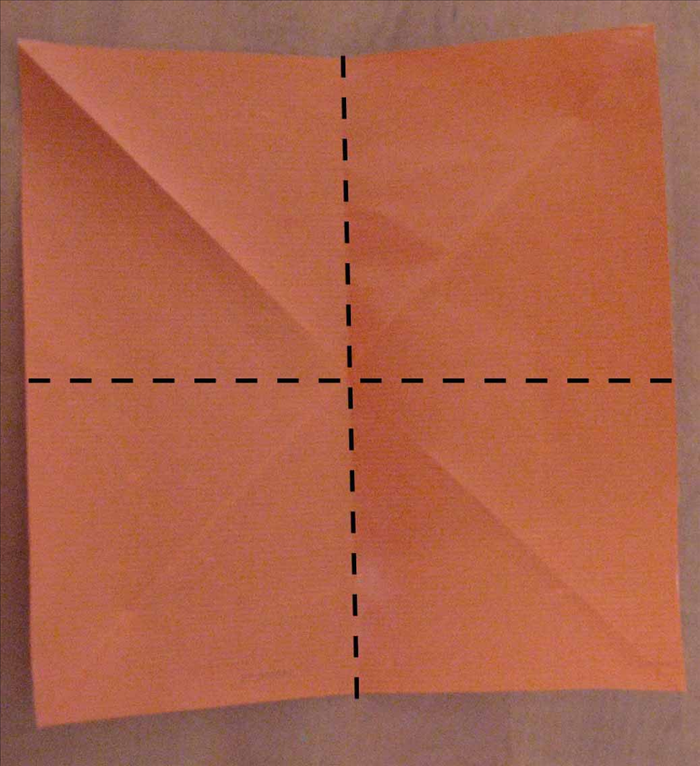 Flip paper over to the back side. Fold in half horizontally and unfold Fold the paper in half vertically and unfold