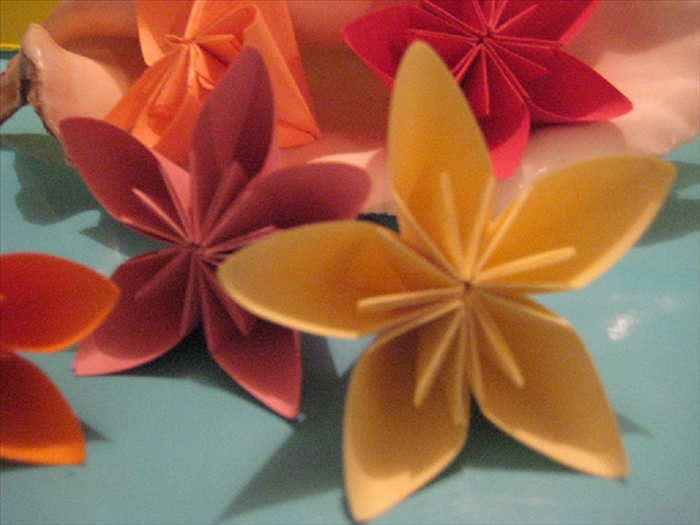
How to Fold an Origami Kusudama Flower
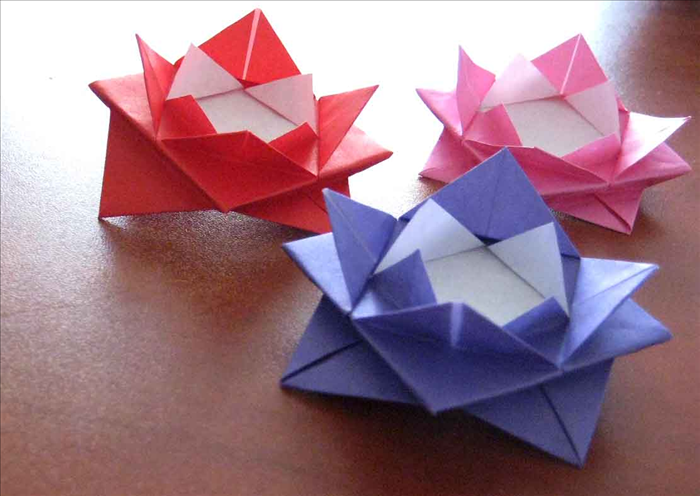
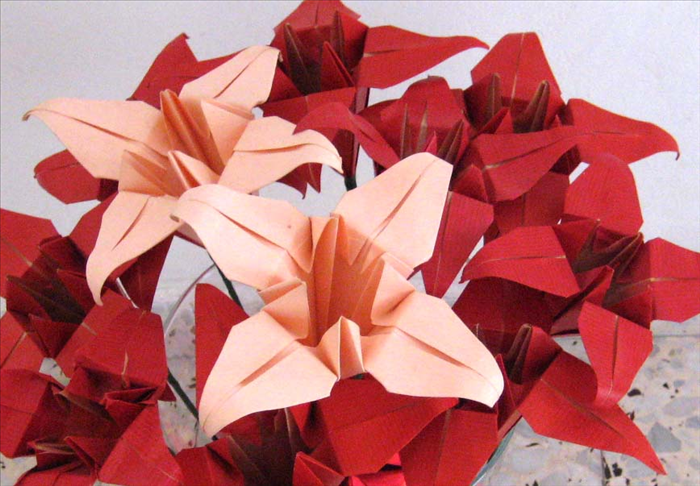
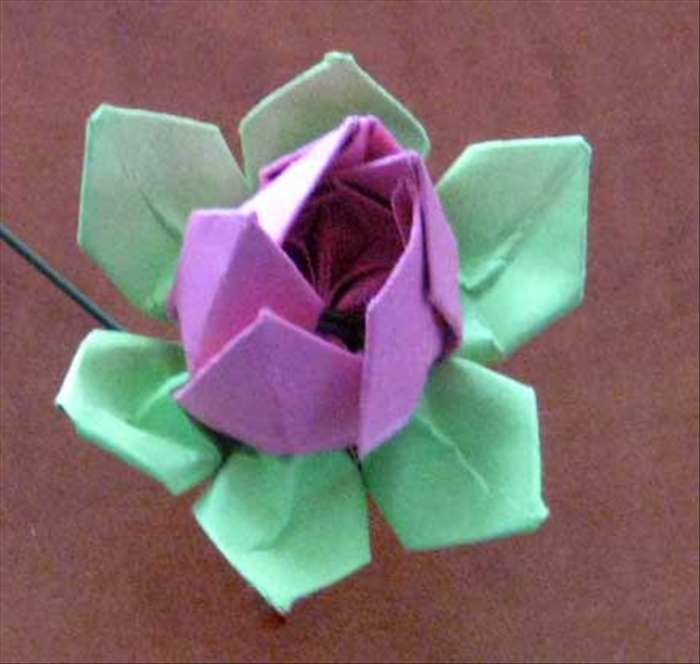
Fold six 6×6 inch squares into petal units and glue flap into pocket to make one flower. Paper and glue. About 1–2 hours.
What You'll Need
- Square origami paper, 6 sheets (15×15 cm / 6×6 in)
- Glue stick or PVA craft glue
Six squares and a glue stick. That’s the flower.
One flower is 6 identical units. Use 6×6 inch (15×15 cm) origami paper; thinner stock folds cleaner than cardstock. Glue joins flap to pocket. Budget 1–2 hours the first time, mostly folding.
Diagonal creases and kite
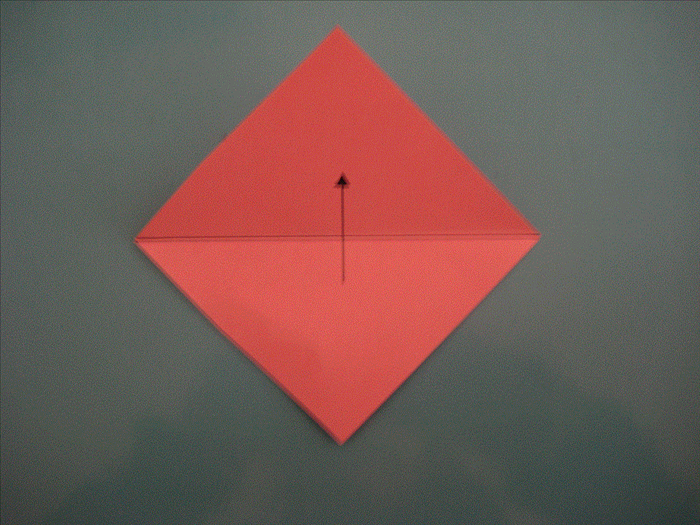
One square. Fold corner to opposite corner; crease; unfold. Fold the other diagonal; crease; unfold. You have an X. Fold two opposite corners in to the center so their edges lie on one diagonal. That is a kite.
Narrow the kite and reverse-fold
Fold the two side flaps in to the center line so the kite gets narrower. Fold the two small points at the top down; unfold them. Reverse-fold those points on the same creases so they tuck inside the unit. Go slowly — this is the tear-prone step.
If the reverse fold starts to tear, unfold that corner and push the point in from the open side instead of forcing it.
Close the unit; make 6
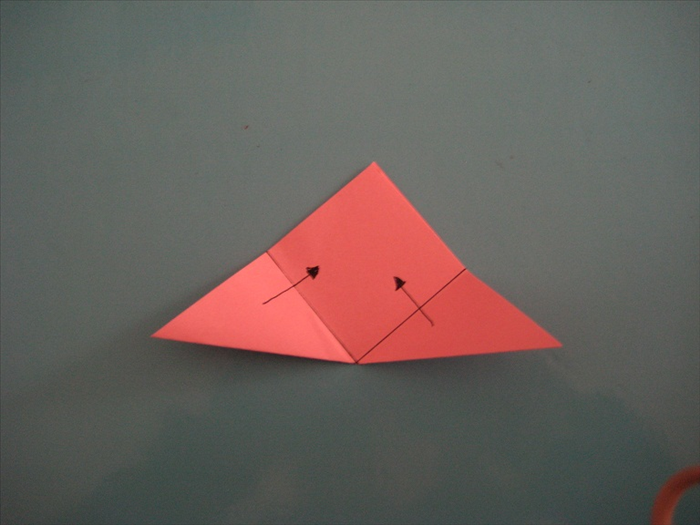
Fold the unit in half along the center line so the two side flaps meet. That is one petal unit. Repeat until you have 6 matching units.
Glue flap into pocket
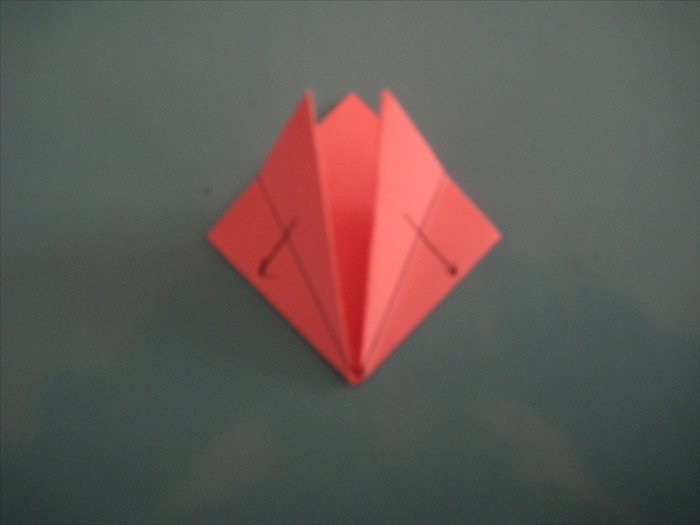
Each unit has a flap on one side and a pocket on the other. Glue a flap and slide it into the next unit’s pocket. Press until it holds. Add units in the same direction. After 5, the ring starts to cup. Join the 6th to the 1st to close the flower. Let it dry before you handle it. Twelve of these flowers glue into a ball if you want that later — this guide stops at one flower.