How to Make a Cardboard Top Hat
Build a wearable top hat from cardboard: measure the head, cut brim and crown, glue, then paint or cover if you want.
What You'll Need
- Large cardboard sheets / moving boxes
- Hot glue gun kit with sticks (or strong craft glue)
- HB pencils (pack)
- Craft utility knife
- Self-healing cutting mat
- Metal ruler 18 inch
If you need a knife, mat, or glue gun, use the search phrases above.
As an Amazon Associate we earn from qualifying purchases.
You’re making a cylinder (the crown) glued to a brim with a hole the size of the wearer’s head. Corrugated moving-box cardboard works. Measure first; cutting twice wastes a panel.
Cut on a mat, blade away from your hands. Kids need an adult on the knife. Skip spray paint indoors without ventilation.
Measure
Measure head circumference. Add ½ inch (1.25 cm) so the hat goes on without crushing the cardboard. Pick crown height (usually 6–10 inches / 15–25 cm) and brim width beyond the crown (usually 1½–3 inches / 4–7.5 cm). Write the three numbers down.
Cut the brim and the top
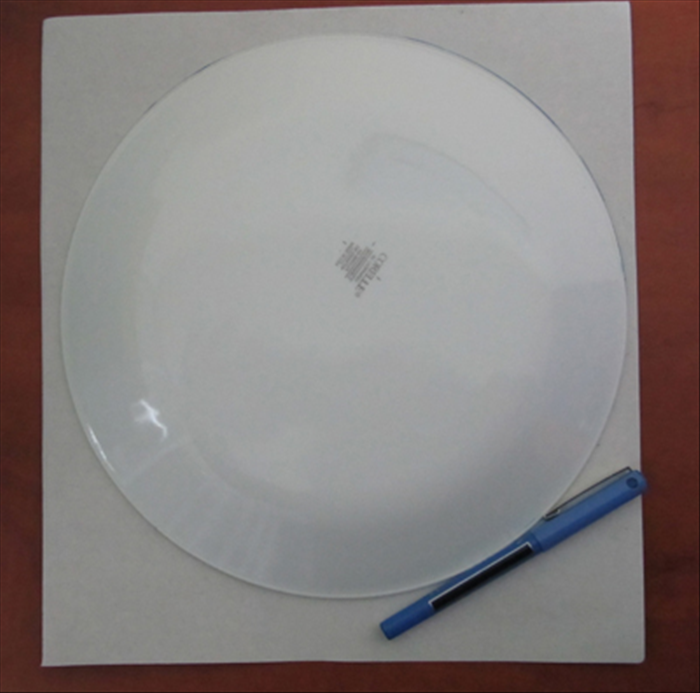
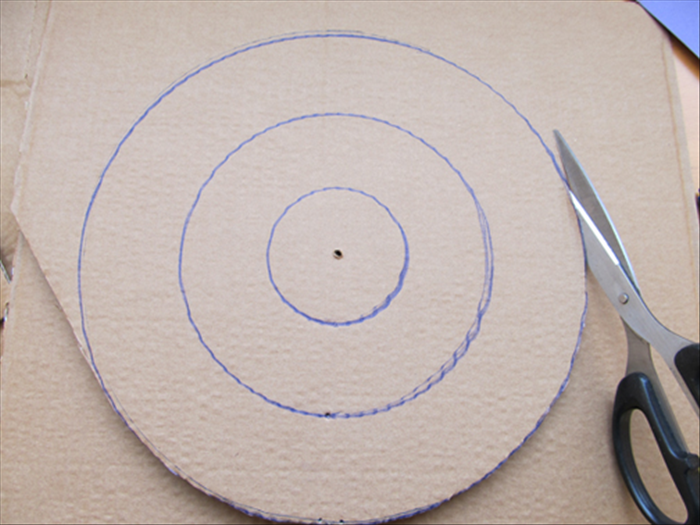
Inner brim hole: diameter = (head circumference + ½ inch) ÷ 3.14. Draw that circle, then a second circle around it, adding the brim width to the radius. Cut the outer circle and the inner hole so you have a ring.
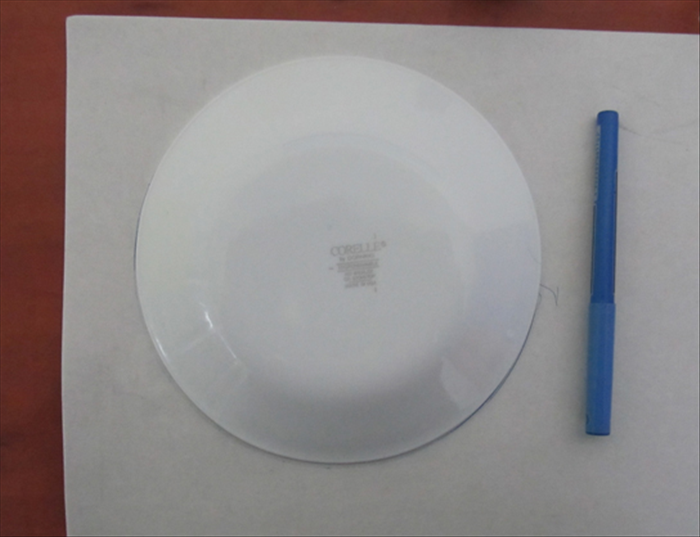
Top disk: one circle with the same diameter as the inner hole. You only need this one disk for the top of the crown (the head opening is the hole in the brim).
For a round cut, rotate the cardboard and use several light knife passes. Don’t try to slice the whole curve in one push.
Cut the crown rectangle
Length = head circumference + ½ inch comfort + 1 inch (2.5 cm) overlap. Height = chosen crown height + 1 inch (2.5 cm) for glue tabs. Example: 22 inch head, 8 inch tall hat → rectangle about 23.5 × 9 inches.
Roll the crown and cut tabs
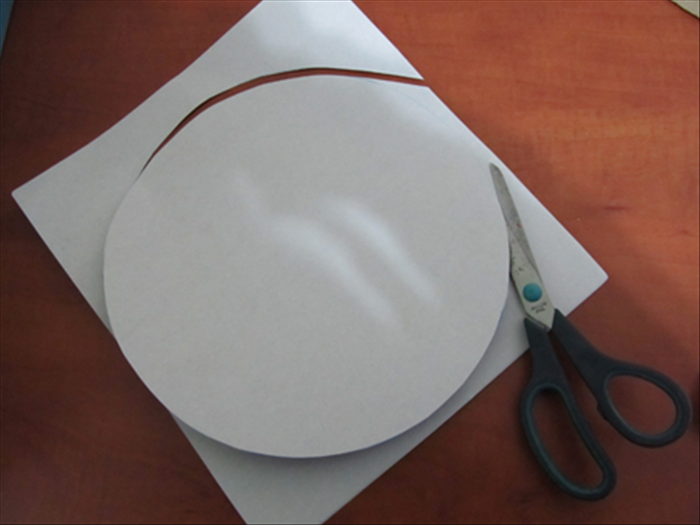
Pre-bend the rectangle so it wants to be a tube. Glue the short ends with a 1 inch overlap and hold until set (tape helps with slow glue). On the extra 1 inch of height, snip tabs every ½ inch (1.25 cm). Those tabs fold in to meet the top disk.
Glue on the top disk
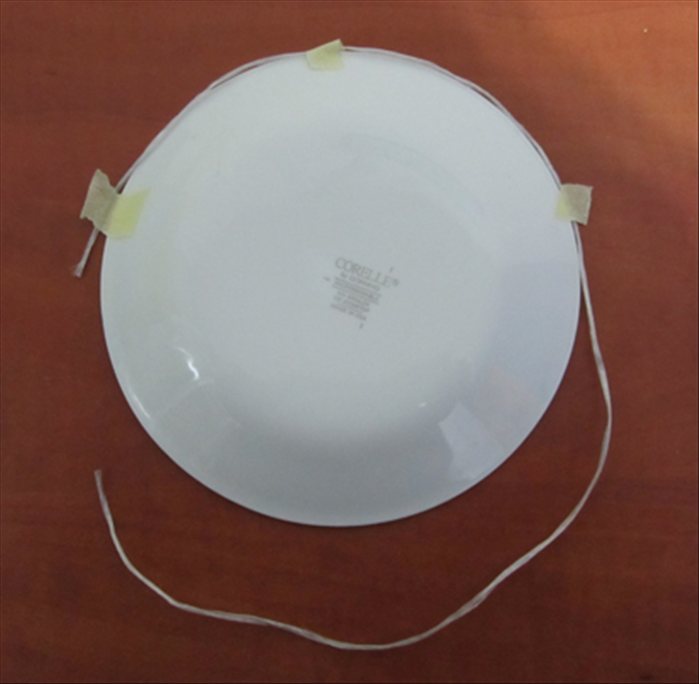
Fold the tabs inward. Put glue on the tabs, set the top disk on them from above, and press. Standing the cylinder upside down on the disk is often easier.
Glue on the brim
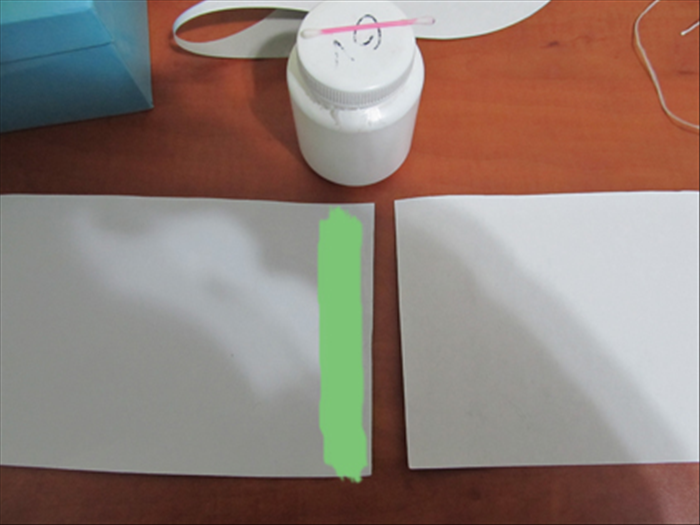
Run glue around the bottom edge of the crown. Center it on the brim hole so the cylinder stands straight. Hold until set. A second bead under the brim where it meets the crown helps.
Reinforce (optional)
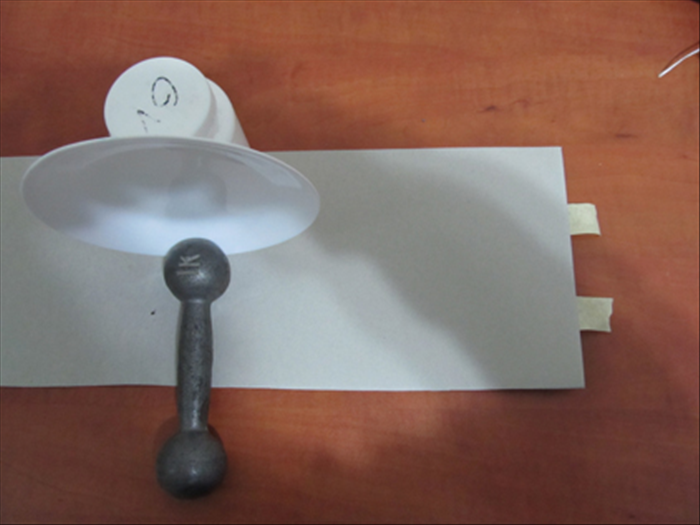
Glue a thin cardboard strip inside the top seam and another around the brim hole if the hat will be worn more than once. Paint or cover with paper after the glue is dry, not before.
Finish
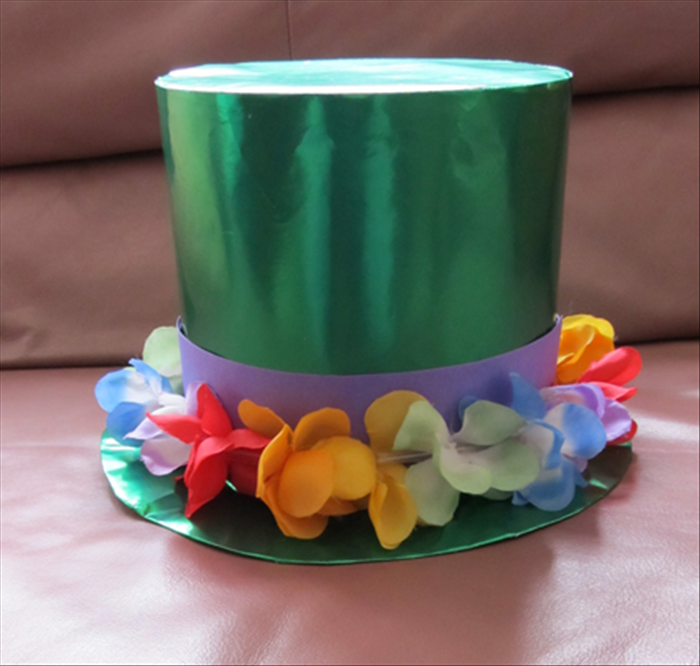
A paper band around the base of the crown hides the brim joint. Skip feathers and gems unless the costume needs them; they are not part of the hat structure. Related: cardboard Chinese hat (guide 6250).
If it rubs, glue a strip of fabric or foam around the inside of the crown at the forehead.