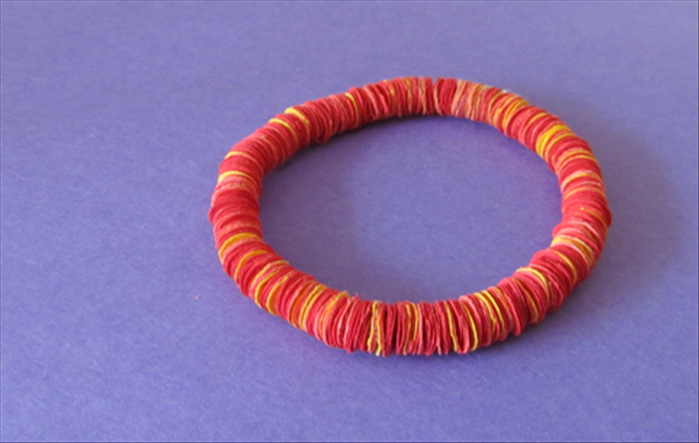
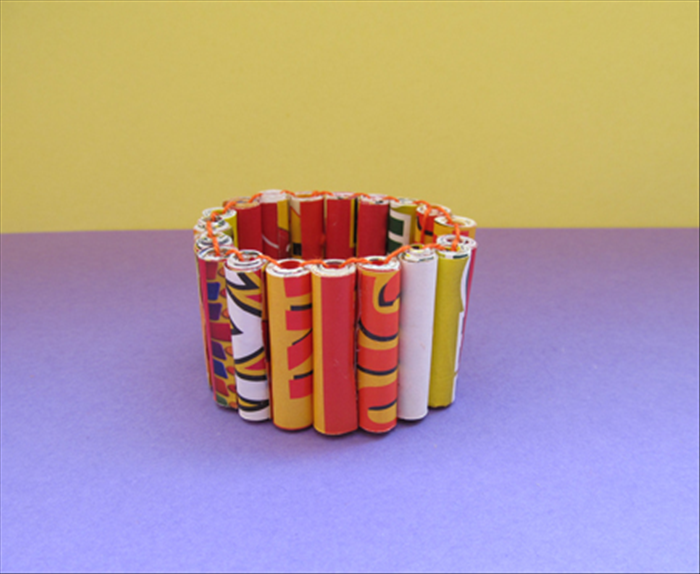
How to Make Paper Bracelets: Easy Kids' Paper Craft Guide
Create colorful, easy paper bracelets with this fun DIY craft guide for kids! Simple step-by-step instructions and safety tips included.
What You'll Need
- Colored paper or construction paper
- Craft glue or tape (school glue, glue stick, or clear tape)
- Scissors (child-safe recommended)
- Ruler
- Pencil
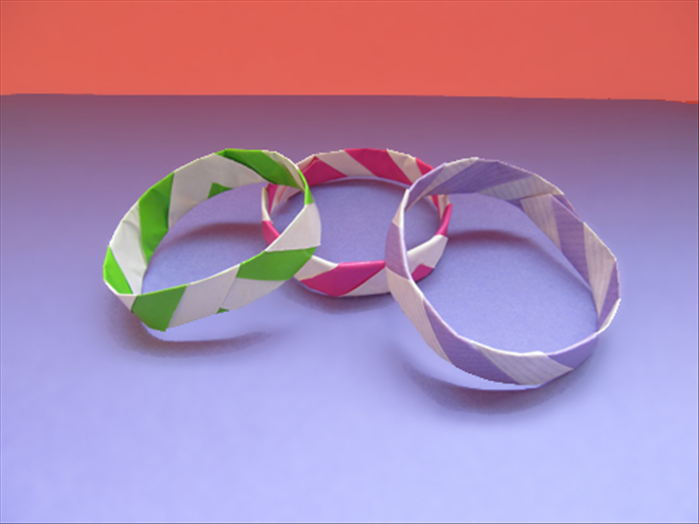
Make paper bracelets with colored paper, glue, and scissors. This craft is suitable for kids with adult supervision.
Step 1: Prepare Paper Strips
Measure and mark strips on the paper: 1 inch (2.5 cm) wide and 8-10 inches (20-25 cm) long. Cut along the lines with scissors.
Step 2: Form the Bracelet Base
Take one strip and curve it into a circle. Wrap it around your wrist to check the fit – it should be snug but not tight. Overlap the ends by about 1 inch (2.5 cm) and glue or tape them together. Hold for 30 seconds to secure.
Step 3: Decorate the Bracelet
Use markers, crayons, or paint to add patterns, stripes, or shapes. You can also glue on stickers or small beads. Let the decorations dry completely before wearing.
Step 4: Wear and Enjoy
Slide the bracelet onto your wrist. If it feels loose, make a new one with a shorter strip. If it's too tight, add a small extension piece by gluing another strip to the ends.
Tip: Vary the Width
Cut strips of different widths – 0.5 inch (1.25 cm) for delicate bracelets or 2 inches (5 cm) for a bolder look.
Safety Note
Use child-safe scissors. Adult supervision is required for younger children, especially when cutting or using glue.