How to make a lizard from beads.
This guide will show you how to string beads to form a cute lizard. You can keep it as a pet or hang it on a necklace, keychain or book bag.
Easy 18,589 views
What You'll Need
- beads
- lizard
- necklace
- key chain
- kids crafts
- children's crafts
- bead animals
Steps
- 1
Step 1
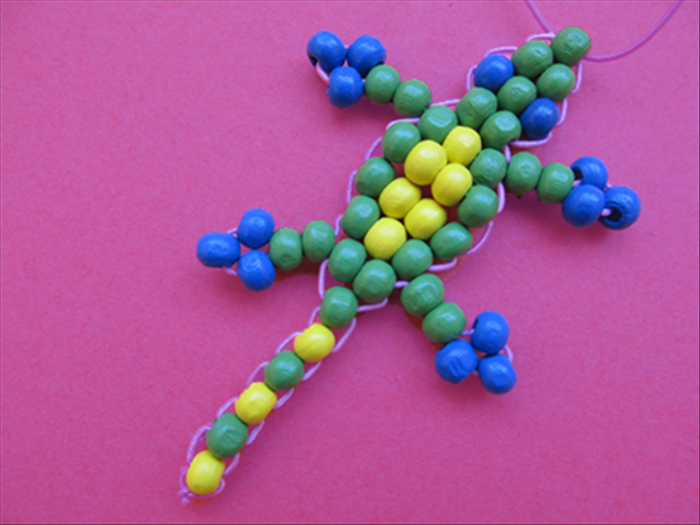 Materials: 50 beads with holes wide enough for the string to pass easily through twice 27 beads for the base color – green was used in this guide 14 beads of a darker color for the feet and eyes 9 beads for the accent color String – 26 inch length string was used in the guide for 1/8 inch wide beads.
 - 2
Step 2
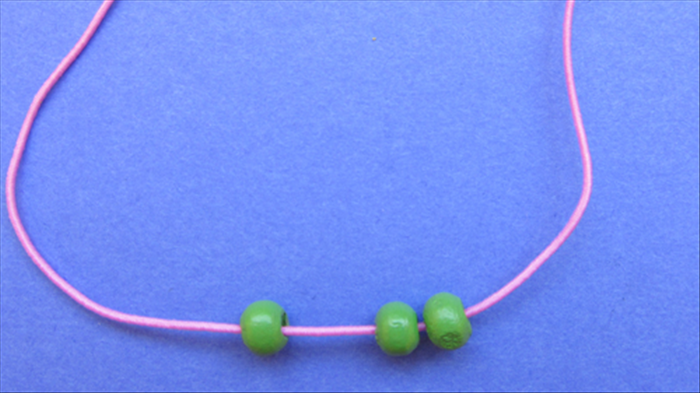 String 3 green beads to the middle of the string.
 -
- 3
Step 3
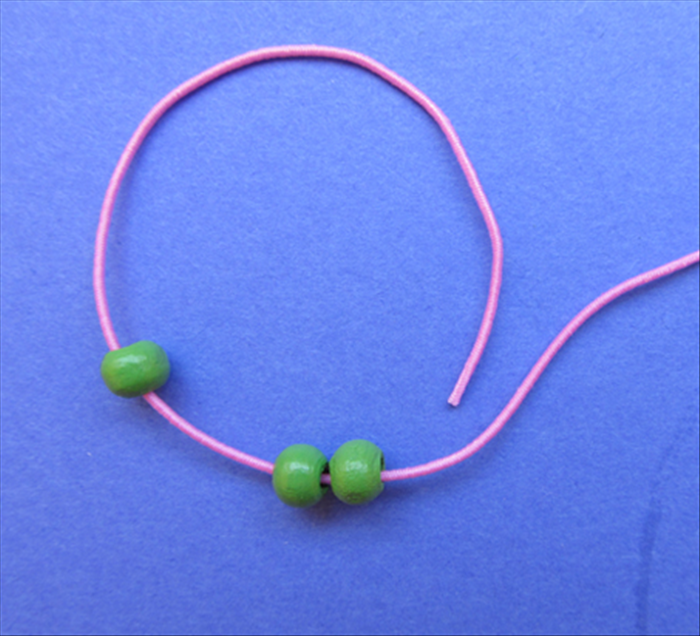 Take the left end of the string and insert it into and through the 2 beads from the right side.
 - 4
Step 4
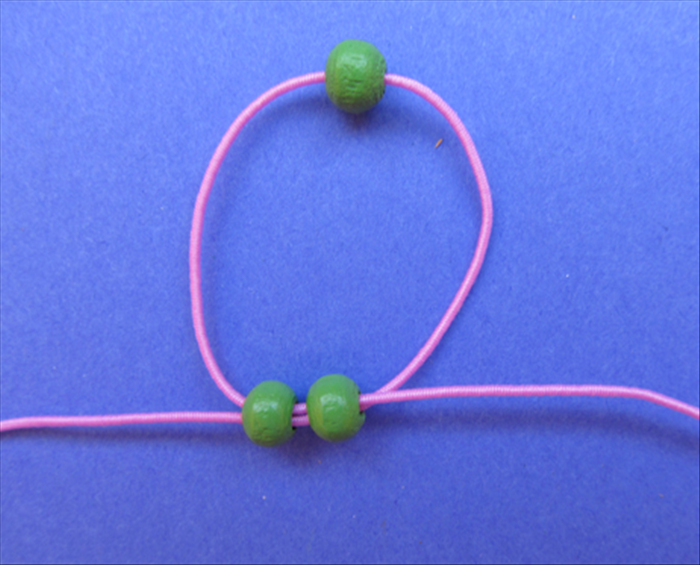 Result. Pull the ends of the strings until the 2 beads are pushed up against the single bead.
 - 5
Step 5
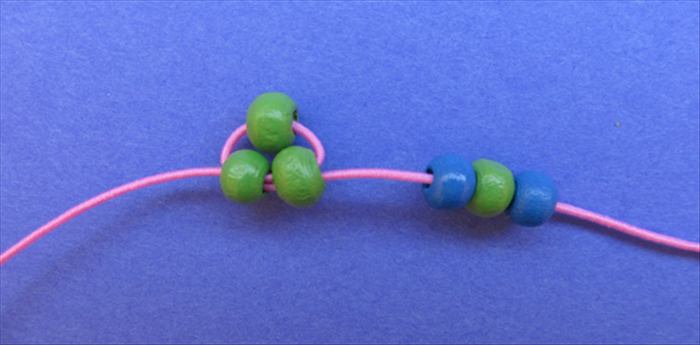 Put 1 blue, 1 green and then another blue bead on the right string.
 - 6
Step 6
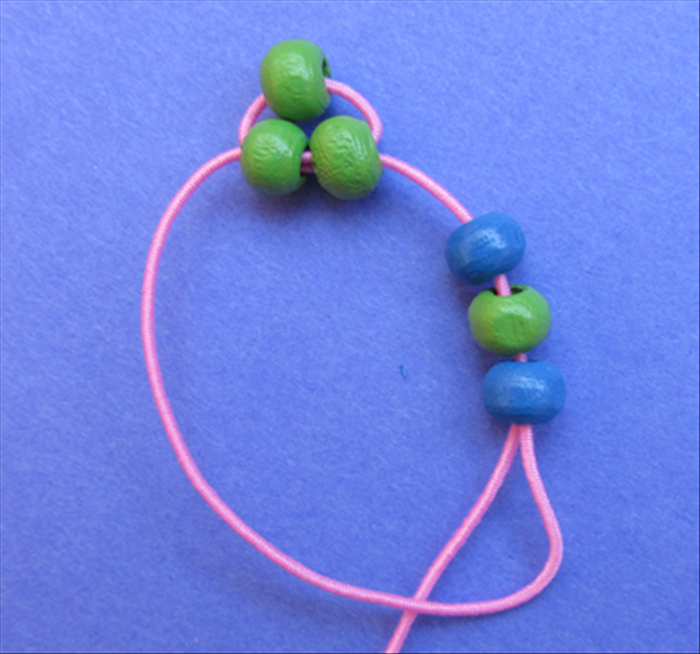 Bring the end of the left string around, into and through the right side of the 3 beads. Pull the end until the beads straighten out under the 2 beads on top. See the next picture for result.
 - 7
Step 7
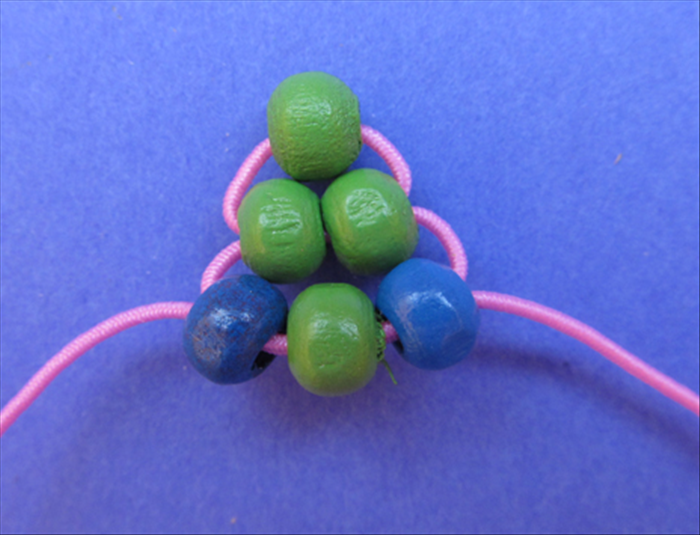 Result
 - 8
Step 8
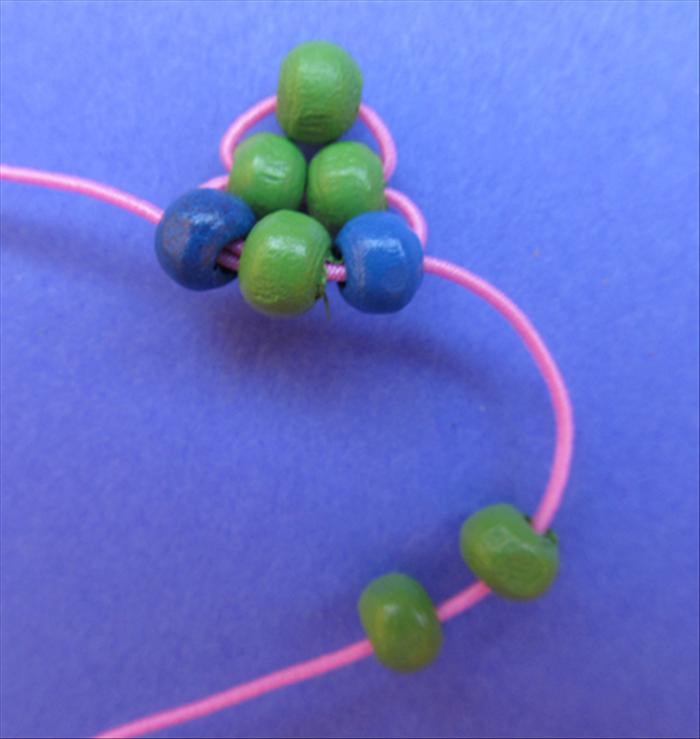 String 2 green beads on the right string.
 - 9
Step 9
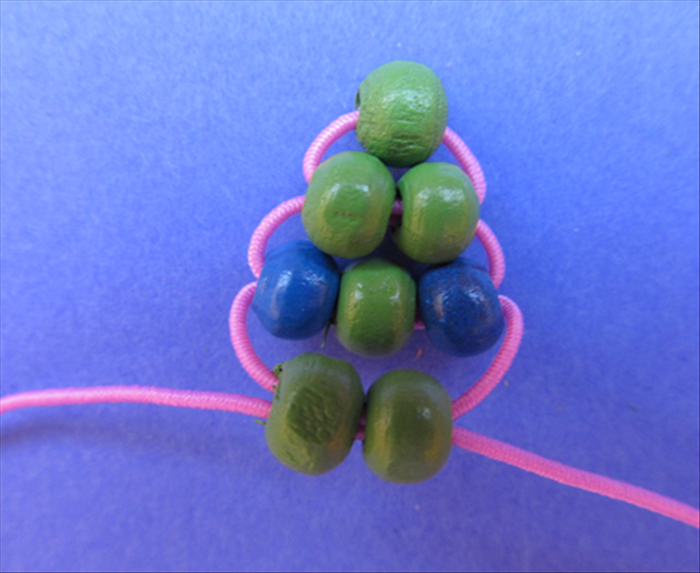 Repeat the same process of inserting the left string through the right side and tightening until the beads come up against the last row.
 - 10
Step 10
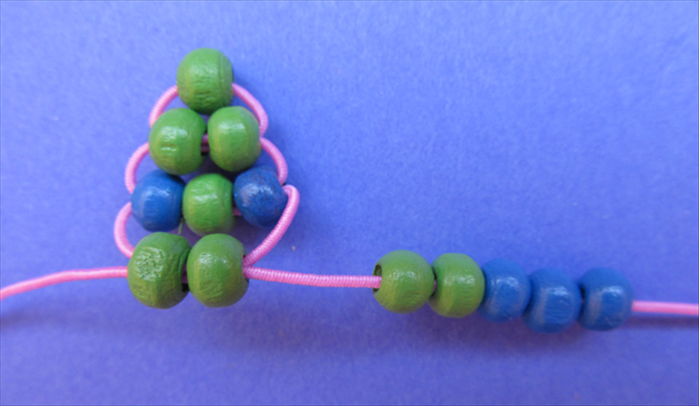 Now we will make the legs. Insert 2 green beads and 3 blue beads on the right string.
 - 11
Step 11
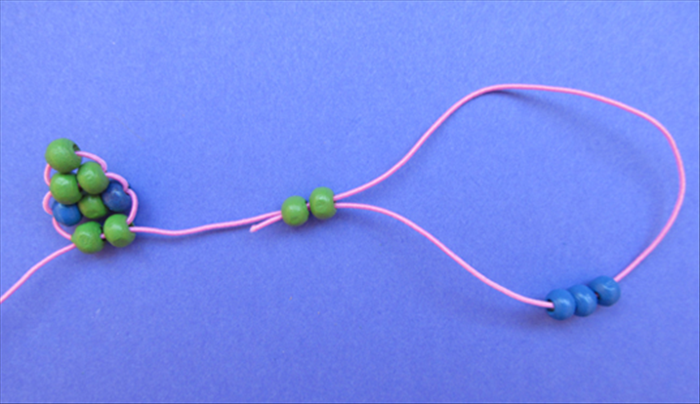 Bring the end of the same string around and through the right side of the 2 green beads.
 - 12
Step 12
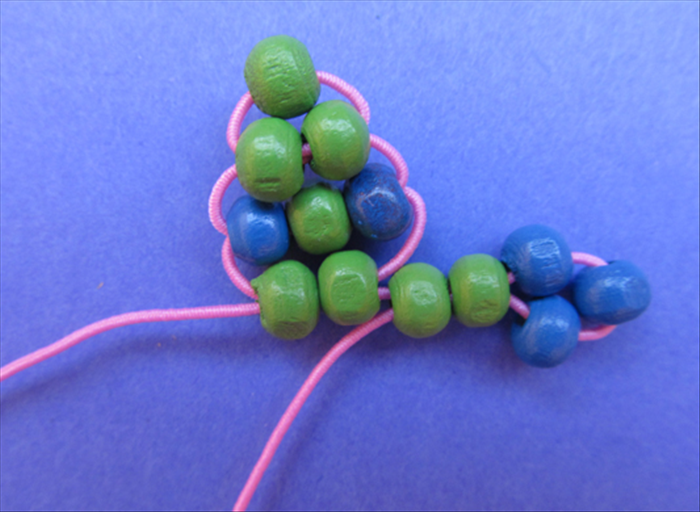 Pull the end of the string to tighten and move the beads up against the right side of the lizard.
 - 13
Step 13
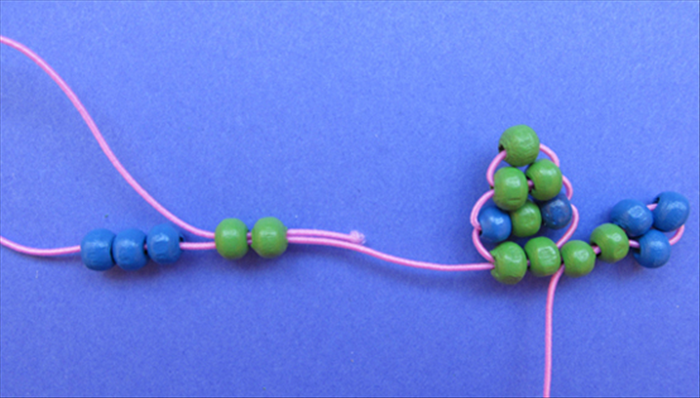 Insert 2 green beads then 3 blue beads on the left side. Insert the end of the left string into and through the 2 green beads from the left side. Pull the end of the string to tighten and move the beads up against the right side of the lizard.
 - 14
Step 14
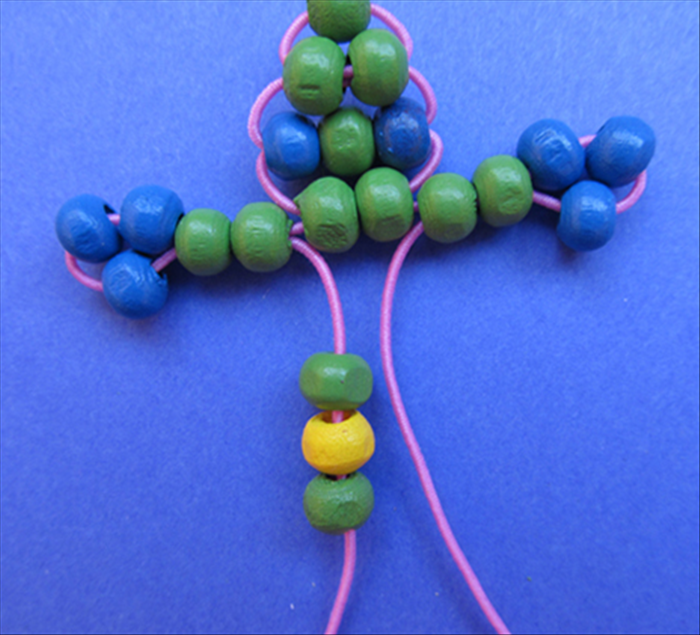 Insert 1 green, 1 yellow and then 1 green bead on the left string.
 - 15
Step 15
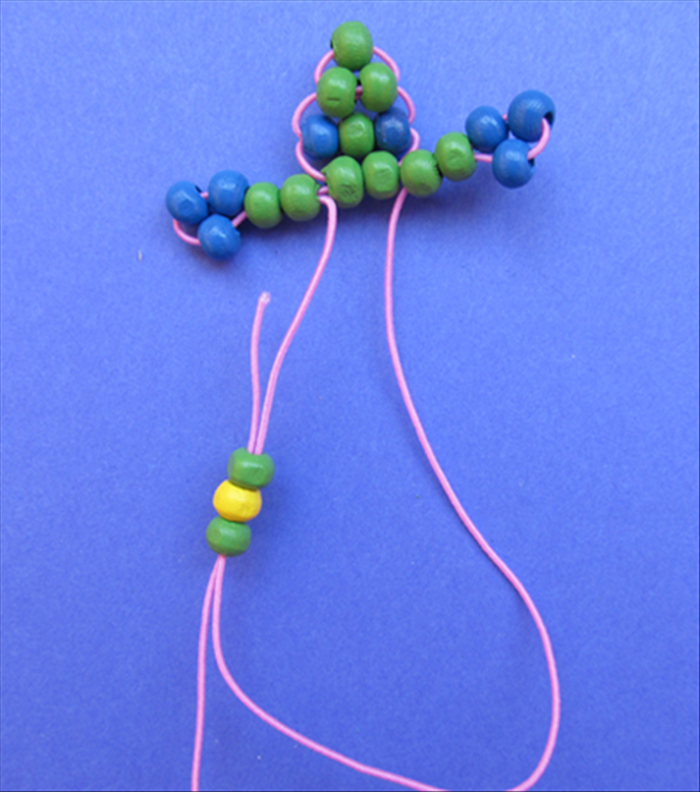 Insert the right string through the bottom of the beads. This is the same procedure used for every row (besides the legs). The beads are on one string and the second string is inserted through them from the side of the end of the string they are on.
 - 16
Step 16
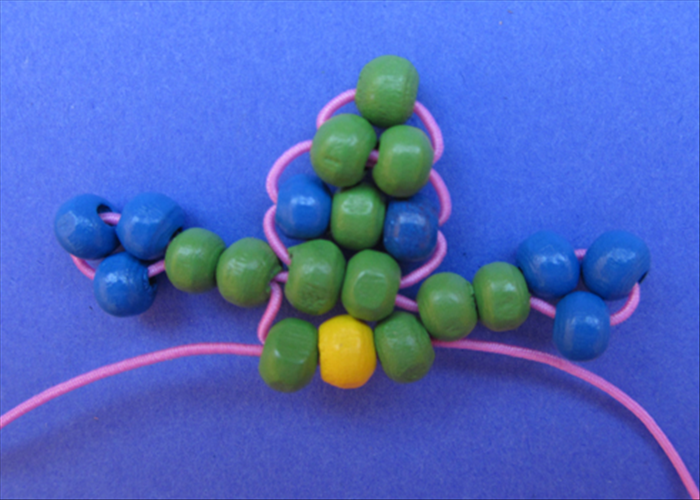 Tighten to move the beads up under the last row.
 - 17
Step 17
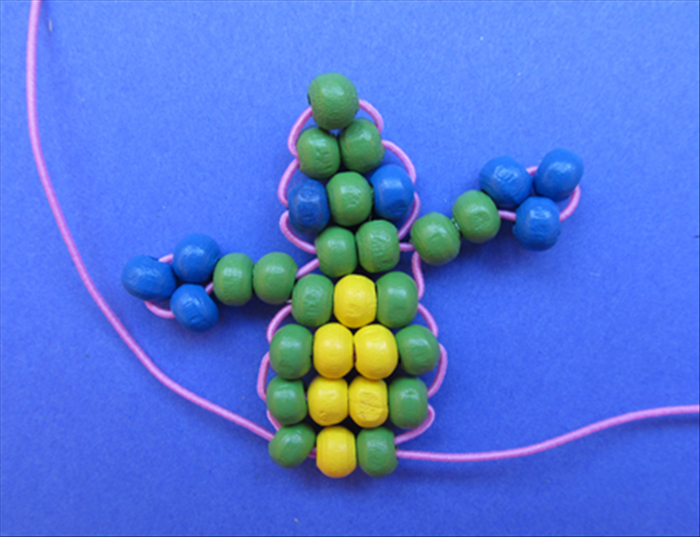 Repeat the process of inserting the second string through the beads by way of the opposite end. The next two rows use 1 green 2 yellows and one green. The row after that uses 1 green 1 yellow and 1 green.
 - 18
Step 18
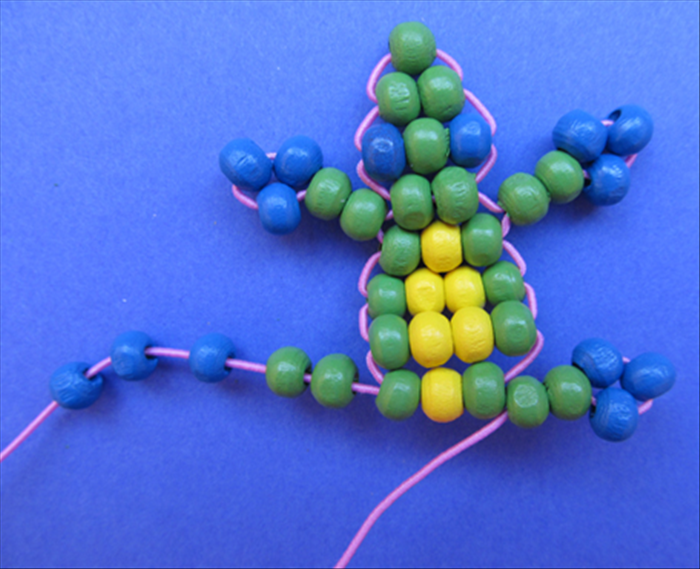 Now repeat steps 10 to 13 to make the bottom legs
 - 19
Step 19
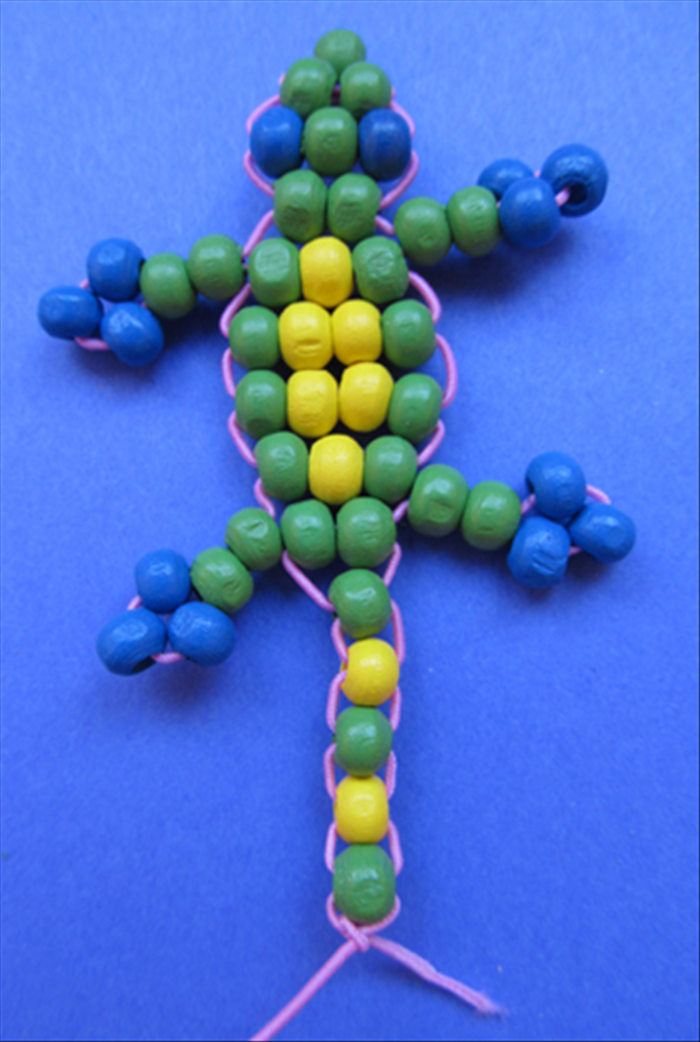 Add a row of 2 green beads. Then add a row of 1 green bead. Then 4 more rows in the order of yellow, then green, then yellow, then green. Now all you have to do is tie a double knot and cut off the excess string.
 - 20
Step 20
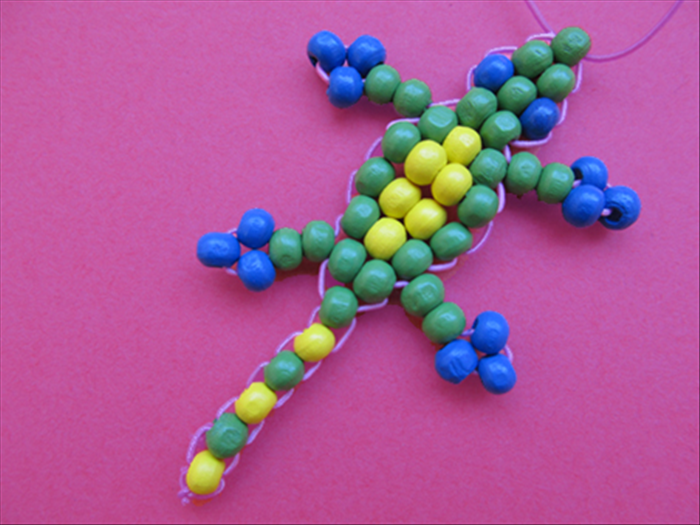 Your new pet is ready. Insert another string into the top bead for a necklace or to tie the lizard to your keys or book bag.