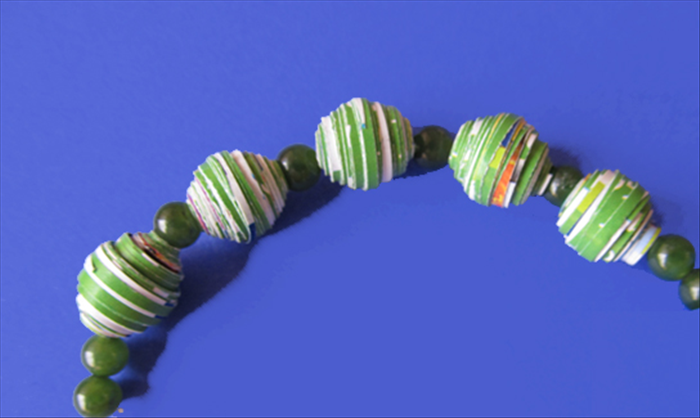
How to Make Round Rolled Paper Beads: Easy DIY Craft Guide
Learn how to create beautiful round beads from rolled up paper strips. This easy DIY guide shows you step-by-step how to make unique paper beads from recycled materials for jewelry and crafts.
Unlock your creativity and give old paper new life by crafting beautiful, unique round rolled paper beads! This eco-friendly and affordable DIY project is perfect for beginners and seasoned crafters alike. Whether you're looking to make personalized jewelry, unique embellishments, or simply enjoy a relaxing craft, learning how to make paper beads is a rewarding skill. You can transform everything from old magazines and calendars to junk mail into stunning, customizable paper jewelry and accessories. This guide will walk you through each step, ensuring you create perfect handmade paper beads every time.
Prepare Your Paper Strips
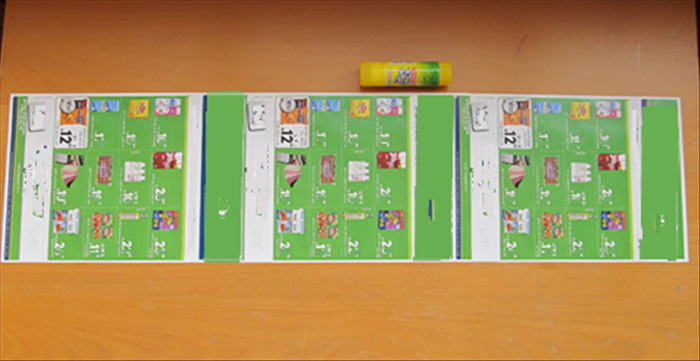
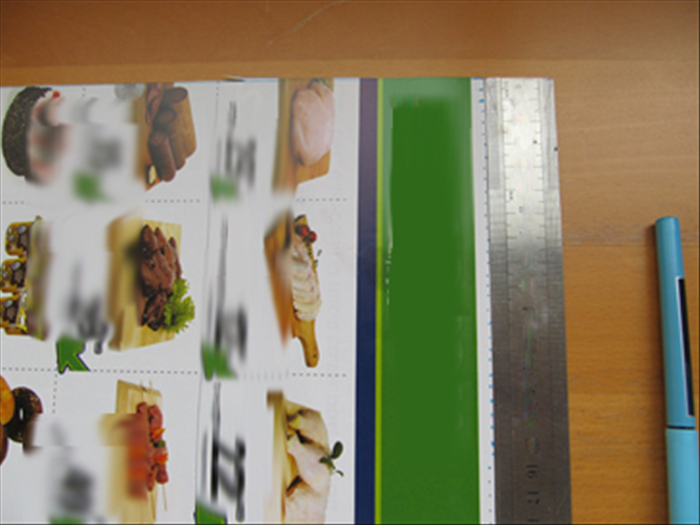
The foundation of a great round paper bead is a perfectly cut paper strip. For beautiful, unique handmade paper beads, choose paper with interesting patterns or colors. Old magazines, calendars, or even junk mail are fantastic options for recycled paper beads. For round beads, you'll want strips that are wider at one end and taper to a point. A good starting point is a strip approximately 1 inch (2.5 cm) wide at the base and 8-10 inches (20-25 cm) long. Use a ruler and pencil to mark out your triangular strips on the back of your chosen paper, then carefully cut them out using scissors or a paper cutter for clean, consistent edges. Precision here helps create beautifully shaped beads.
Experiment with different paper types and colors! Glossy magazine pages produce vibrant, shiny beads, while matte paper can give a more subtle, rustic look. Thicker paper like cardstock will result in larger, more robust beads.
Roll Your Paper Beads
Now for the magic! Transforming your flat paper strips into elegant round paper beads is simpler than you think. Take one of your cut paper strips. Place the widest end of the strip around a toothpick or a thin skewer, ensuring the paper is flush with the edge of your rolling tool. Begin to roll the paper tightly and evenly. As you roll, make sure to keep the edges of the strip aligned to prevent your bead from becoming lopsided. The tapering shape of the paper strip will naturally form a beautiful round or slightly conical bead. Once you've rolled almost to the end, apply a small amount of craft glue or Mod Podge to the pointed tip of the strip and firmly press it down to secure the bead.
For a perfect roll, maintain consistent tension. Rolling too loosely will result in a fragile bead, while too tight can make it difficult to remove from the skewer.
Seal and Dry Your Beads
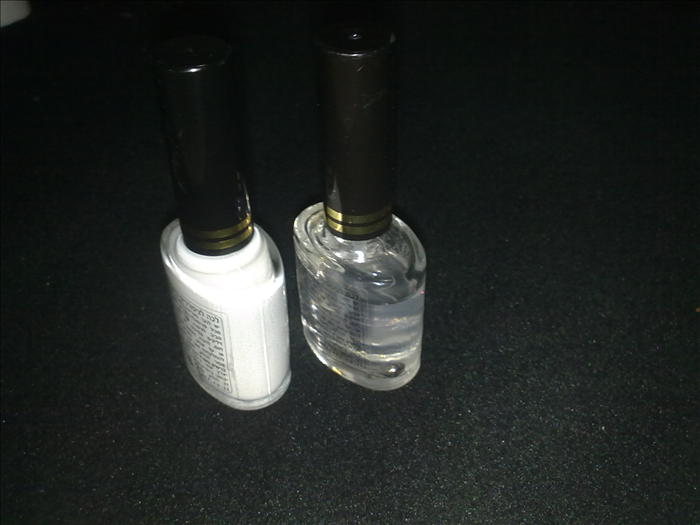
To protect your DIY paper beads and give them a professional, durable finish, sealing is key. Carefully slide your freshly rolled paper bead off the toothpick. You can use the toothpick to hold the bead while applying sealant. Brush on a thin, even coat of your chosen sealant—clear nail polish, a craft glaze, or even more Mod Podge. This step adds durability, moisture resistance, and a lovely glossy appearance, making your paper beads suitable for jewelry making. Once sealed, place the beads on a non-stick surface (like wax paper or a piece of foil) and allow them to dry completely. Drying time will vary depending on the sealant used, so check the product instructions.
Ensure beads are completely dry before using them in jewelry or storing them to prevent sticking or damage to the finish.
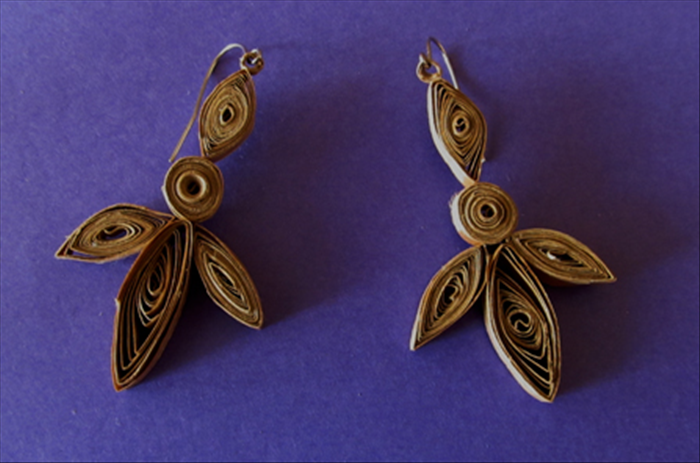
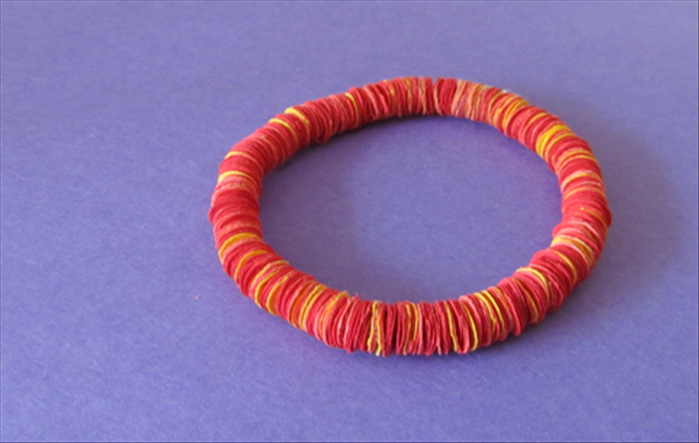
Congratulations, you've just created your own beautiful rolled paper beads! These versatile handmade paper beads are perfect for necklaces, bracelets, earrings, or as embellishments for other craft projects. The possibilities are endless when you learn how to make round paper beads. Keep experimenting with different papers, strip sizes, and rolling techniques to discover new shapes and designs. Enjoy your journey into the wonderful world of paper bead crafts!