How to make an origami jewelry brooch
This guide will show you how to make a brooch with square pieces of paper and beads. The basic model can be used for flowers or decorating as well.
Easy 12,578 views
What You'll Need
- Jewelry
- paper jewelry
- origami jewelry
- origami brooch
- arts and crafts jewelry
Steps
- 1
Step 1
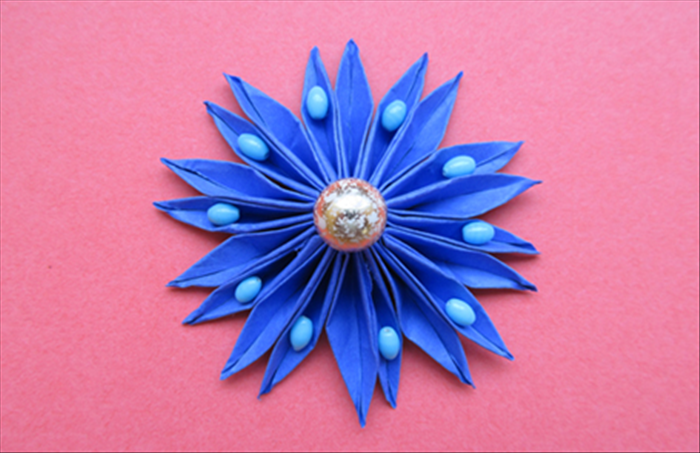 Materials: 10 small square pieces of paper White glue A brooch pin 1 small piece of cardboard A small round object such as a bottle cap Scissors Clothespin Rubberband Beads or decorative materials
 - 2
Step 2
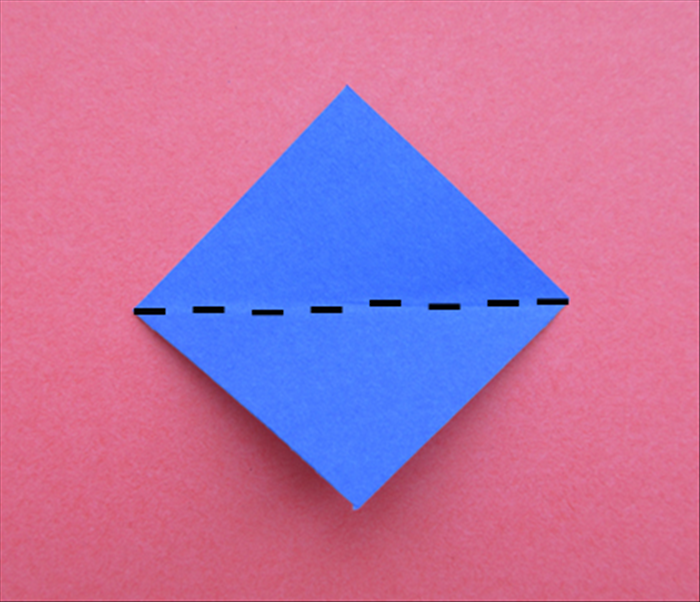 Hold the paper so that the points are at the top, bottom and sides. Fold in half horizontally. Unfold.
 -
- 3
Step 3
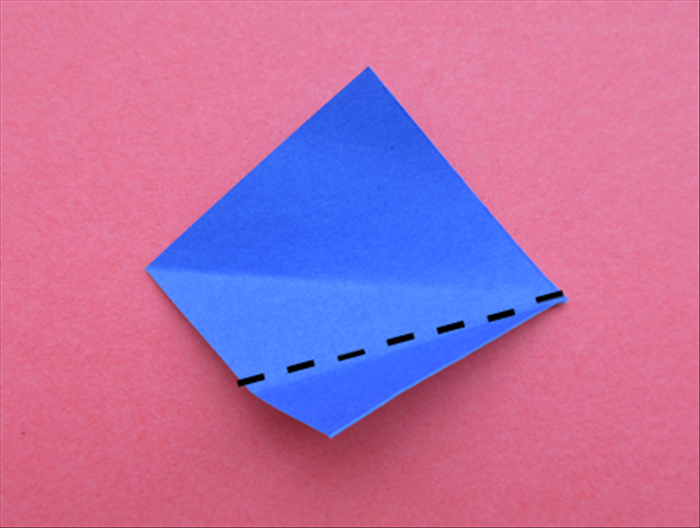 Fold the right bottom edge up to align with the center crease
 - 4
Step 4
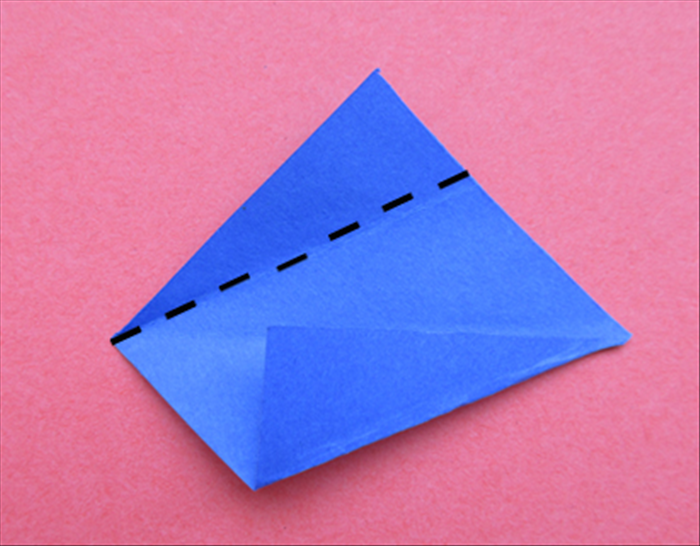 Fold the top left edge down to align with the center crease
 - 5
Step 5
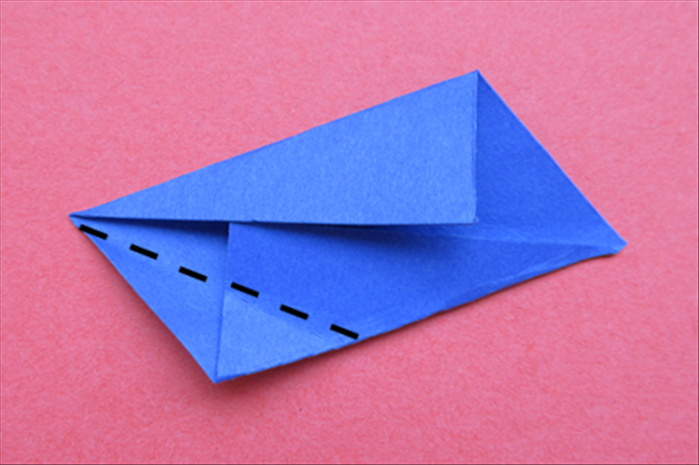 Fold the bottom left edge up to align with the center crease
 - 6
Step 6
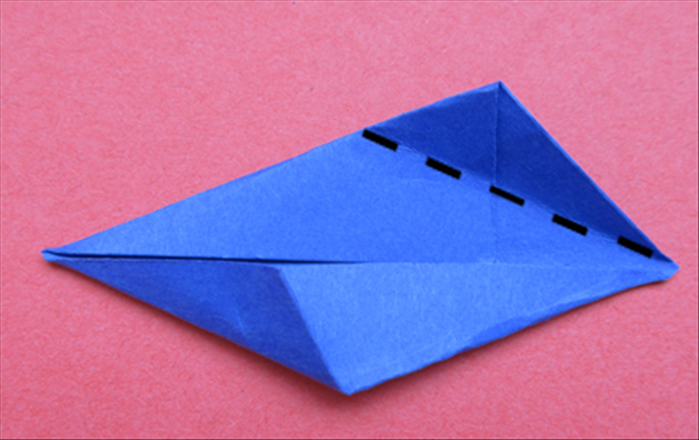 Fold the top right edge down to align with the center crease
 - 7
Step 7
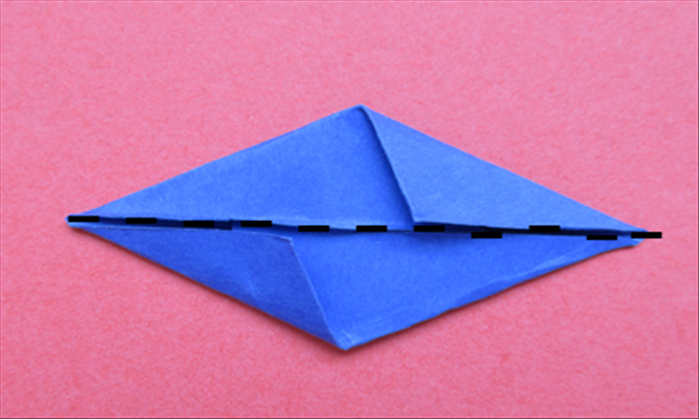 Result Fold in half horizontally
 - 8
Step 8
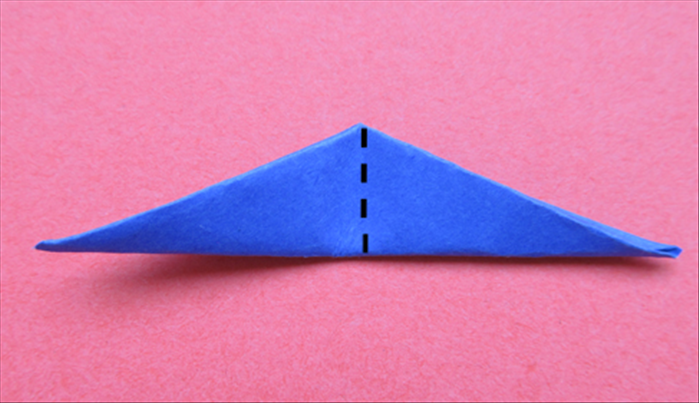 Result Fold in half vertically
 - 9
Step 9
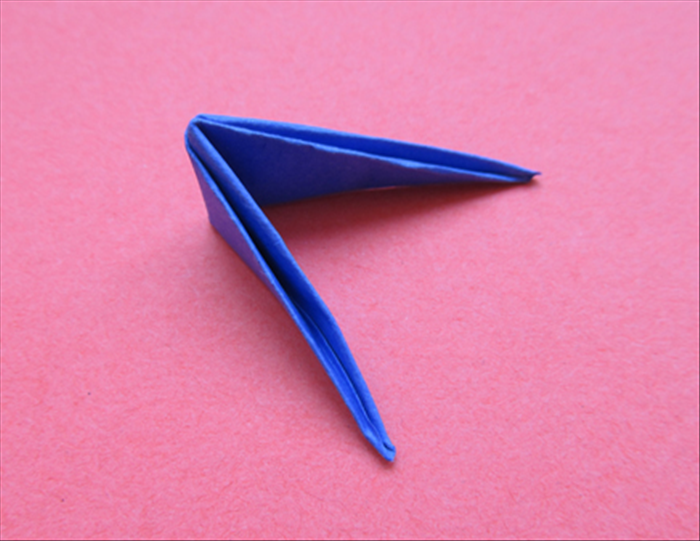 Result Fold the remaining 9 squares the same way
 - 10
Step 10
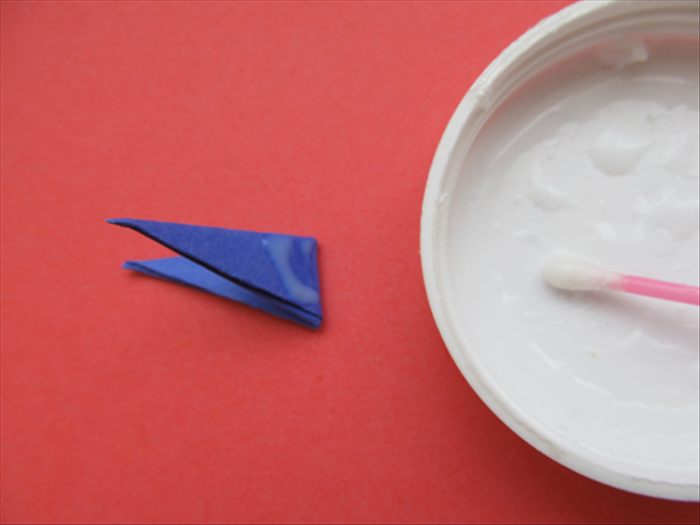 Put white glue at the folded end to about ¼ of the way up
 - 11
Step 11
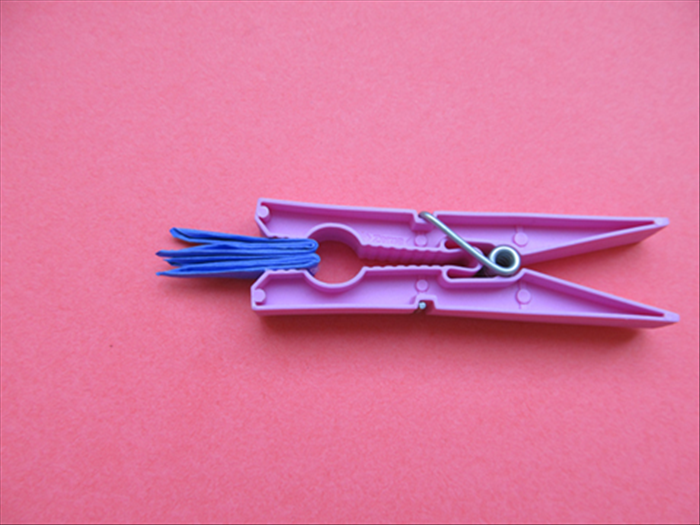 Align another folded piece with the glued one Make sure they are both facing the same way Hold them together with a cloths pin until they are completely dry. Repeat applying glue only ¼ of the way from the folded end for the other 8 folded piece to get 4 pairs glued together
 - 12
Step 12
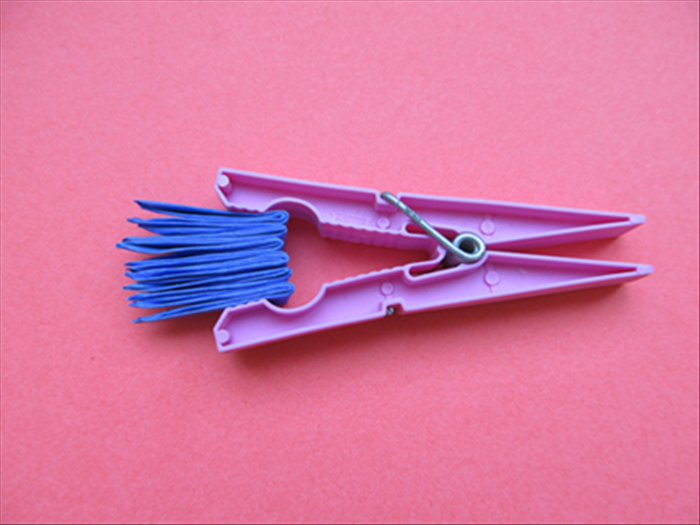 Glue 2 of the pairs together – remember only apply glue ¼ of the way from the folded end Make sure they are all facing the same way and aligned Let the glue dry completely
 - 13
Step 13
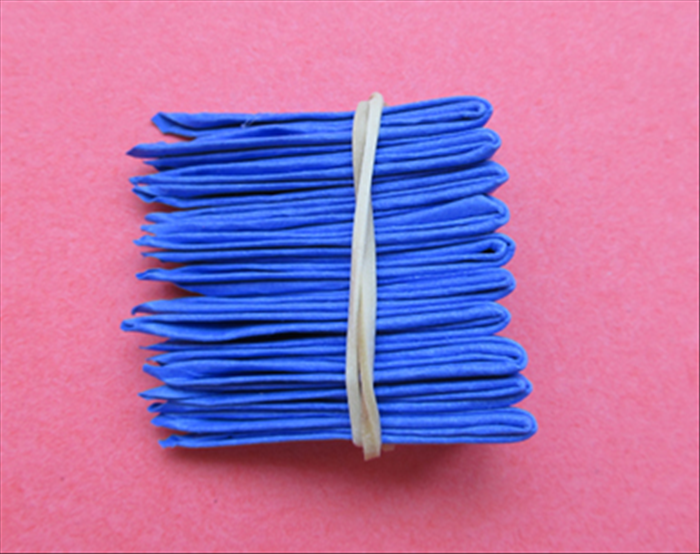 Glue them all together by applying glue only ¼ of the way from the folded end Hold them in place with a rubber band until the glue is completely dry
 - 14
Step 14
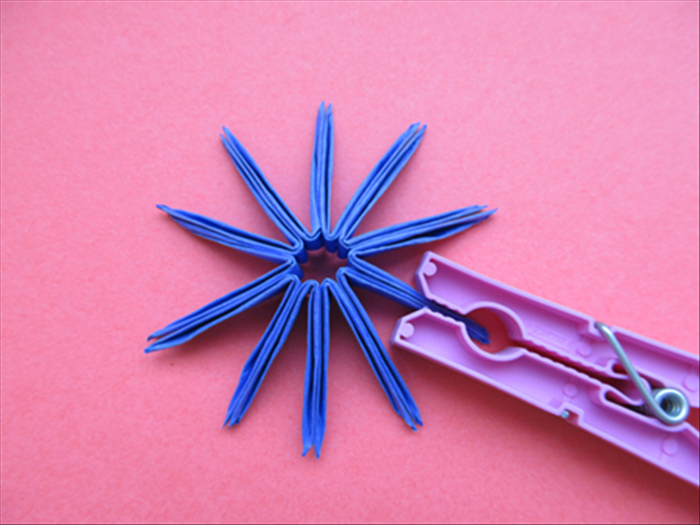 When the glue has dried remove the rubber band. Spread the pieces open and bring the ends around. Glue them together – ¼ of the way from the folded end Hold it together with a clothespin until the glue is completely dry
 - 15
Step 15
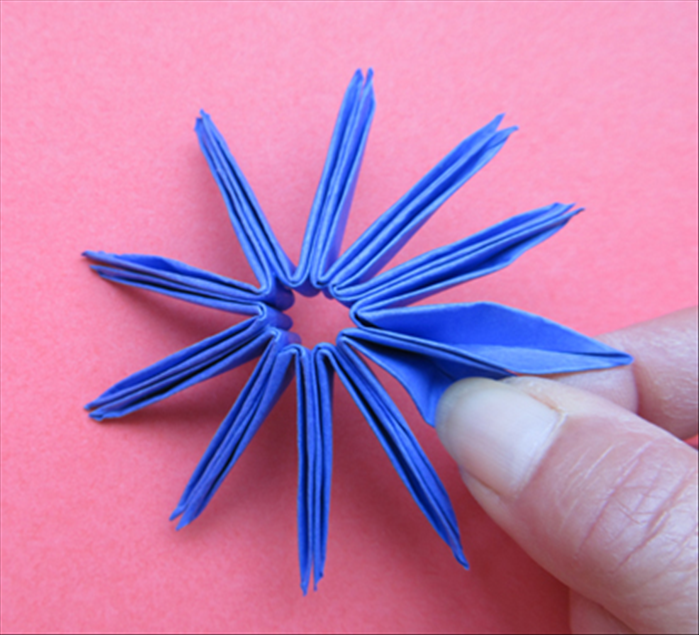 Separate each folded piece and squeeze the unglued area to flatten the bottom
 - 16
Step 16
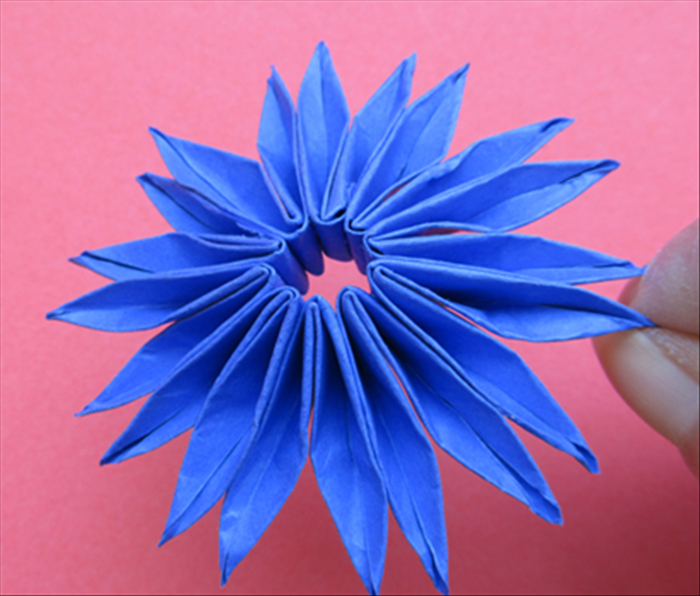 Pinch the tips
 - 17
Step 17
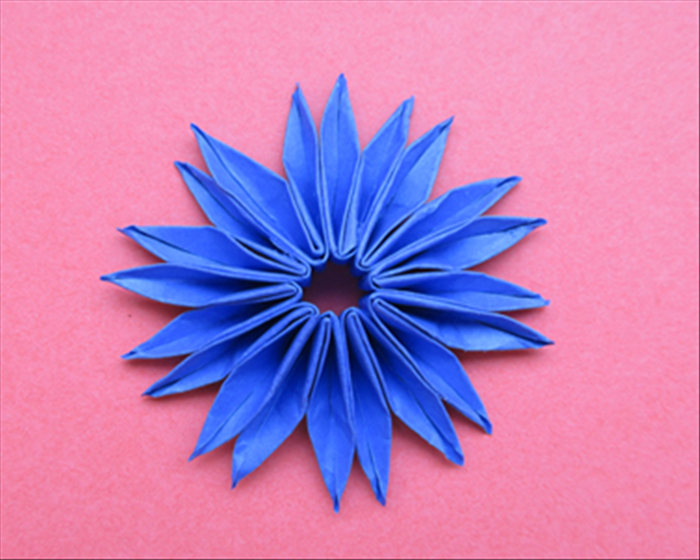 Result
 - 18
Step 18
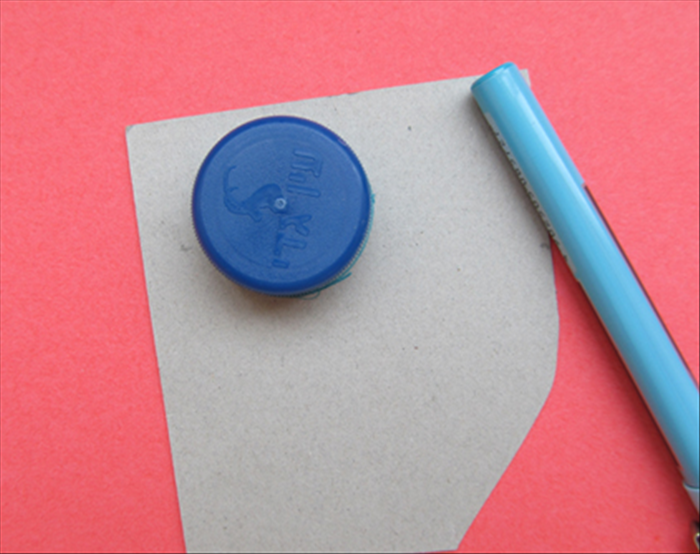 On a piece of cardboard draw a circle around the bottle cap or small circular object Cut out the circle
 - 19
Step 19
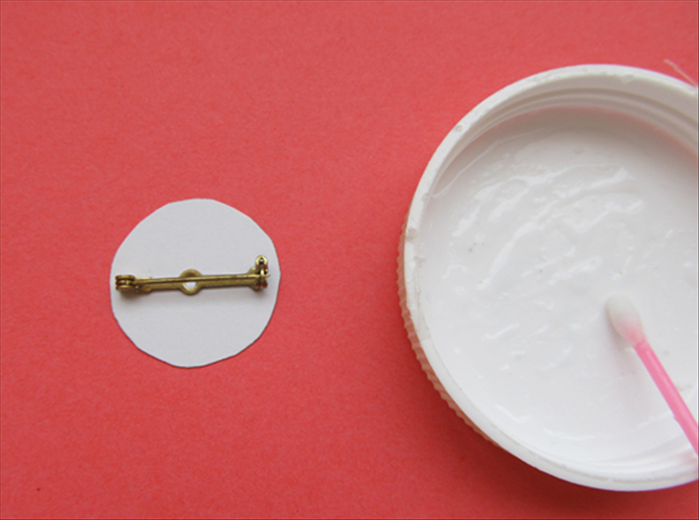 Glue the jewelry finding to the circle. Let the glue dry completely
 - 20
Step 20
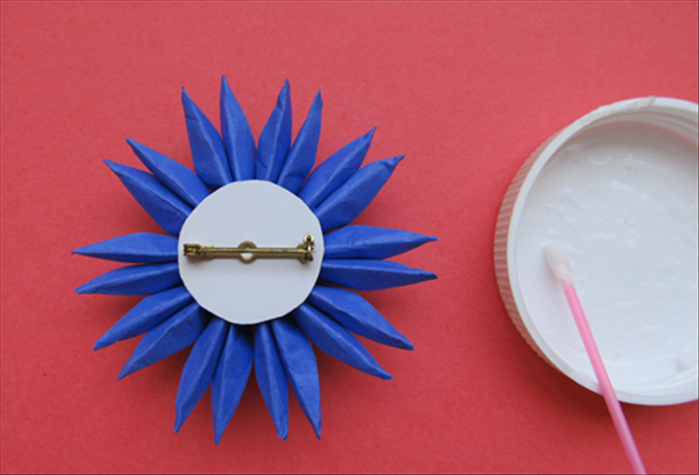 Glue the circle to the back of the brooch and let the glue dry completely Turn it over and have fun decorating your brooch with beads and decorative materials Enjoy!