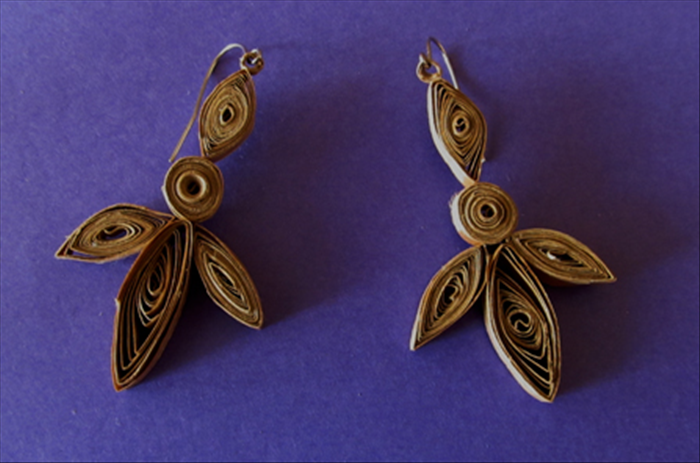
DIY Paper Bag Jewelry: How to Make Filigree Earrings with Paper Quilling
Turn paper bags into eco-friendly filigree earrings using paper quilling. Step-by-step instructions for a wood-like finish with lacquer.
What You'll Need
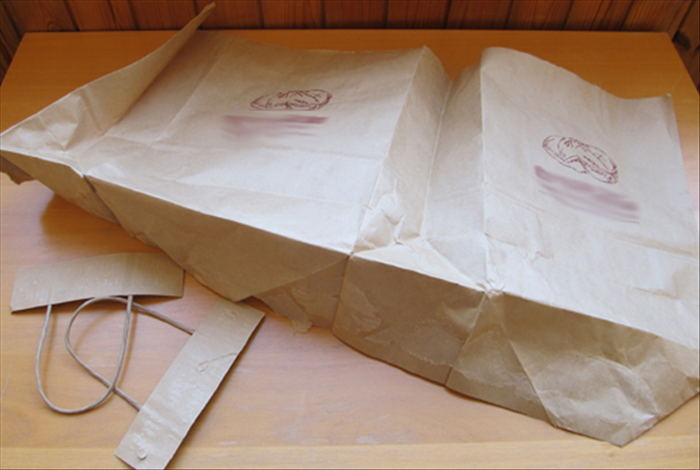
- Brown paper bags
- White craft glue (PVA)
- Clear lacquer or varnish
- Earring hooks or posts
- Wax paper or non-stick surface
- Paper trimmer or craft knife with ruler
- Self-healing cutting mat
- Quilling tool (slotted or needle)
- Tweezers
- Small paintbrush
Make filigree earrings from paper bags using quilling techniques. The finished pieces look like wood after lacquering.
Step 1: Cut Paper Strips
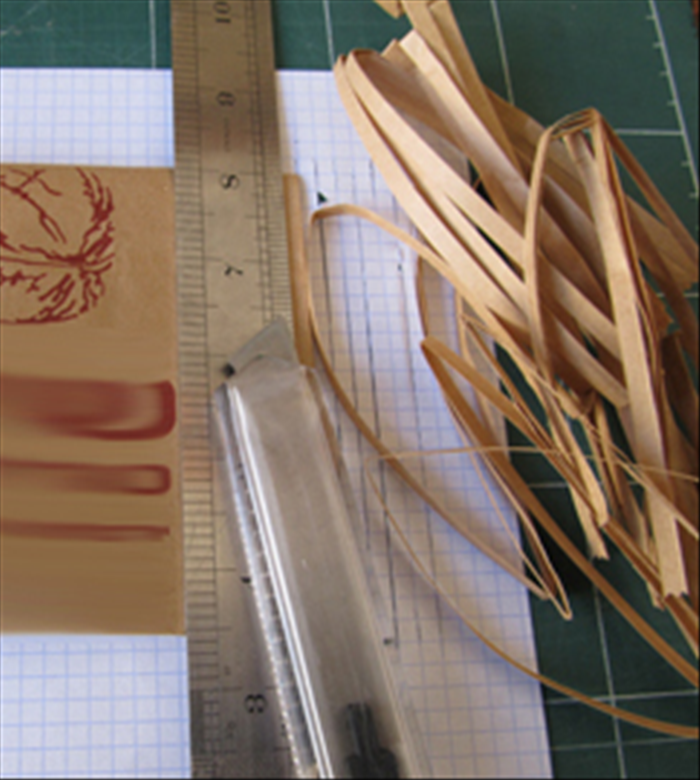
Cut paper bags into strips 1/8 inch (3mm) to 1/4 inch (6mm) wide. Use a paper trimmer or craft knife with a ruler on a cutting mat.
Tip: Uniform Strips
Mark the bag with a ruler and pencil before cutting. For very thin strips, a paper shredder may work.
Step 2: Make Basic Coils
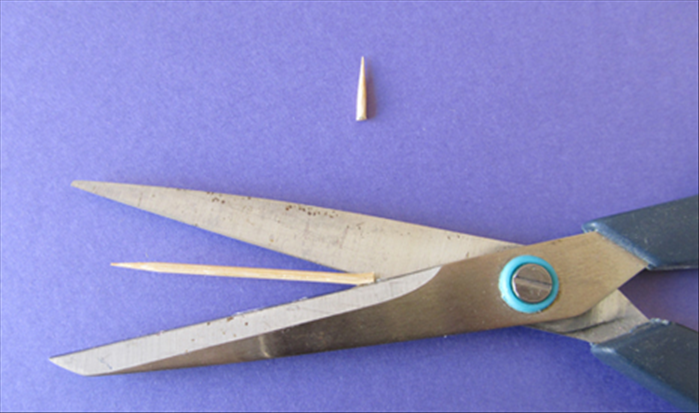
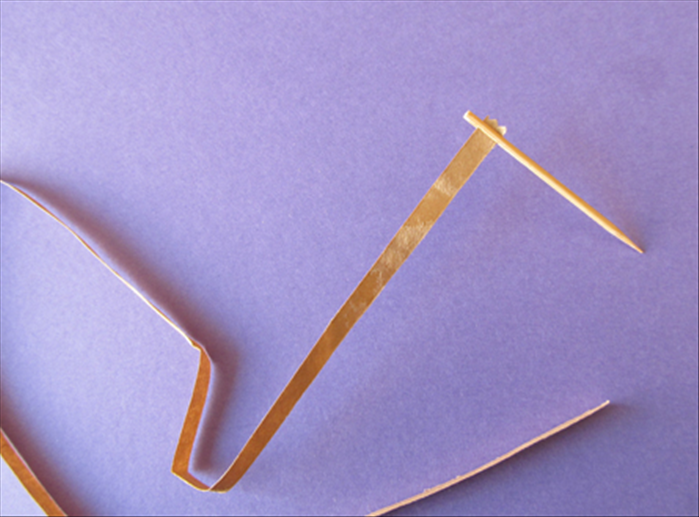
Insert one end of a strip into the quilling tool slot (or wrap around a needle tool). Roll tightly, then release to form a loose coil. Glue the end to secure.
Step 3: Shape Filigree Elements
Pinch coils into shapes: teardrop (pinch one side), marquise (pinch both sides), or square (pinch four sides). Create multiple shapes for your design.
Step 4: Assemble Earrings
Arrange shapes on wax paper. Apply small amounts of PVA glue at contact points. Let dry completely. Attach earring hooks or posts with glue.
Step 5: Seal with Lacquer
Apply a thin coat of clear lacquer or varnish with a small paintbrush. Let dry. Add a second coat for durability. Allow to cure fully before wearing.
Warning
Work in a well-ventilated area when using lacquer. Keep away from open flames. Do not wear earrings until lacquer is completely dry to avoid skin irritation.