How to make a bracelet from junk mail – children’s crafts
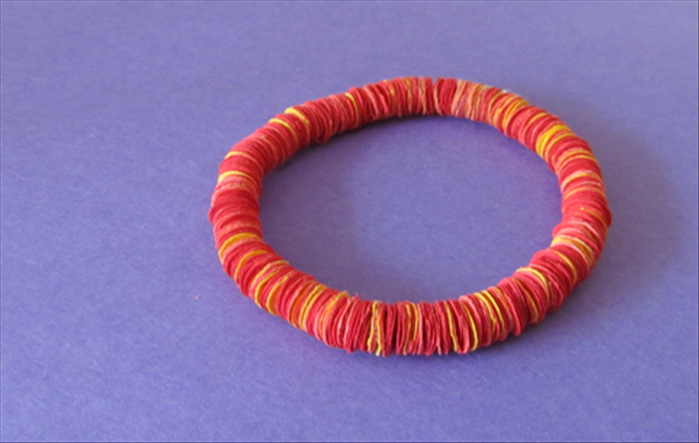
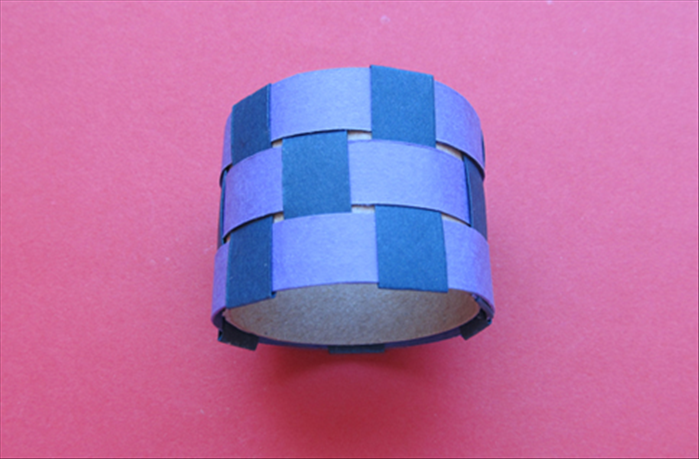
This is another fun way to make good use of your junk mail. You can make bracelets or if you are very ambitious you can make many as napkin rings.
Easy 14,840 views
What You'll Need
- junk mail crafts
- junk mail
- paper beads
- paper bracelets
- bracelets
- napkin rings
Steps
- 1
Step 1
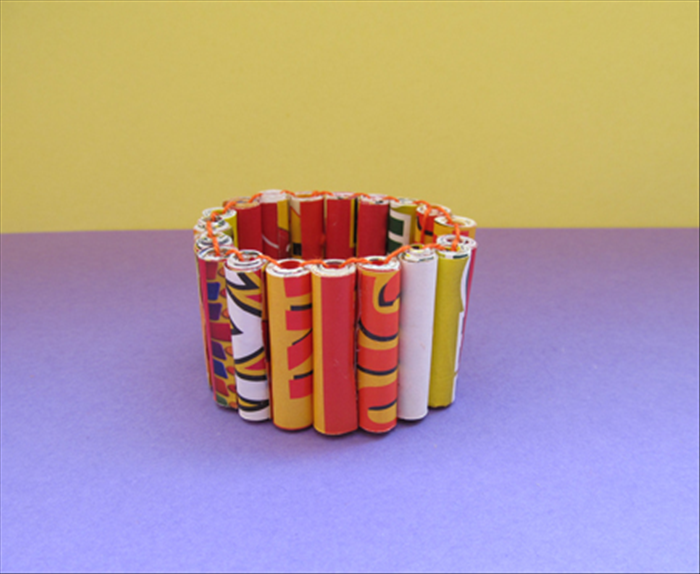 Materials: Colorful junk mail Paper glue Scissors ruler Wooden barbecue sticks or similar object for rolling * Thicker sticks are easier for younger children String
 - 2
Step 2
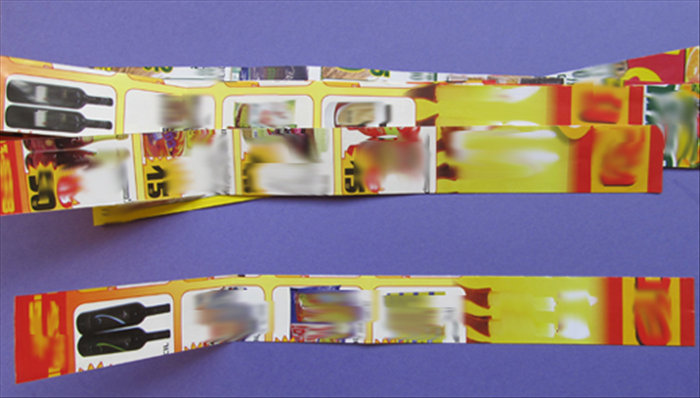 Cut about 25 – 30 strips from your junk mail 1 inch wide
 -
- 3
Step 3
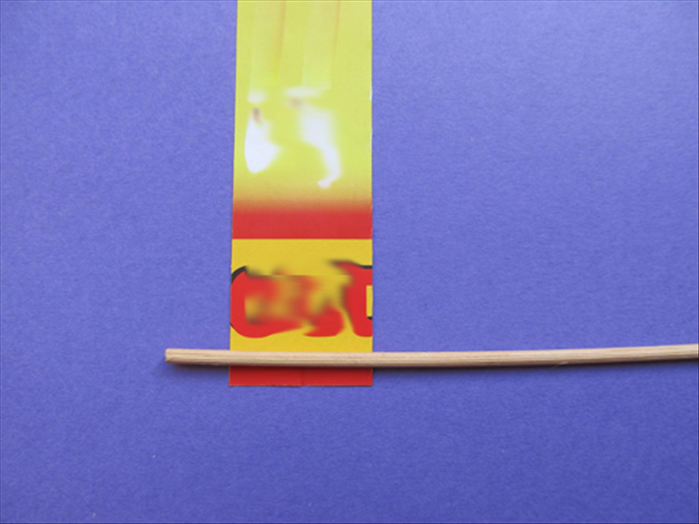 Place the stick at the edge of a strip
 - 4
Step 4
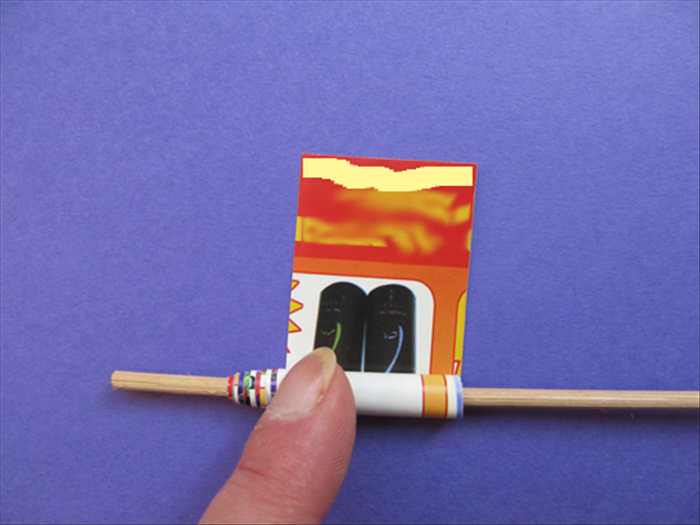 Roll up the strip on the stick. Put glue on the end.
 - 5
Step 5
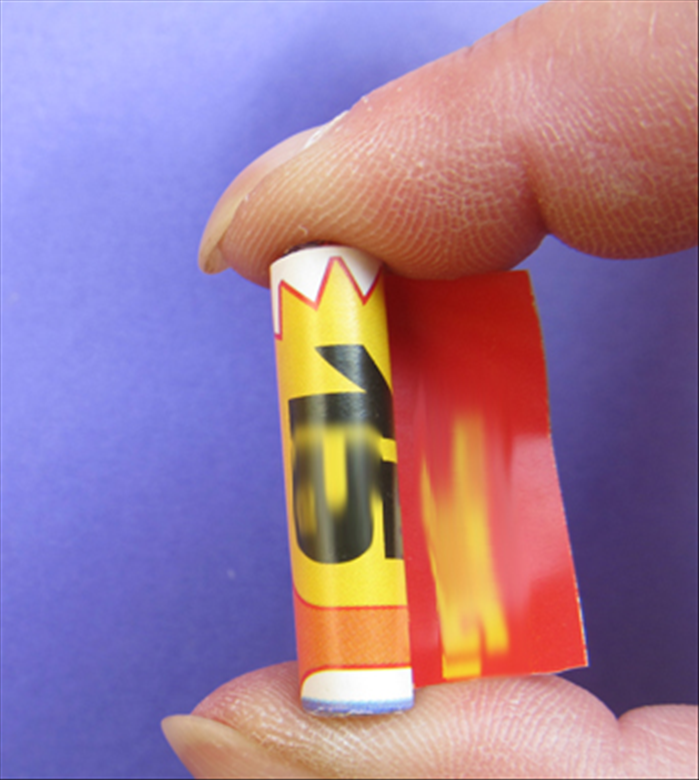 Slide the roll off of the stick. Squeeze the ends to straighten them and roll it closed with the glued edge.
 - 6
Step 6
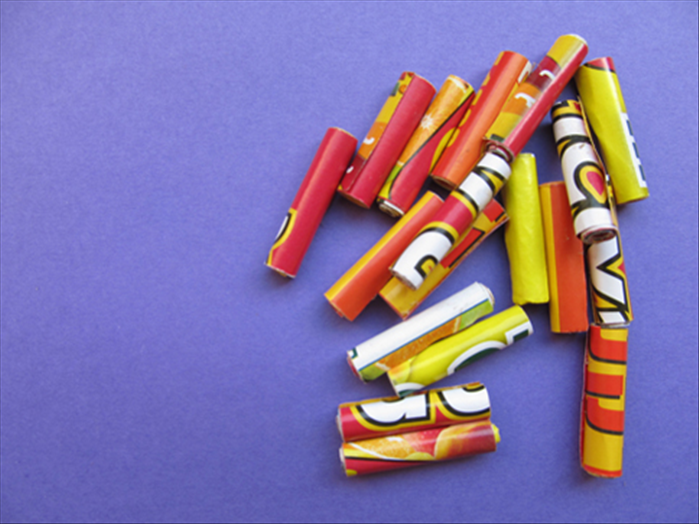 Roll up the rest of the strips
 - 7
Step 7
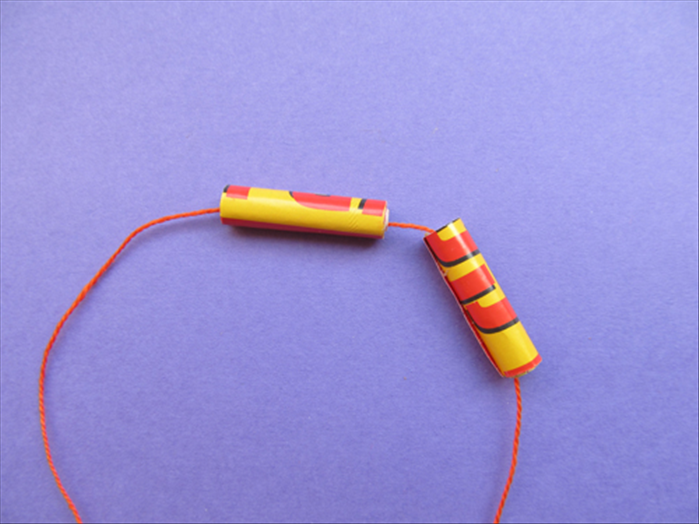 Cut a string about 6 feet long. String 2 rolls to the middle of the string. *If young children have difficultly working with a long string you can cut a shorter one and add more later.
 - 8
Step 8
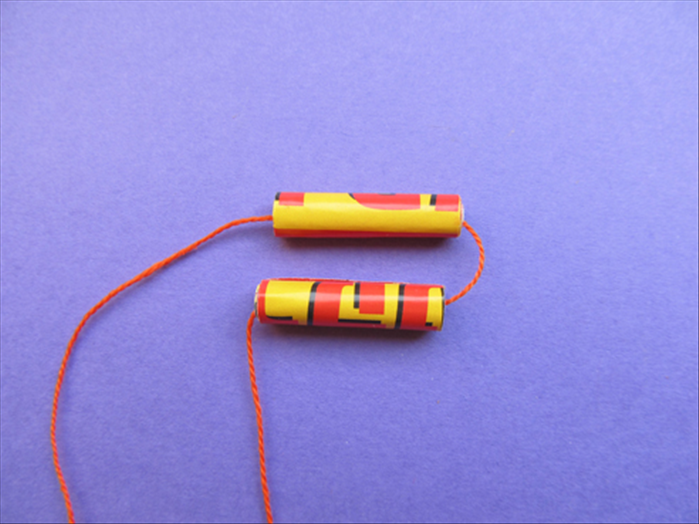 Bring the right roll under the left as shown in the picture
 - 9
Step 9
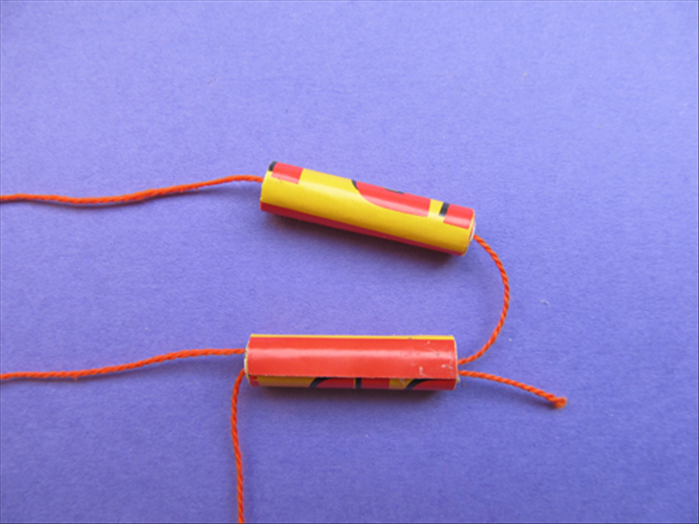 Insert the other end of the string through the left side. *if you have difficulty passing the string through you can push it with a toothpick
 - 10
Step 10
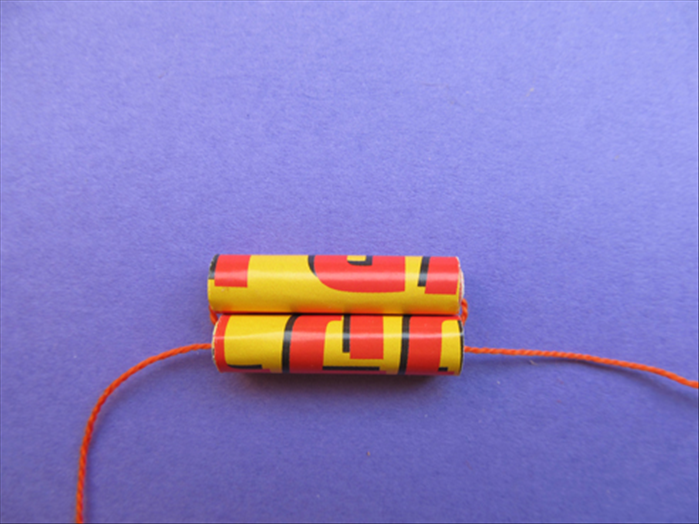 Pull both strings until the bottom roll moves up against the top roll
 - 11
Step 11
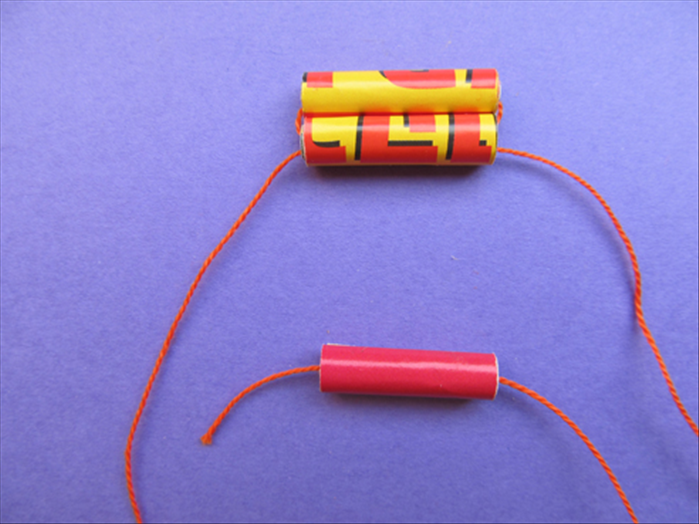 Insert the right string through the right side of the next roll and pull it through
 - 12
Step 12
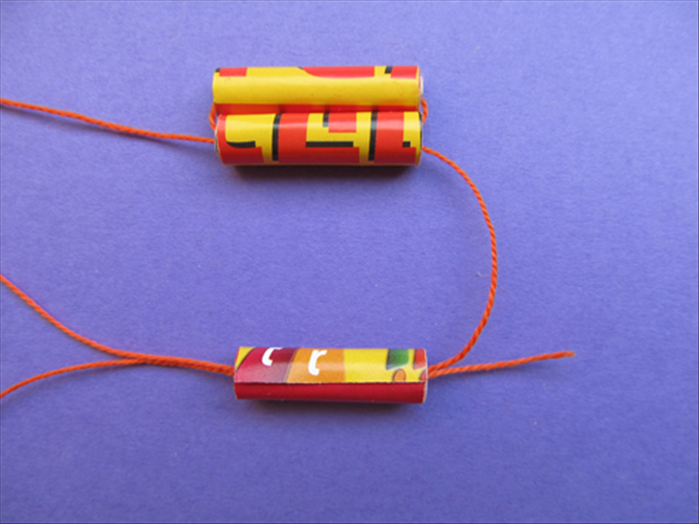 Insert the left string through the left side of the roll Pull both strings until the roll moves up against the second roll
 - 13
Step 13
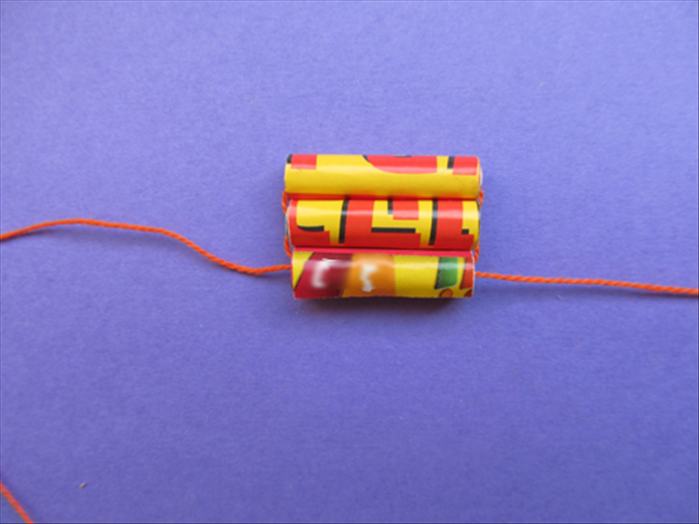 Repeat steps 11 to 12 to attach more rolls until you have enough to comfortable wrap around your fist. The finished bracelet has to slide over your fist to be on your wrist. *If at any point you see that there will not be enough string, knot the 2 ends together tightly a few times and cut off the extra. Insert a new string and continue steps 11 to 12
 - 14
Step 14
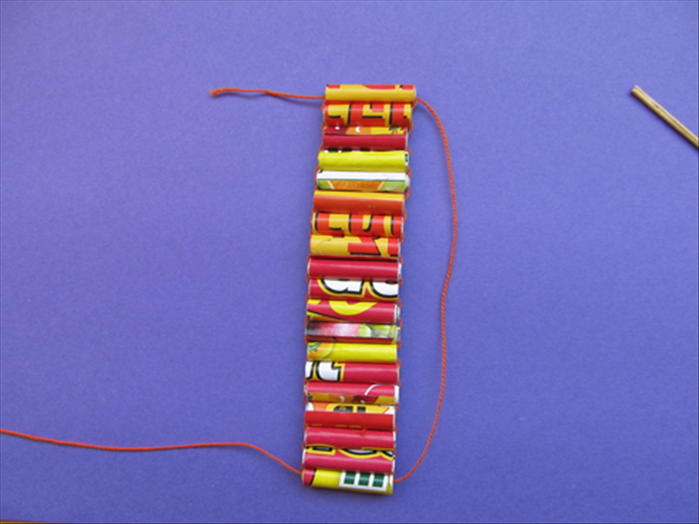 When you have added enough rolls bring the right string through the right side of the top roll
 - 15
Step 15
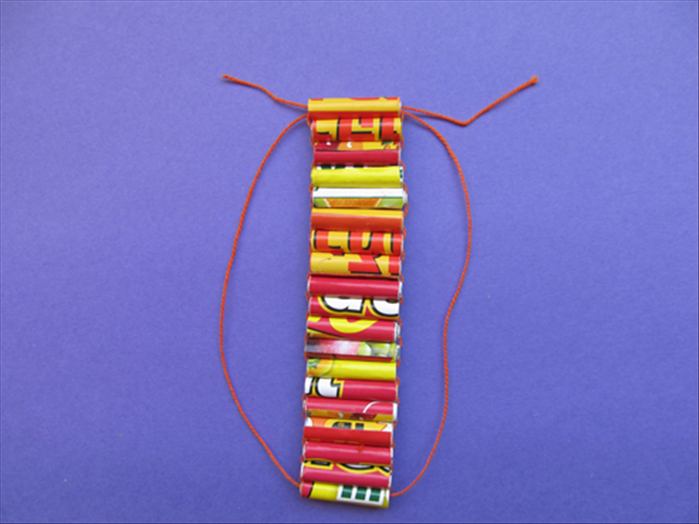 Bring the left string through the left side of the top roll. Pull both strings and the end rolls will come around together
 - 16
Step 16
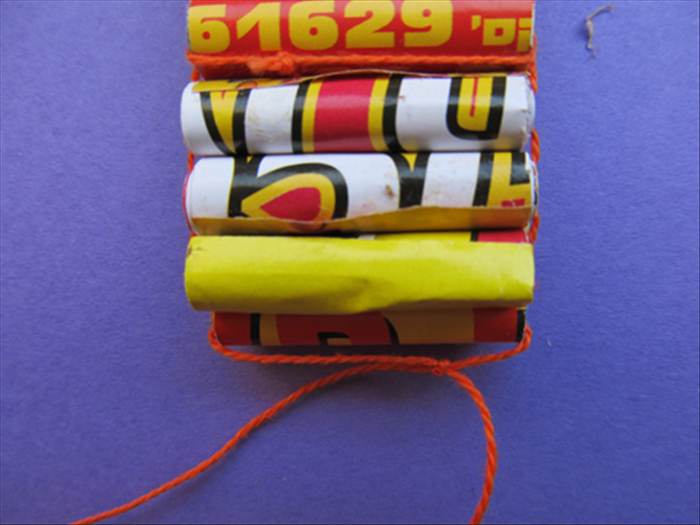 Knot the strings tightly a few times
 - 17
Step 17
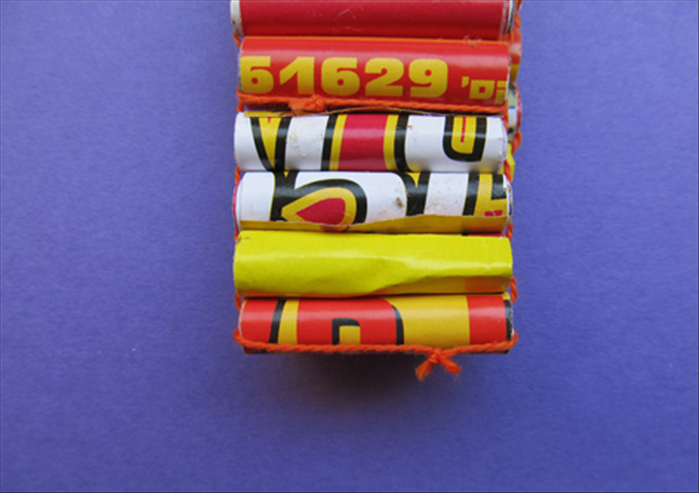 Cut off the extra string
 - 18
Step 18
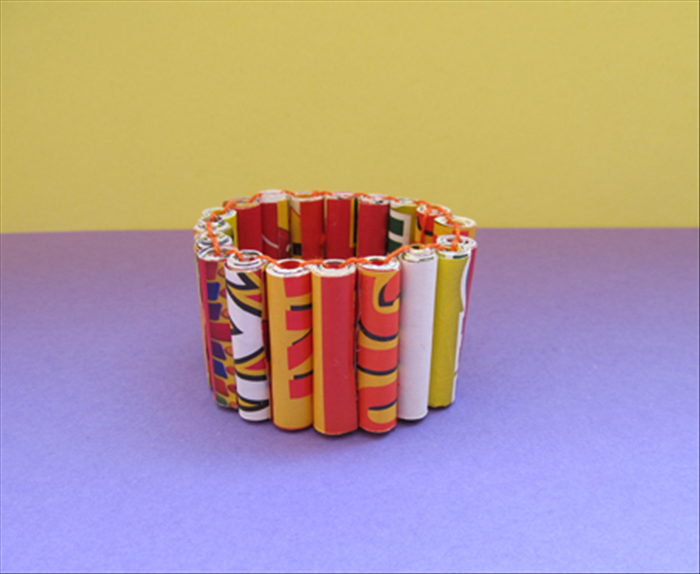 Twist the knot to the inside and your bracelet is ready to wear!