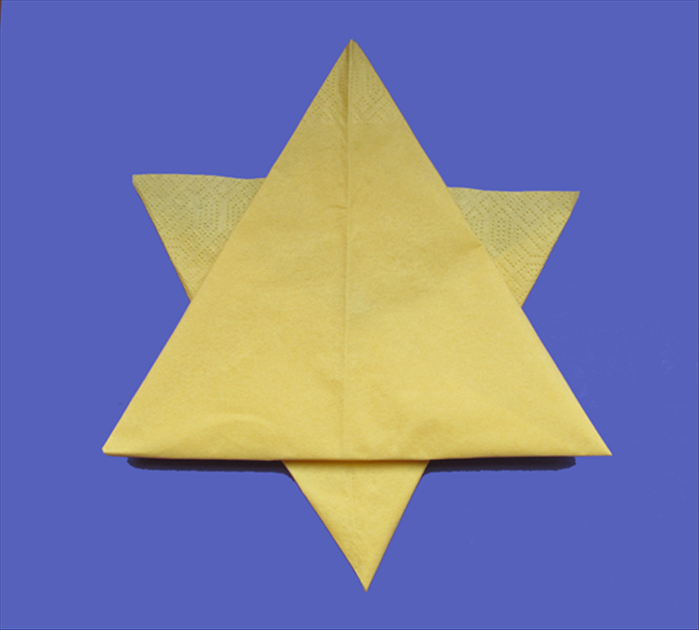
How to make a 3D star with 6 points
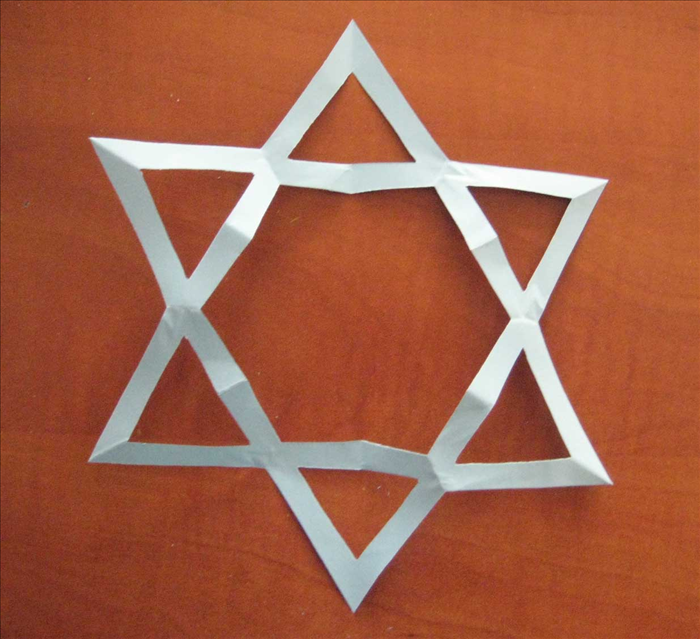
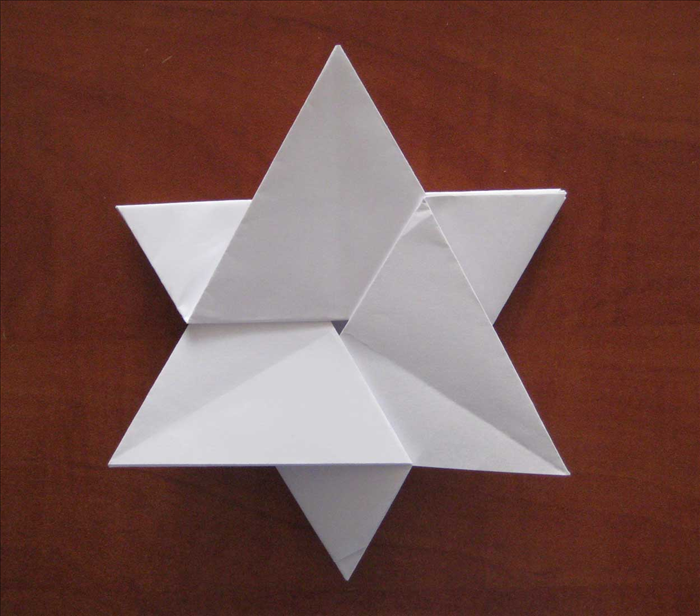
This guide uses the magic of the number 3 to create a 6 pointed star in a 3d shape. Use it for decorations, boxes, book selves or whatever you imagination comes up with.
Easy 11,781 views
What You'll Need
- crafts
- green crafts
- cardboard
- 3D star of David
- jewish star
- 6 pointed star
Steps
- 1
Step 1
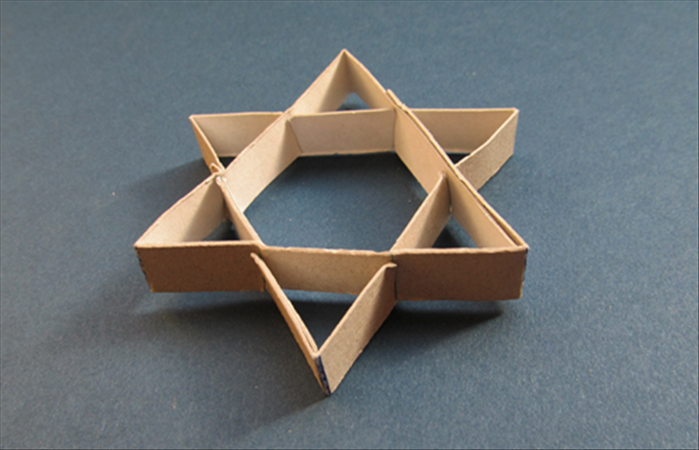 Materials: Cardboard Ruler Scissors or craft knife 2 different colored pens
 - 2
Step 2
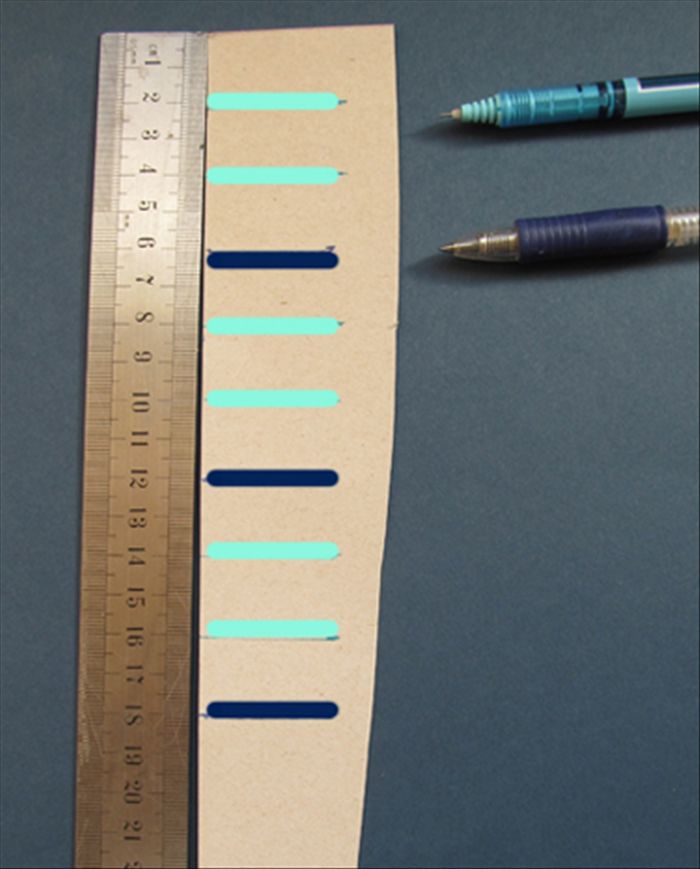 Mark the cardboard with lines 3 inches apart Press very hard to make an indent while using a different color for every third mark only as shown in picture. *It is important to press hard
 -
- 3
Step 3
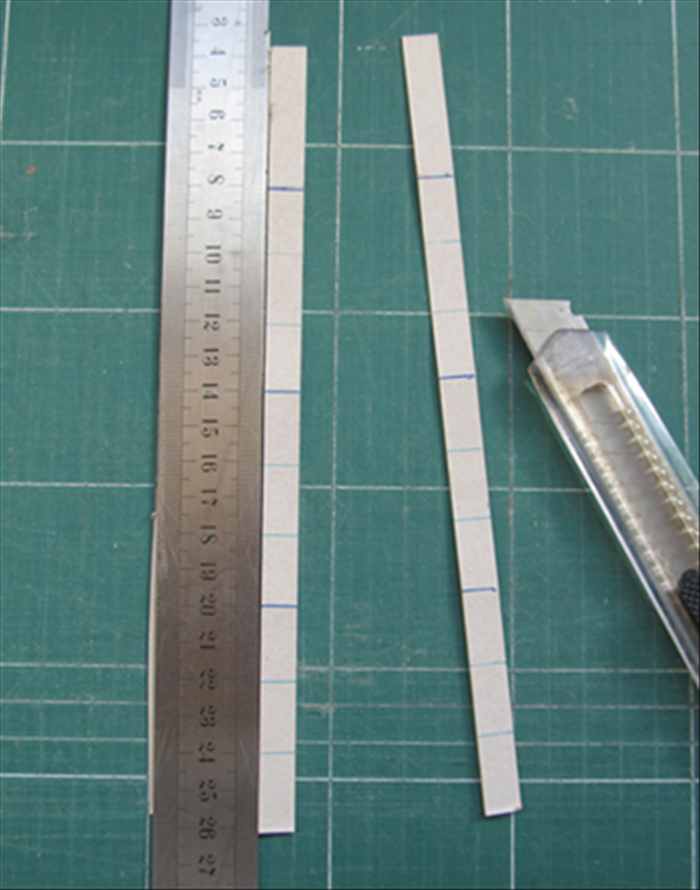 Cut strips the width you want the sides to be. In this case 1 inch. Leave an extra ½ inch at one end of each strip for gluing it together
 - 4
Step 4
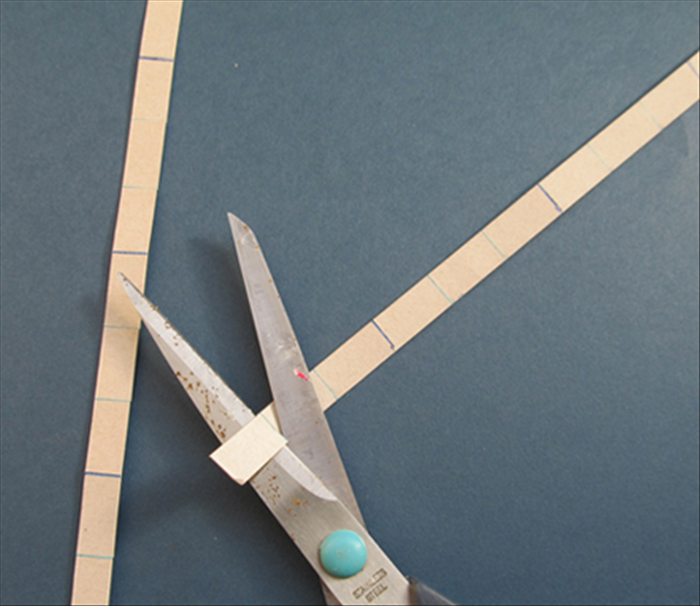 Make a slit a little more than ½ way at the 2 marks between each of the indented lines. Do not make slits on the indented lines.
 - 5
Step 5
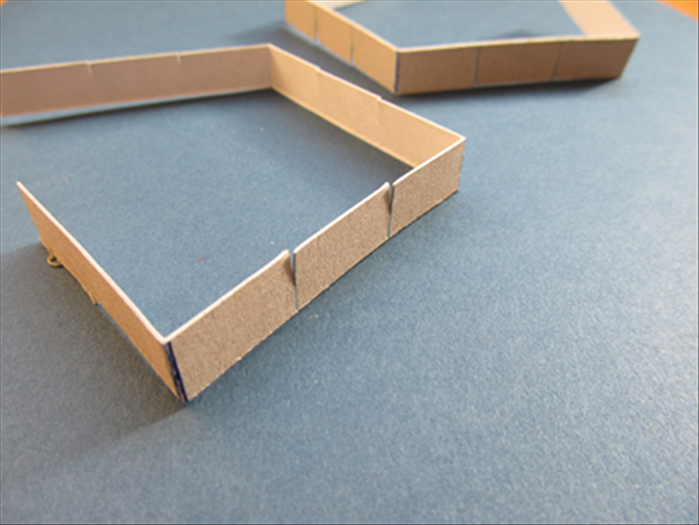 Bend the strips at the indented lines and give them a good crease
 - 6
Step 6
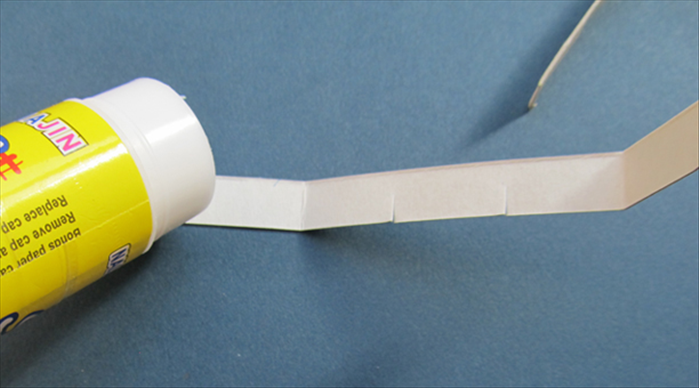 Apply glue to the short end and bring the other end around to glue it on top. This should make an equilateral triangle – a triangle with all sides the same length
 - 7
Step 7
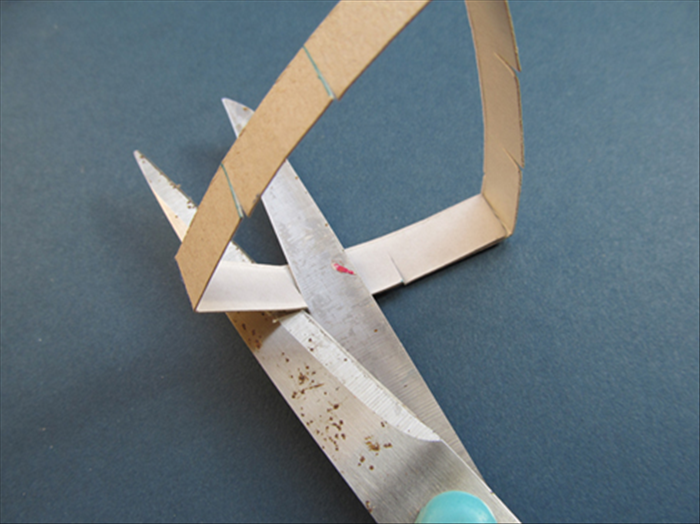 Use the present cuts as a guide.Cut again to make a cut on the overlapping cardboard.
 - 8
Step 8
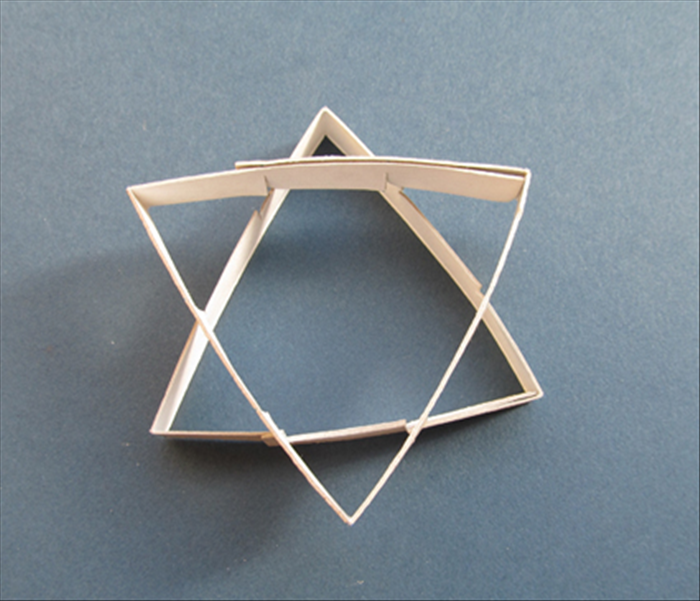 Place the bottom triangle with the cut side up and the top triangle with the cut side down
 - 9
Step 9
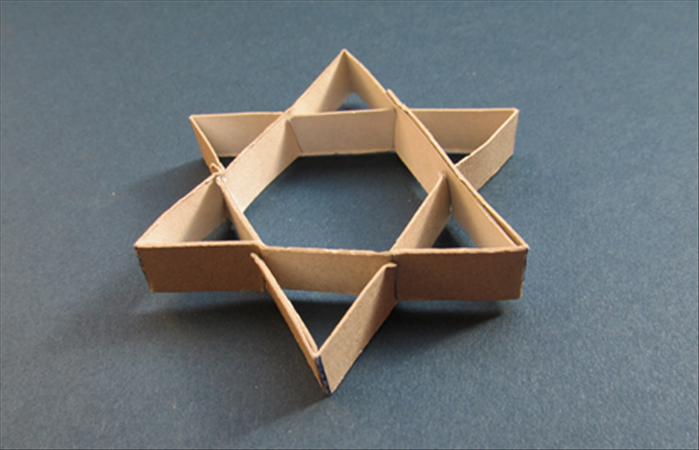 Push the slits into each other and your 6 pointed star is ready * You can change the size, just remember to use divisions of 1/3