DIY Origami Finger Puppets: Easy Paper Crafts for Kids
Learn how to make adorable origami finger puppets from paper with our easy step-by-step guide. Perfect craft activity for children and fun for the whole family!
Welcome, creative crafters! Get ready for an adventure into the world of origami as we learn how to make super cute and easy finger puppets from just a single sheet of paper! This fun activity is perfect for kids and adults alike, a fantastic way to spark imagination, develop fine motor skills, and create your very own cast of characters for exciting playtime. No special tools needed, just some paper and your amazing hands. Let's get folding and bring some paper pals to life!
Step 1: Start with a Perfect Square and Make an 'X'
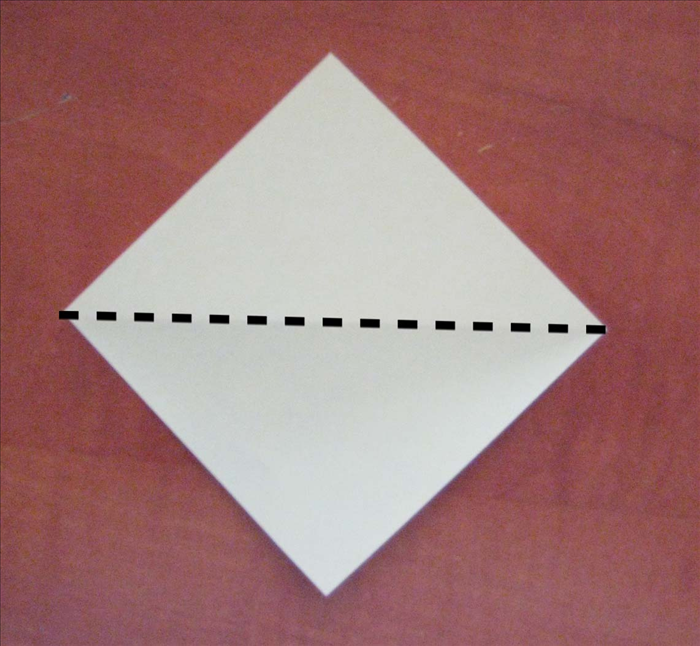
Begin with your square piece of paper. Place it on a flat surface so it looks like a diamond (one corner pointing towards you). First, carefully fold the paper in half diagonally, bringing the bottom corner up to meet the top corner. Press down firmly on the crease and then unfold it. Now, repeat this step, folding the other two corners together diagonally. Unfold again. You should now see a clear 'X' shape creased in the middle of your paper!
Step 2: Bring All Corners to the Center Point
Lay your paper flat again with the 'X' crease visible. Take each of the four corners, one by one, and fold them inwards so that their tips meet precisely at the very center point where your 'X' creases cross. Make sure each fold is crisp and neat. Once all four corners are folded in, your paper will look like a smaller square.
Step 3: Flip it Over and Fold Again!
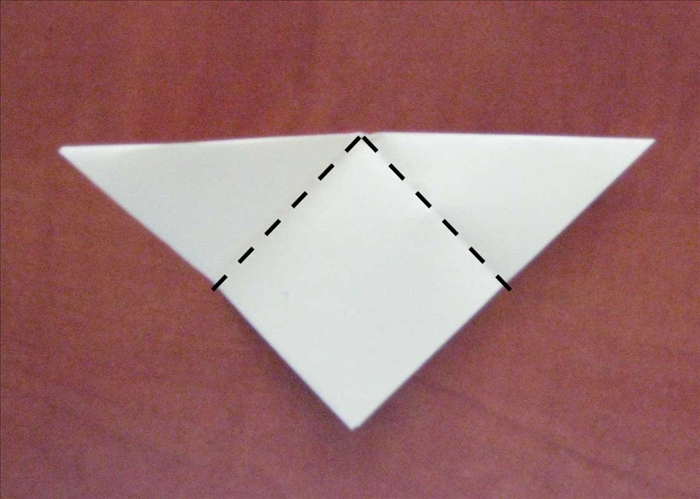
Now, carefully flip your smaller square paper over to the other side. You'll see four new corners. Just like before, take each of these new corners and fold them inward so they all meet at the center point. Press down firmly to create sharp creases. When you're done, you'll have an even smaller square!
Step 4: Create the First Two Finger Pockets
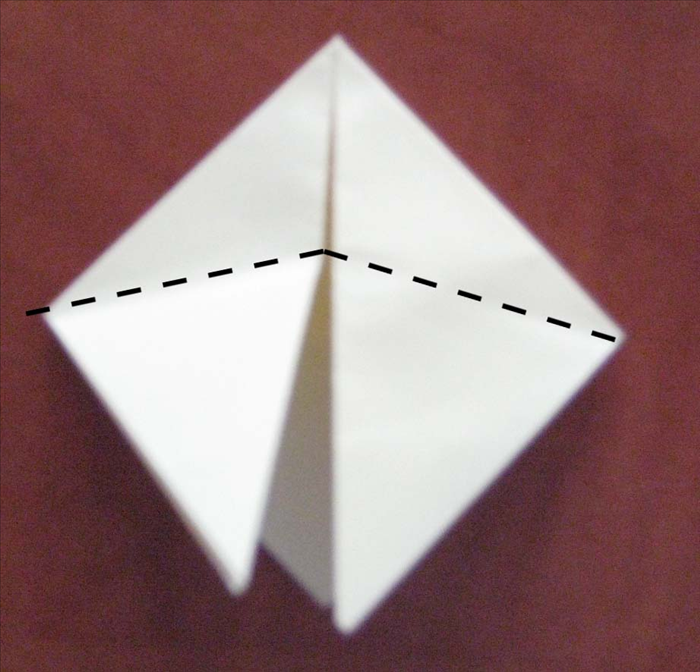
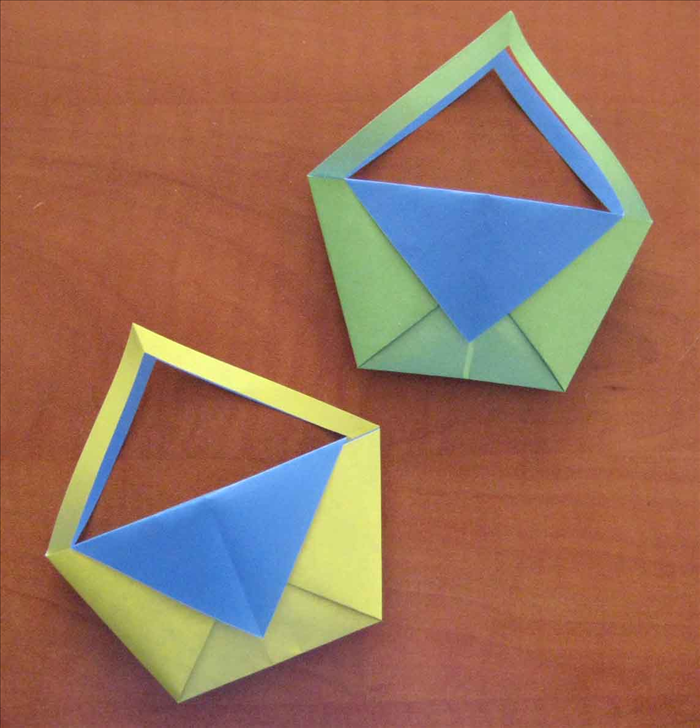
Keep your paper on the surface with the last folded side facing up. You'll notice there are four small square flaps on this side. Gently lift one of these flaps. Look underneath, and you'll see a small pocket. Carefully push this flap inward and flatten it down to create one of the finger pockets. Do the same for an adjacent flap (the one right next to it). Now you should have two pockets formed side-by-side!
Step 5: Finish All Four Finger Pockets
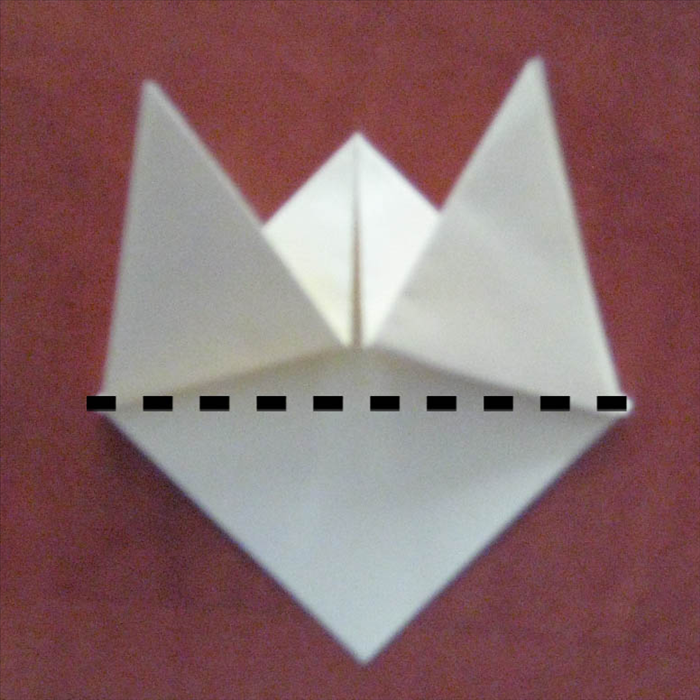
To complete your puppet's base, simply repeat Step 4 for the remaining two flaps. Gently open each flap, push it inwards, and flatten it to form the finger pockets. Once all four pockets are formed, you've successfully created the basic structure of your origami finger puppet! Turn it over, and you'll see a little square that will be the puppet's 'face'.
Decorate Your Finger Puppet: Let Your Imagination Soar!
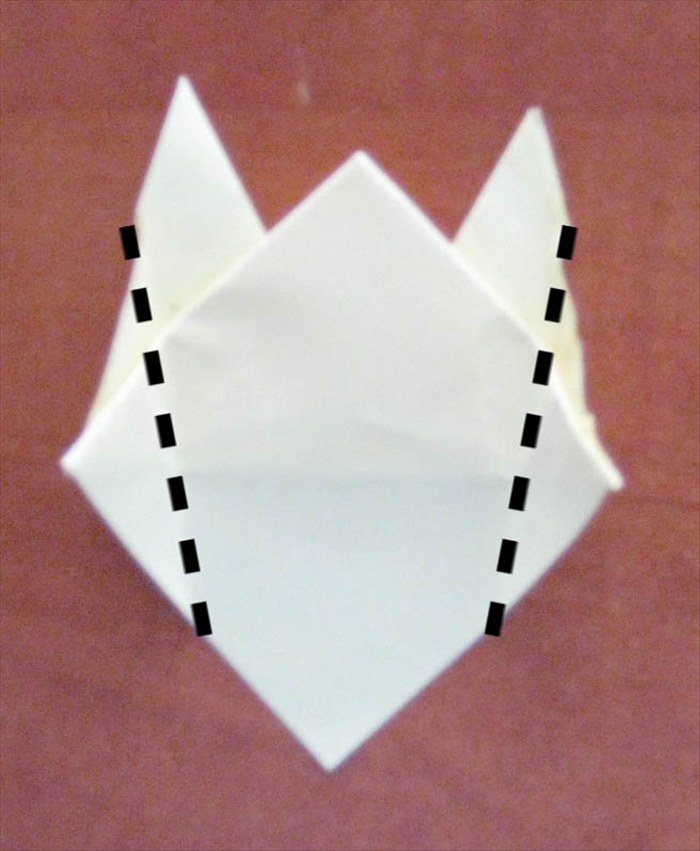
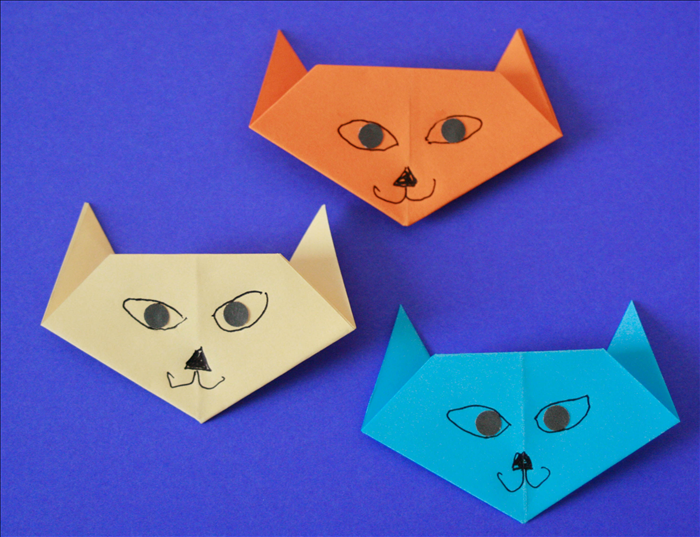
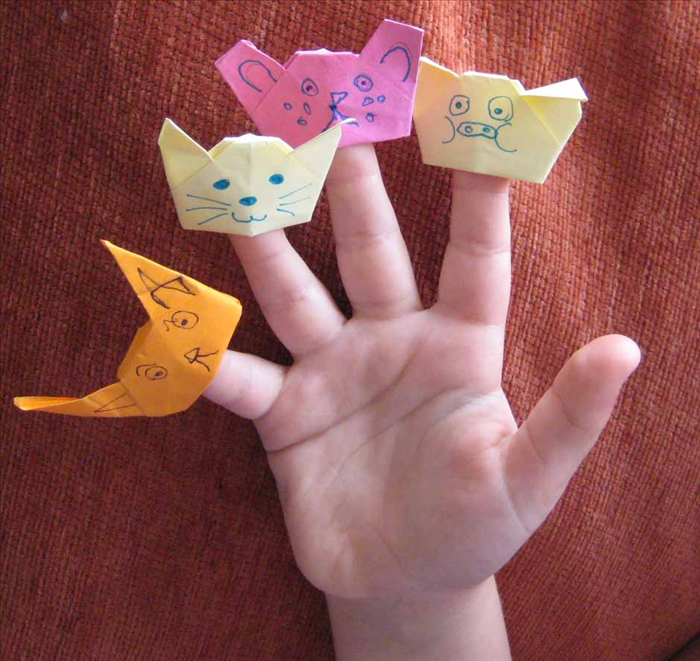
This is where the real fun begins! Turn your origami base into a character. Use your markers, colored pencils, or crayons to draw funny faces, cute animal features, or even tiny clothes. Will it be a grumpy monster, a cheerful bunny, or a silly clown? Add hair, ears, eyes, and mouths. If you have googly eyes, now's the time to glue them on for an extra playful touch! Each puppet can be completely unique.
Get creative with different paper colors and patterns! You can make a whole family of distinct puppets.
Playtime & Endless Adventures!
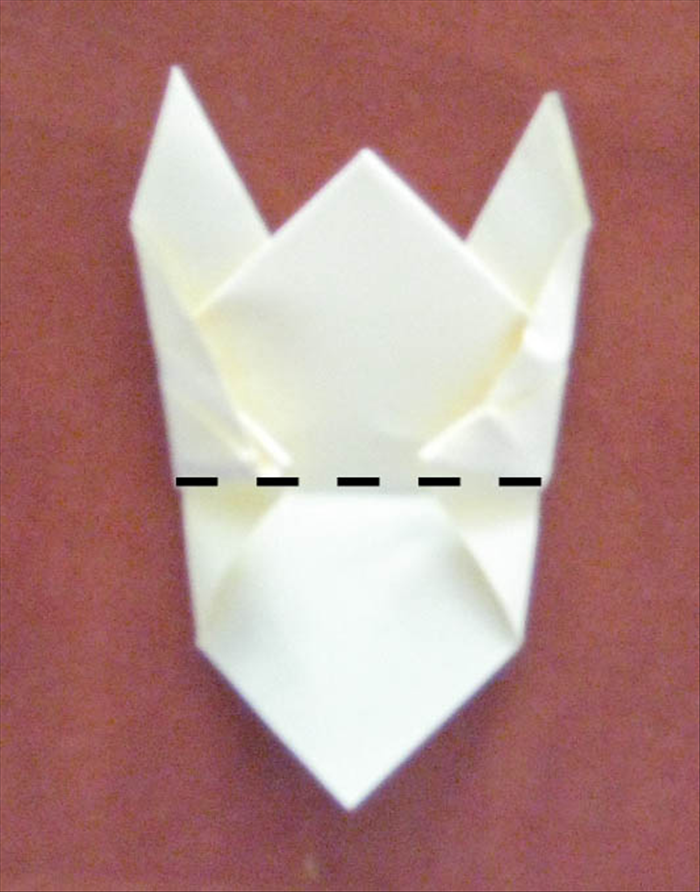
Once your finger puppets are decorated, it's showtime! Slip your fingers into the pockets on the back, and watch your paper pals come to life. Put on a puppet show for your family and friends, invent amazing stories, or use them to help you tell bedtime tales. You can even try making puppets of different sizes by starting with larger or smaller squares of paper. The possibilities for fun are endless!
Encourage children to create stories and dialogues for their puppets. This boosts language development and imaginative play.