Easy Origami Basket for Kids: Step-by-Step Tutorial
Fold a simple origami basket with a square sheet of paper. Perfect for beginners and kids.
What You'll Need
- One square sheet of paper (6x6 inches / 15x15 cm recommended)
- Flat, clean surface
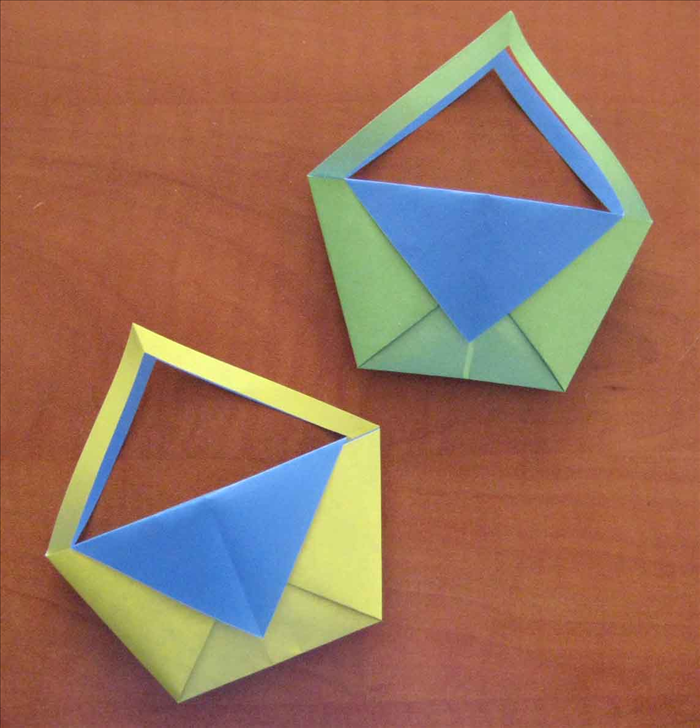
This project uses one square sheet of paper to create a small basket. Work on a flat surface and fold carefully.
Step 1: Initial Diagonal Folds
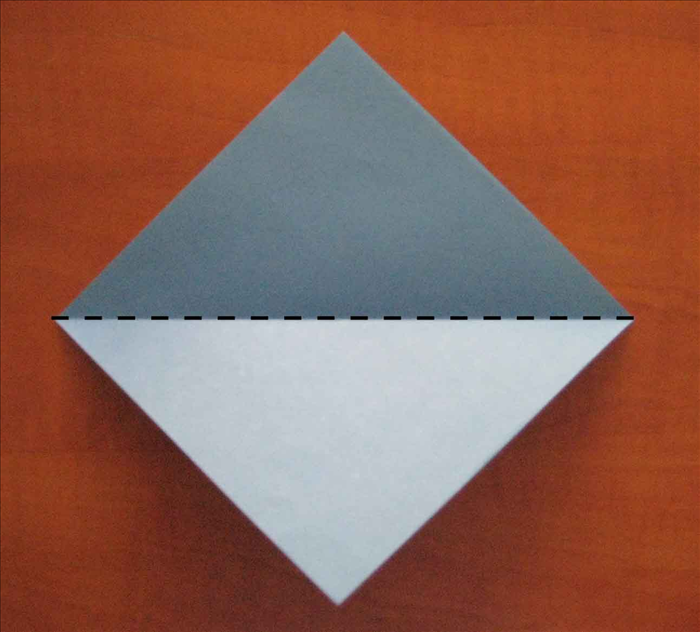
Place the paper flat. Fold it in half diagonally, corner to corner, and crease firmly. Unfold. Repeat with the other two corners, then unfold. You now have an X-shaped crease.
Step 2: Form the Base Square
Lay the paper flat with one diagonal crease horizontal. Bring the left and right corners to the bottom center, then press the top corner down to flatten into a smaller square. Crease well.
Step 3: Fold the Top Flaps
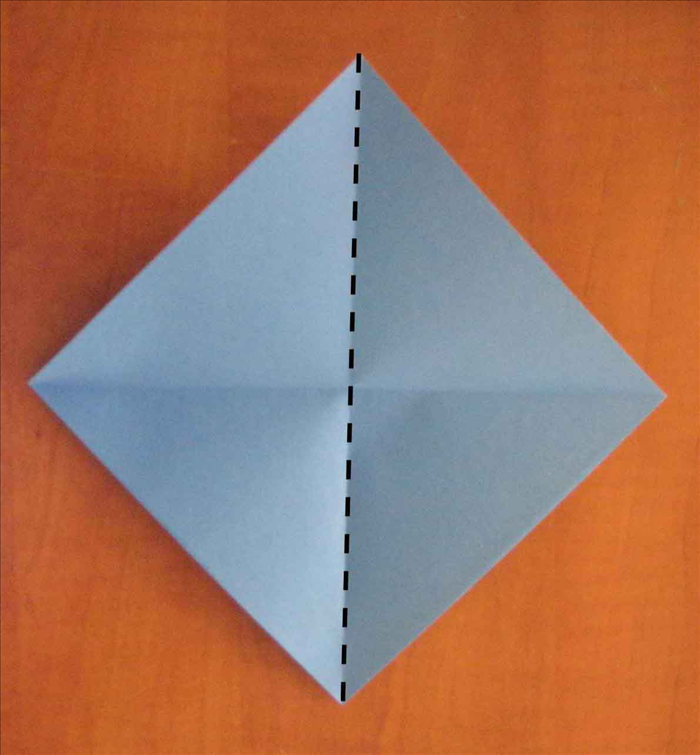
Orient the square so the open end (with loose layers) faces you. Take the top layer of the right corner and fold it toward the center line. Repeat with the left corner. Crease firmly.
Step 4: Flip and Repeat
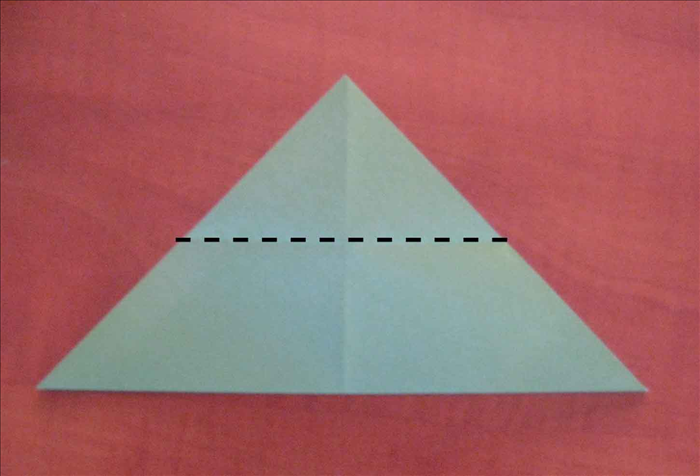
Flip the paper over. Repeat the same flap folds: fold the right and left top-layer corners toward the center. Crease well.
Step 5: Fold Down the Top Points
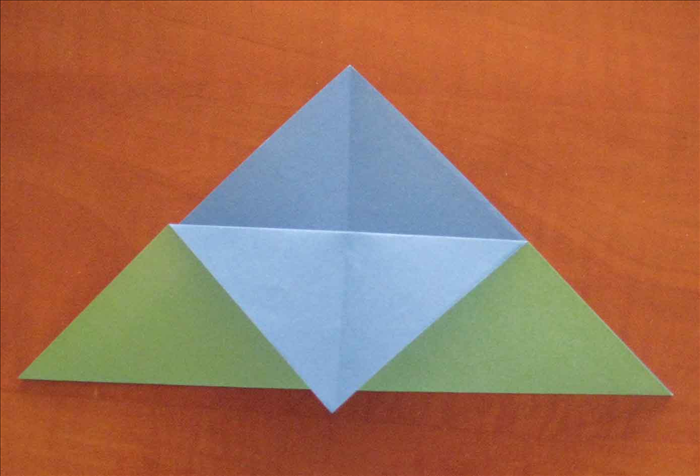
At the top of the diamond, you'll see two small triangular points. Fold each point down and tuck it into the pocket created by the flaps. Press flat.
Step 6: Open the Basket
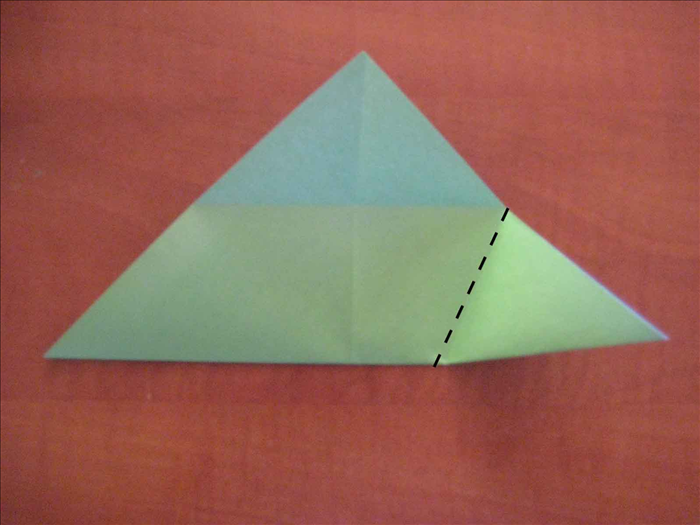
Hold the folded piece and gently pull the sides apart. Open the bottom by pressing the center outward. Shape the basket with your fingers. The basket is ready.
Tip
Use thicker paper for a sturdier basket. Decorate with stickers or markers after folding.
Warning
Make sharp creases with a ruler or fingernail, but avoid tearing thin paper.