Easy Origami House for Kids: Step-by-Step Guide
Learn how to fold a simple origami house with our easy step-by-step guide. Perfect paper craft for kids, children, and origami beginners. Fun and educational!
Unlock creativity and fine motor skills with this simple and fun origami house project! Perfect for kids, children, and beginners, our easy step-by-step guide will show you how to fold a charming paper house in no time. Origami is not just a craft; it's a fantastic way for young ones to develop concentration, patience, and spatial reasoning. Let's get folding and create your very own simple paper house craft!
Prepare the Base Folds
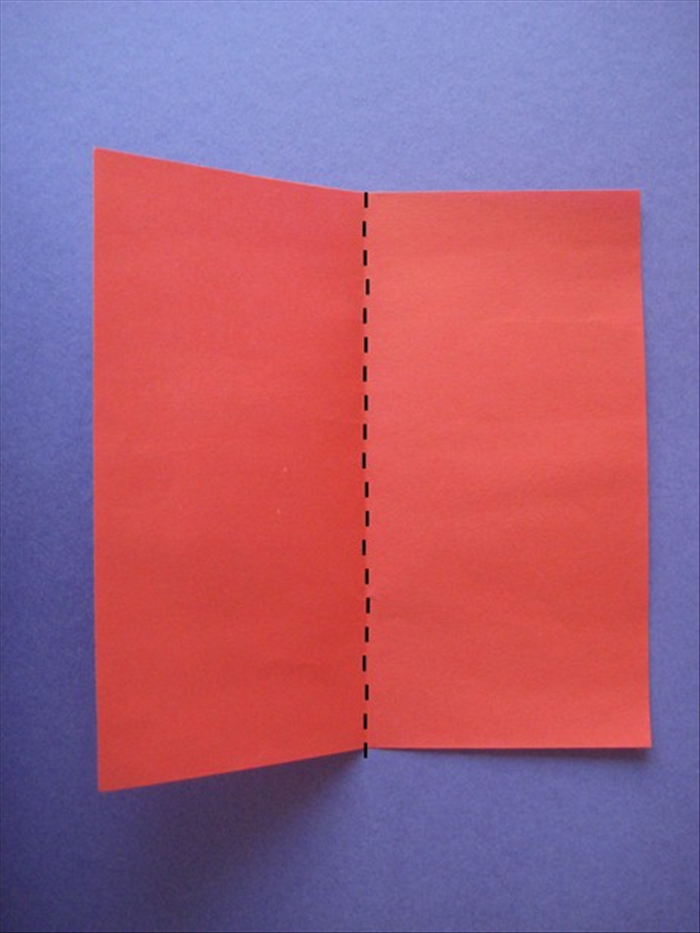
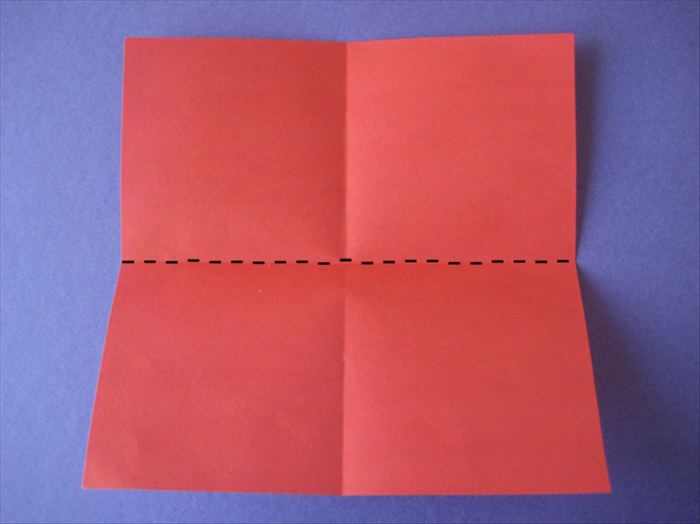
Start with your square piece of paper. If it has a white side and a colored side, place it white-side up to begin. Carefully fold the paper in half vertically, matching the edges precisely. Crease it firmly, then unfold. Next, fold the paper in half horizontally, crease firmly, and unfold. You should now see a clear 'cross' of creases in the center of your paper. These guide folds are crucial for forming your easy origami house.
Create the House Walls
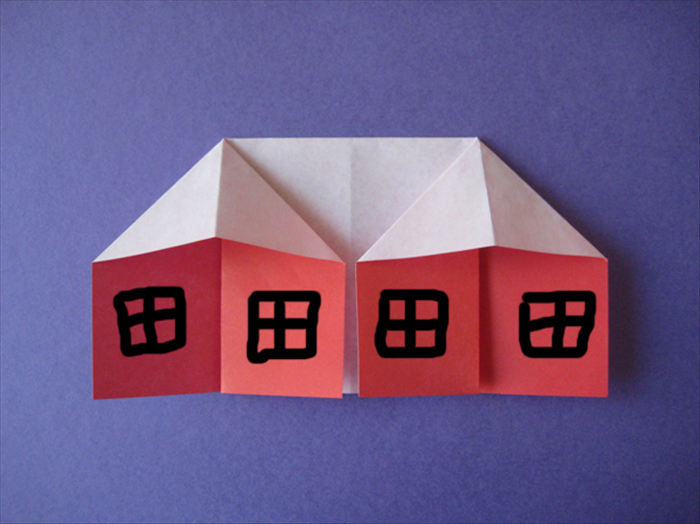
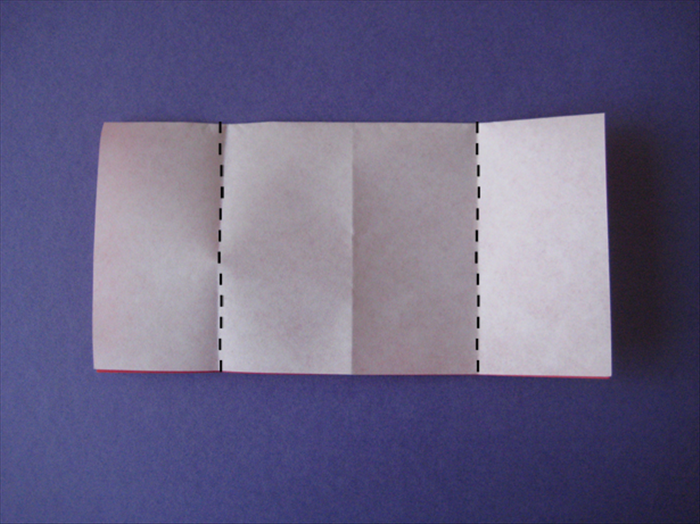
Now, it's time to form the main structure of your paper house. Take the left edge of the paper and fold it inwards so it meets perfectly with the center vertical crease. Press down to make a sharp crease. Repeat this action with the right edge, folding it inwards to meet the same center crease. You will now have two flaps meeting in the middle, creating the main rectangular body of your origami house.
Form the Roof Section
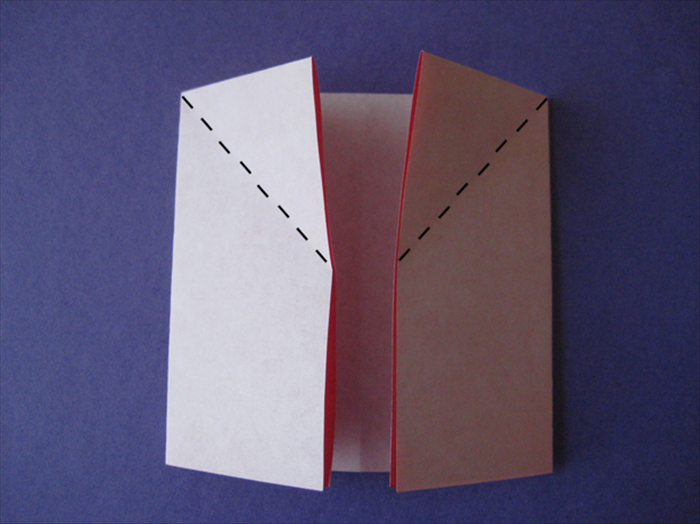
Focus your attention on the top half of your folded paper. This is where we'll start shaping the roof. Take the top-left corner of the paper and fold it diagonally outwards. This creates a triangular flap that will be one side of your roof. Make sure the fold extends from the top edge down towards the center. Repeat this exact fold with the top-right corner, creating another symmetrical triangular flap. These form the basic eaves for your simple origami house.
Complete the Roof Structure
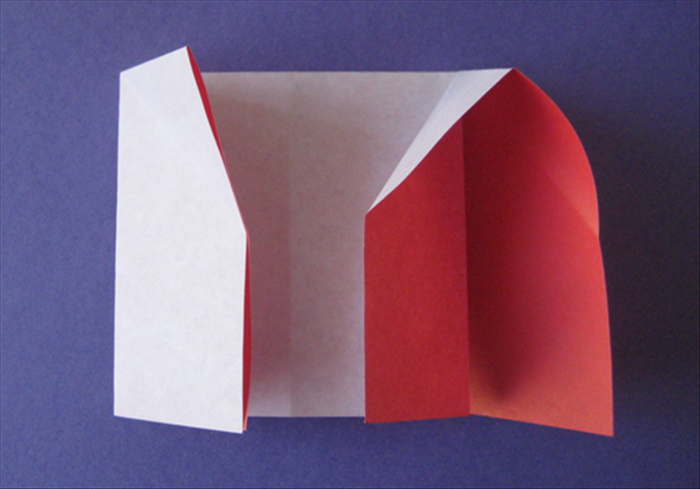
With the two triangular roof eaves now in place, the next step is to flatten and define the roof. Carefully take the entire top edge of the paper and fold it downwards. Align this fold with the highest points of the two triangular flaps you just created. Press firmly along this new crease to flatten the roof completely. You'll see the top of your origami house start to take its iconic shape, ready for some finishing touches.
Add a Door and Details (Optional)
Your origami house is almost complete! For a charming addition, you can create a door. On the front panel of your house, fold up a small rectangle from the bottom edge. This simple fold instantly creates a door for your paper craft. This is also the perfect opportunity for kids' origami projects to become truly personal! Grab your markers or crayons and draw windows, a chimney, flowers, or even a little path. Let your imagination run wild!
Final Touches and Display
To ensure your origami house stands proudly, gently unfold the side flaps slightly from the back. Press all creases one last time with your fingers to make them as sharp and defined as possible, helping the structure hold its shape. Your easy origami house is now finished! It's perfect for imaginative play, as a cute decoration on a shelf, or as part of a miniature paper village. Enjoy your handmade creation!
For younger children or beginner origami enthusiasts, using slightly larger paper (e.g., 8x8 inches or A4 cut to a square) can make handling and precise folding much easier. Supervise children during crafting activities to ensure safety and provide assistance when needed.
Folding an origami house is a rewarding activity that combines fun with learning. We hope this how-to fold an origami house step by step for kids guide has been helpful. Keep practicing and exploring other beginner origami house designs! Happy folding!