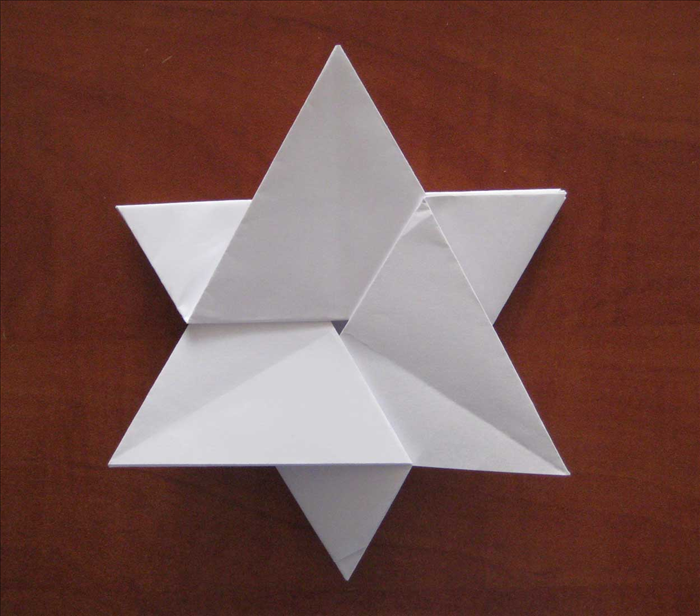
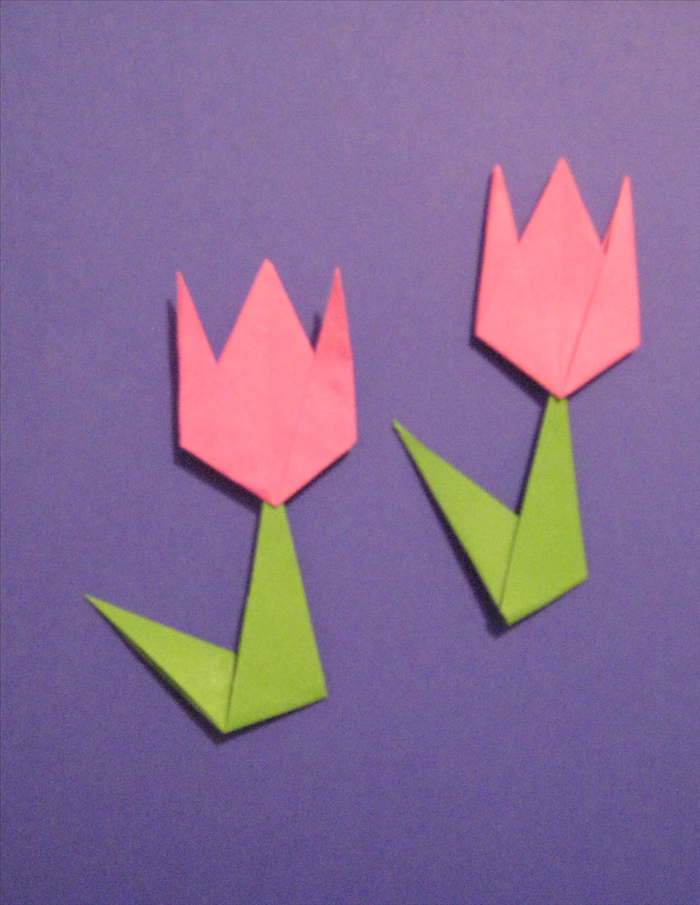
How to Fold an Origami Tulip
Fold one 6×6 inch square into a tulip using diagonal and book creases, a square base, and squash folds. Optional green stem.
What You'll Need
- Square origami paper (15×15 cm / 6×6 in)
- Green paper strip for stem (optional)
- Glue stick (only if attaching stem)
One square is enough; green paper only if you want a stem.
One square sheet (15×15 cm / 6×6 inches is a good beginner size). You crease an X and a +, collapse to a square base, squash-fold the flaps into diamonds, then fold the corners up for petals. Optional: a green paper strip for a stem. No glue required for the flower itself.
Diagonal creases
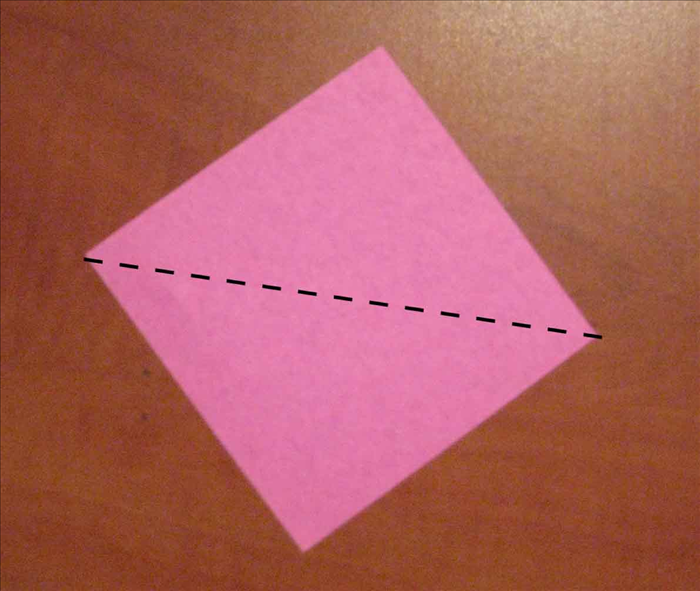
Colored side up. Fold corner to opposite corner; crease; unfold. Fold the other diagonal; crease; unfold. You should have an X.
Book creases
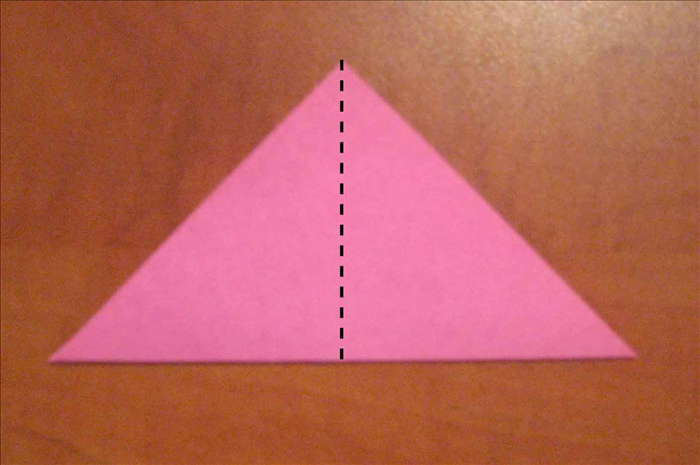
Flip to the other side. Fold in half horizontally; crease; unfold. Fold in half vertically; crease; unfold. You now have an X and a +.
Collapse to a square base
With the + side up, push the center of a horizontal crease down and bring the X points together so the sides collapse inward. Flatten into a smaller square with aligned edges (preliminary / square base).
Squash-fold the flaps
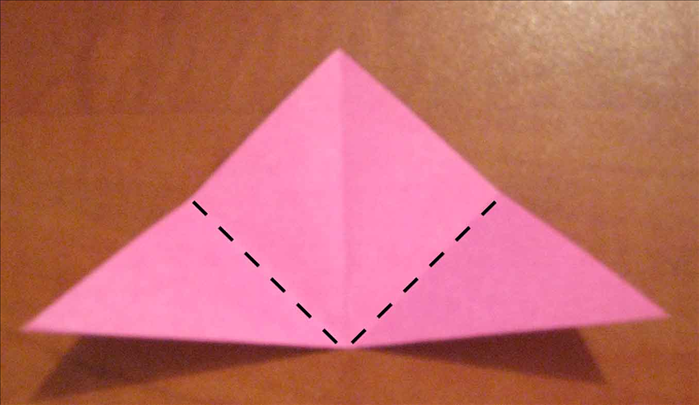
Lift one top-layer flap, open the pocket, and press the tip down to the center line so the pocket flattens into a diamond. Repeat on all four top-layer flaps (both sides of the base).
Sharp early creases make squash folds cleaner. If a diamond skews, unfold that flap and squash again.
Fold the petals
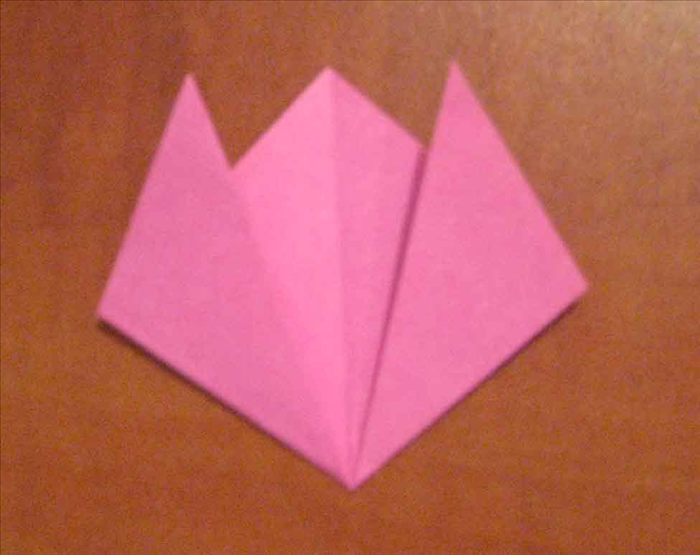
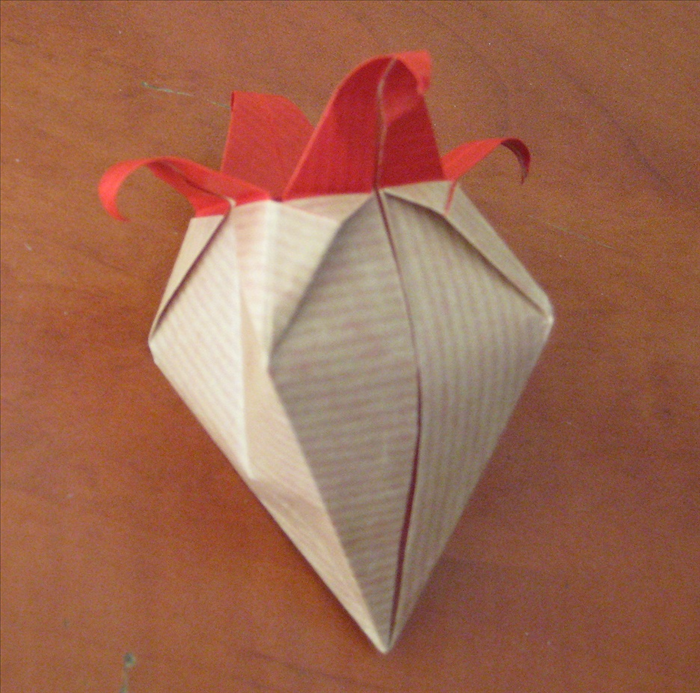
With points up, fold each bottom corner of a diamond upward to form a petal. Higher fold = tighter bloom; lower = more open. Finger-curve edges lightly if you want softer petals.
Optional stem
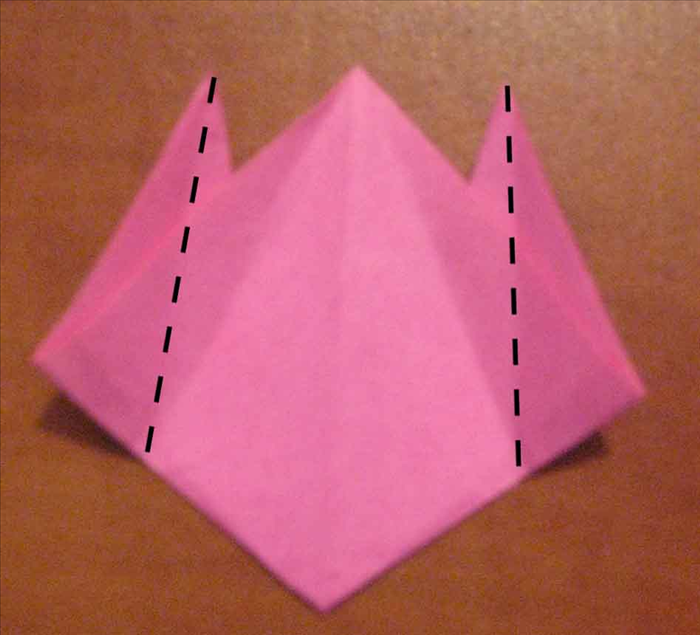
Cut a thin green strip (and leaf shapes if you want). Glue or tape to the bottom point of the tulip. Skip glitter and stickers — they are not part of the fold.