How to Draw Circles with a Cardboard Strip (No Compass)
Cut a cardboard strip, mark a pivot and radius holes, pin the pivot, and rotate a pencil to draw a circle of that radius.
What You'll Need
- Sturdy cardboard scrap (for the strip)
- Thumbtacks / push pins
- HB pencils (pack)
- Paper or other drawing surface
- Scissors (blunt tip OK for kids)
A pack of push pins is usually the only buy if you already have cardboard and a pencil.
You can draw a circle with a cardboard strip, a thumbtack, and a pencil. The thumbtack is the center. The distance from that pin to a hole where the pencil sits is the radius. Mark more than one pencil hole if you want several sizes on the same strip.
Cut the cardboard strip
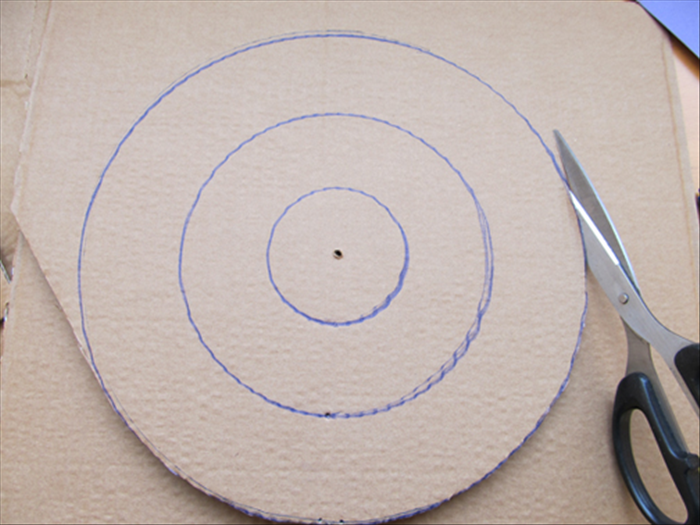
Cut a straight, narrow strip of sturdy cardboard. Make it a little longer than the largest radius you want (radius is half the diameter). A strip about 1–2 inches wide stays stable without getting bulky. Keep the long edges as straight as you can.
Mark the pivot and radius points
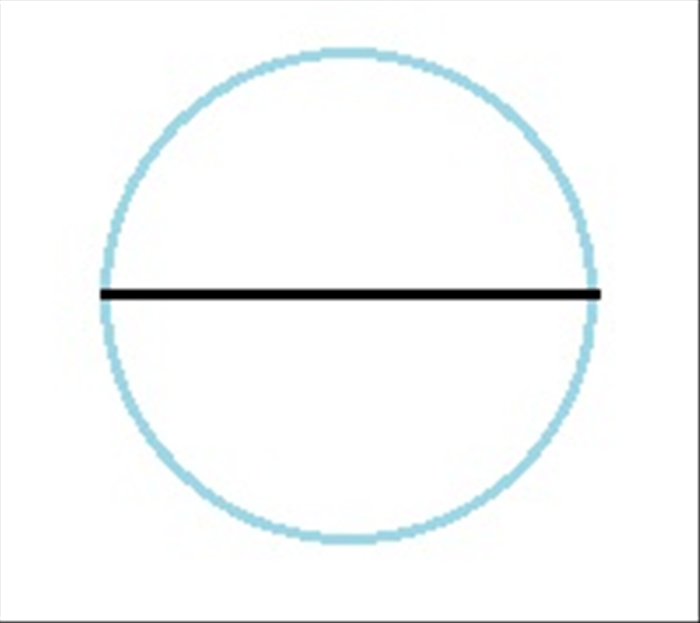
Near one end of the strip, mark a point about 1/2 inch from the edge. That is the pivot where the thumbtack goes. From that mark, measure along the strip and mark each radius you want. Example: for a 3-inch radius, mark 3 inches from the pivot. Clear marks matter; they set the circle size.
Poke the holes
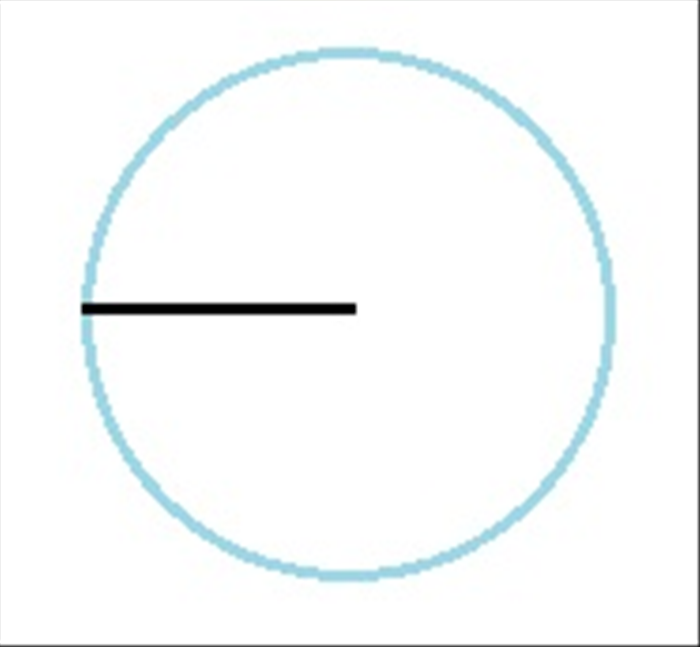
Poke a small hole at each mark with a thumbtack or a sharp pencil tip. The pivot hole should hold the thumbtack firmly. Each pencil hole should grip the pencil without big wobble, but still let the strip turn. Oversized holes make uneven circles.
Pin the pivot on your paper
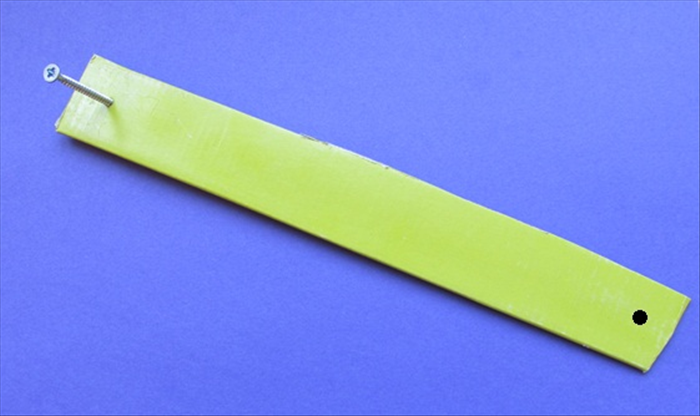
Put the thumbtack through the pivot hole and press it into the center point on your paper. The pin must stay put while you rotate the strip.
Draw the circle
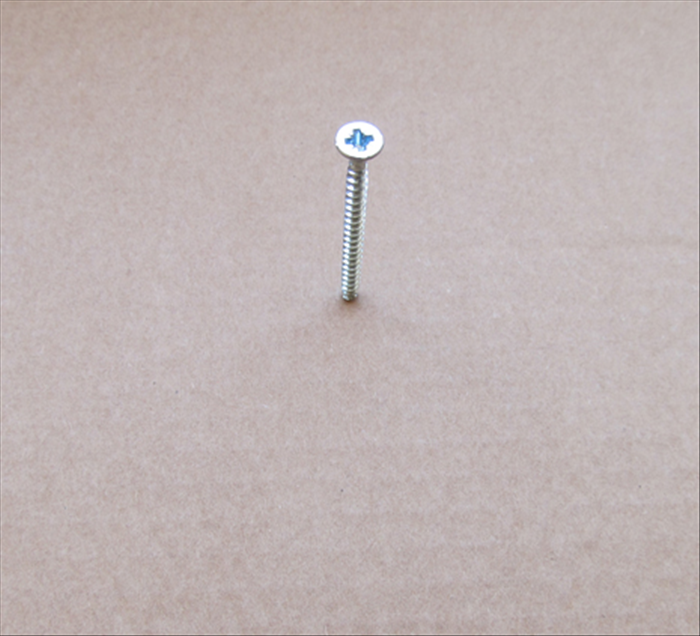
Put the pencil in the hole for the radius you want. Keep the strip flat and taut on the paper. Rotate the strip around the thumbtack so the pencil draws one continuous line. Even pressure on the pencil keeps the line weight steady.
If the circle wobbles
Large circles: use a longer, stiffer strip (thicker cardboard, or thin wood/rigid plastic if you have it) and a firm pivot.
Small circles: use a sharp pencil and holes spaced carefully.
Keep the strip taut; slack makes a wavy line.
Test on scrap paper first so you can resize a hole before you mark the final sheet.
Thicker cardboard helps when you draw many circles or larger radii.
When the line closes cleanly, you have a circle at that radius. Switch pencil holes on the same strip for other sizes.