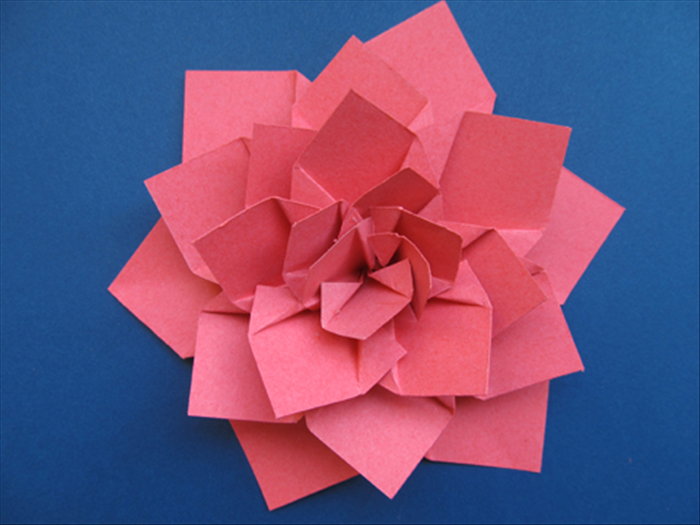
How to Make Paper Kanzashi Flowers: Easy DIY Tutorial
Craft beautiful paper Kanzashi flowers with this easy, step-by-step DIY tutorial. Perfect for beginners and craft enthusiasts.
What You'll Need
- Square paper (origami paper recommended, 3x3 inches or 7.5x7.5 cm)
- Scissors
- Craft glue or hot glue gun
- Tweezers (optional, for precision)
- Ruler
- Pencil
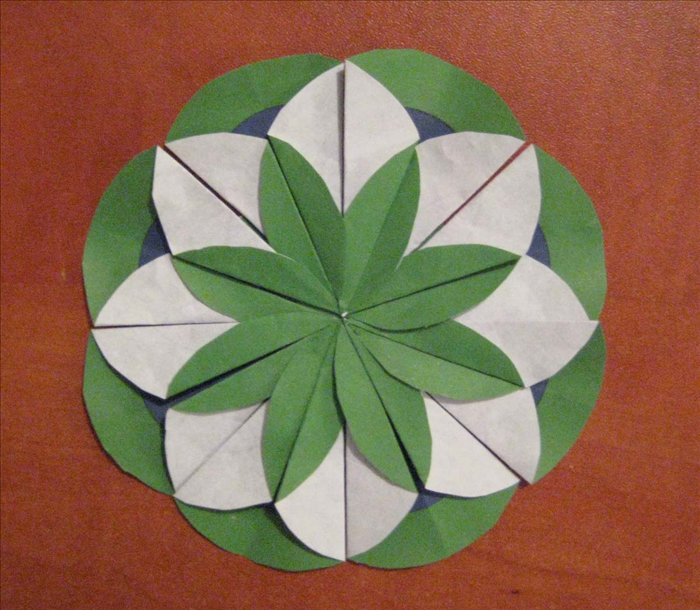
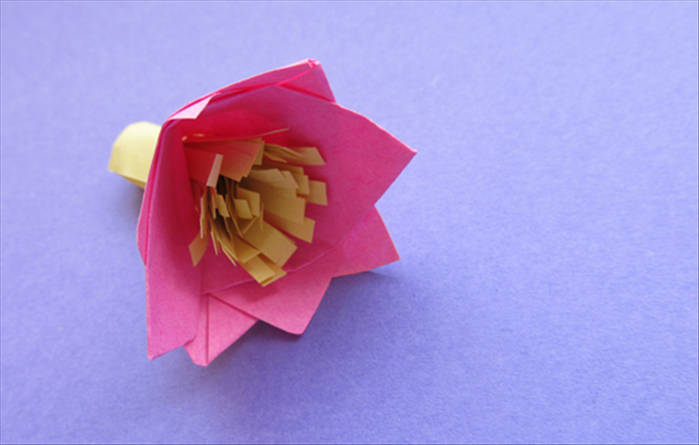
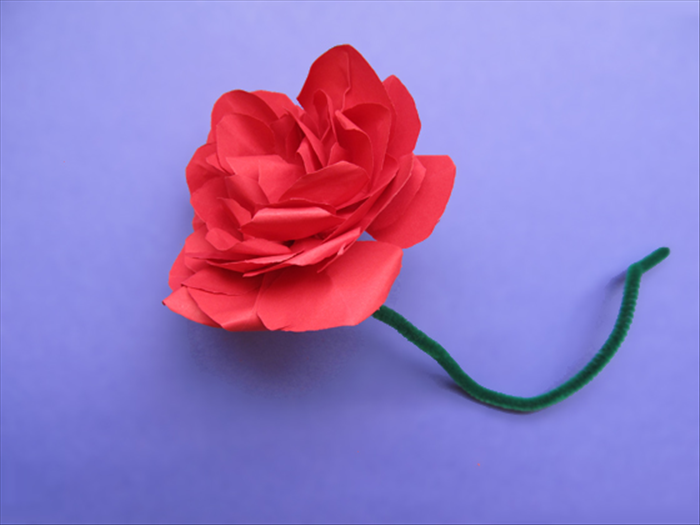
Kanzashi flowers are traditional Japanese hair ornaments known for their intricate beauty and delicate petals. While historically made from silk, this guide will show you how to create stunning Kanzashi flowers using paper – a fun and accessible DIY project perfect for adding a touch of elegance to your crafts, gifts, or home decor. Whether you're a seasoned crafter or just starting, our easy, step-by-step tutorial will guide you through making your very own beautiful paper Kanzashi flowers.
Gather Your Materials and Tools
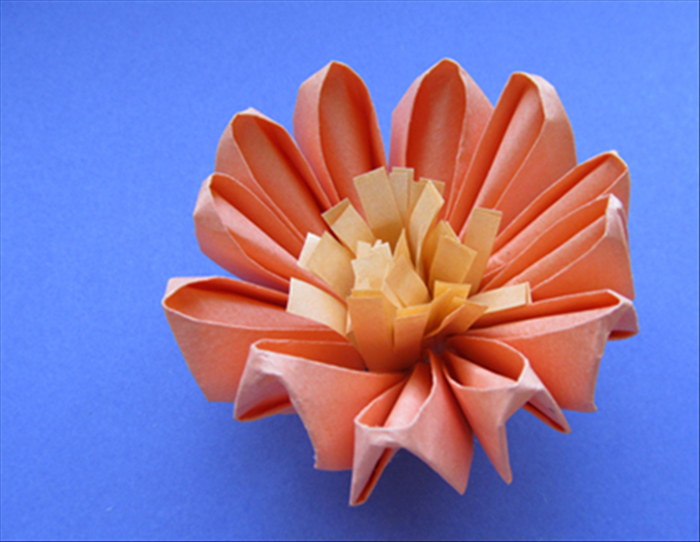
Before you begin crafting, ensure you have all your materials and tools laid out. This includes your square paper (origami paper works best due to its consistent size and texture), scissors, glue, and optional items like tweezers, a ruler, and a pencil. Having everything organized will make the process smoother and more enjoyable.
Prepare Your Petals

Take one square piece of paper. Fold it diagonally to form a perfect triangle. Now, fold this triangle in half again, creating an even smaller triangle. This double fold creates the initial base for your Kanzashi petal.
Shape the Petal
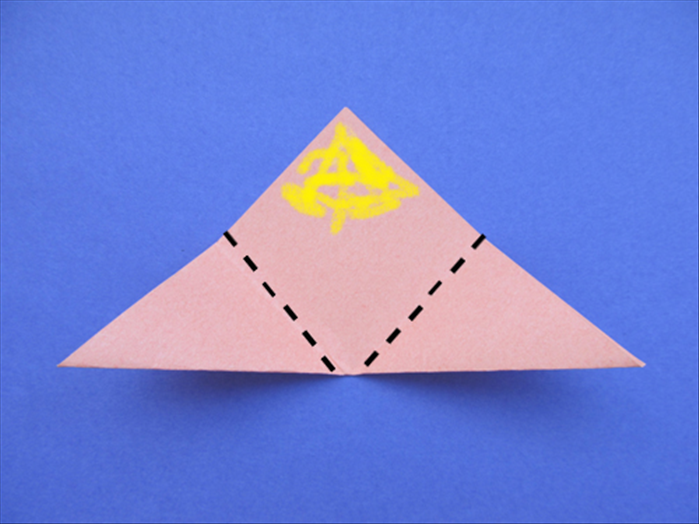
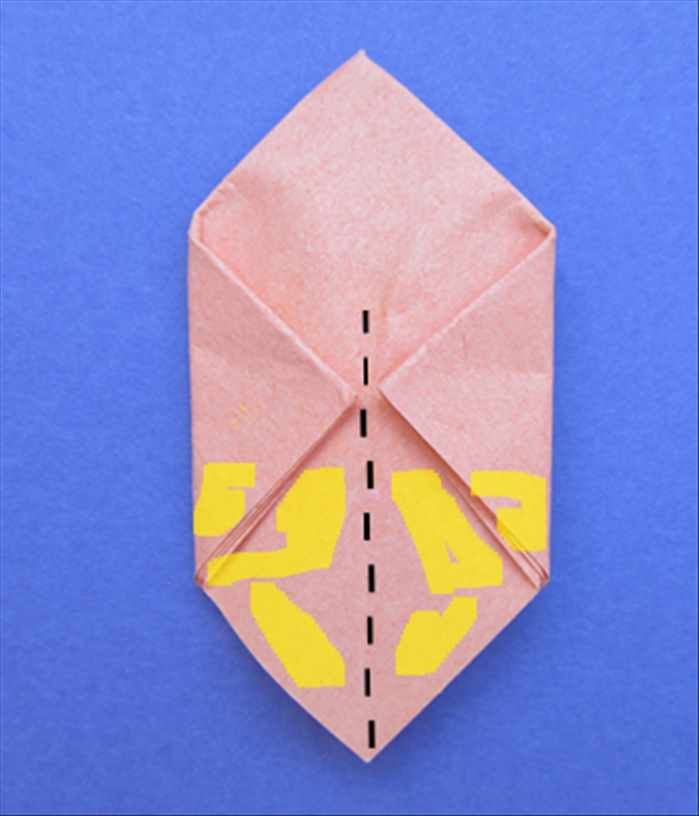
Orient the smallest triangle so that its open edges face away from you. Carefully take the two outer corners and fold them inwards, bringing them to meet precisely at the center point. This action will transform your folded paper into a distinct diamond shape. Next, to define your petal's final look, trim the bottom edges. You can choose a straight cut for a pointed petal or a curved cut for a softer, rounded petal base.
Create More Petals

A typical Kanzashi flower requires between 5 to 7 petals for a full, beautiful appearance. Repeat the 'Prepare Your Petals' and 'Shape the Petal' steps until you have created the desired number of uniform petals. Consistency in size and shape is key for a well-formed flower.
Assemble the Flower Base
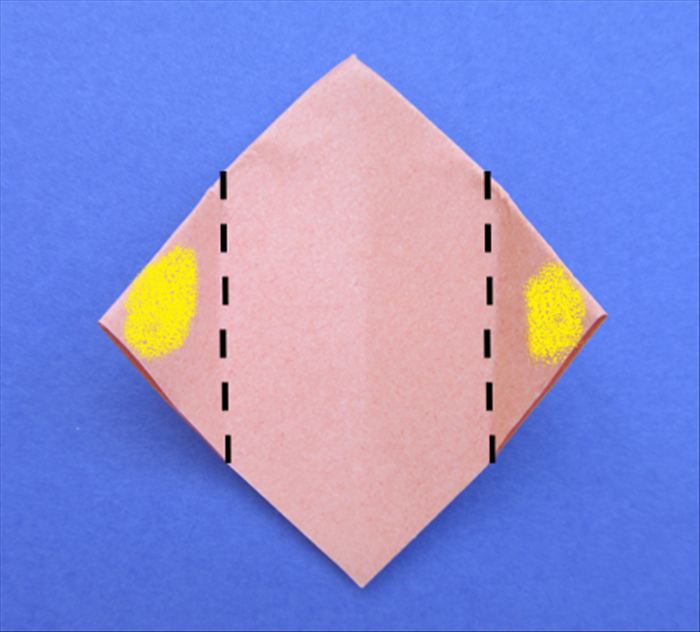
Now it’s time to bring your flower to life! Apply a tiny dab of craft glue or a small line of hot glue to the bottom edge of one petal. Carefully attach another petal to it, slightly overlapping the first. Continue this process, adding petals one by one in a circular arrangement, until you form a complete, cohesive flower shape. Hold each piece firmly for a few seconds as the glue sets.
Add the Center Embellishment
To give your Kanzashi flower a polished finish and hide any central joins, add a decorative embellishment. You can cut a small circle from a contrasting color or patterned paper, or use a decorative bead, button, or rhinestone. Securely glue your chosen embellishment to the very center of your assembled paper Kanzashi flower.
Crafting a single paper Kanzashi flower typically takes approximately 30-60 minutes. This timeframe can vary based on your experience level, the complexity of your chosen petal design, and whether you are making a single flower or a bouquet.
Tips for Success
<ul><li>Variety is Key: Experiment with different colors and patterns of paper to create a vibrant assortment of flowers.</li><li>Personalize Petal Shapes: Adjust your cutting technique at the petal base to create various shapes—pointed, rounded, or even scalloped edges.</li><li>Choose the Right Paper: For a more durable and robust flower, consider using slightly thicker paper stock, although standard origami paper works wonderfully for delicate results.</li><li>Practice Makes Perfect: If you're new to paper folding, practice your initial folds and cuts on scrap paper first to ensure precision before working on your final pieces.</li></ul>
Don't fret if your first few attempts aren't perfect – that's part of the crafting journey! <ul><li>Non-Uniform Petals: If your petals aren't consistent in size or shape, review your initial folding steps to ensure they are precise. Use a ruler and pencil for marking if needed, and make sure your cuts are consistent.</li><li>Flower Not Holding Shape: If your assembled flower seems flimsy, you might need to use a bit more glue or a stronger adhesive. Hold the glued pieces together firmly for a longer duration to allow the adhesive to fully set. A hot glue gun can offer a quicker, stronger bond.</li></ul>
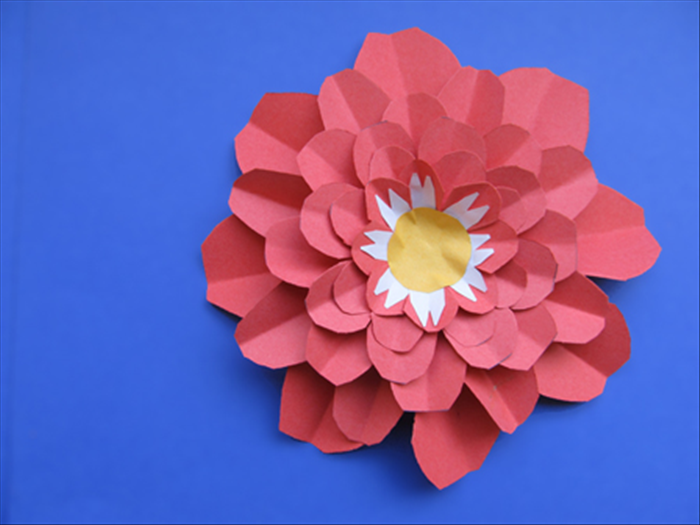
Once you've mastered the basic paper Kanzashi flower, the creative possibilities are endless! <ul><li>Layering: Create fuller, multi-dimensional flowers by layering different sizes of petals. Start with larger petals as a base and add smaller ones on top.</li><li>Accessories: Transform your flowers into beautiful hair accessories by attaching them to hair clips, pins, or combs.</li><li>Decorations: Use smaller flowers to adorn greeting cards, gift tags, or scrapbooks. Larger flowers can become stunning embellishments for home decor, wreaths, or party decorations.</li></ul>
Creating paper Kanzashi flowers is a rewarding and relaxing craft that allows for endless creativity. With this easy DIY tutorial, you're well on your way to crafting beautiful paper artistry. Share your creations and enjoy the process!