Easy Paper Flowers from Circles: A Fun DIY Craft
Discover how to make beautiful, simple paper flowers using just a few circles! Perfect for kids and adults, these handmade decorations are great for gifts, parties, or brightening any room. This easy tutorial will guide you step-by-step.
Looking for a fun, creative, and budget-friendly craft project? These delightful paper flowers made from simple paper circles are perfect! Easy enough for children to master yet versatile enough for sophisticated adult decorations, they add a charming touch to gifts, party decor, or any space needing a pop of color. Let's get crafting!
Estimated Completion Time: This project typically takes 15-30 minutes per flower, depending on size and detail. Great for quick craft sessions!
Step 1: Gather Supplies and Trace Circles
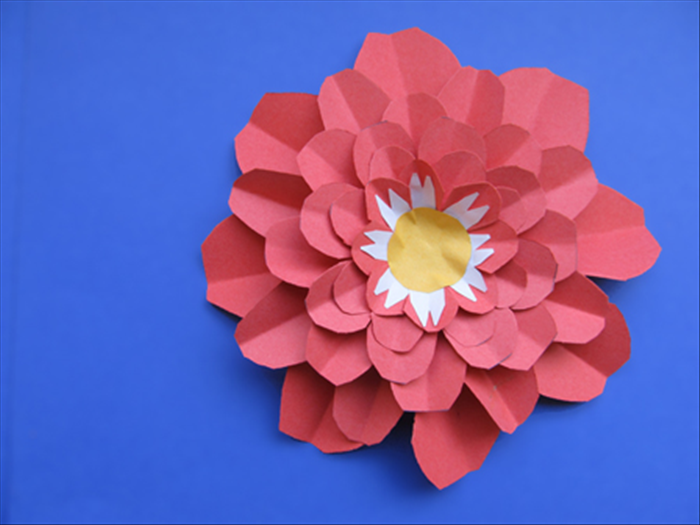
Begin by selecting your paper. Choose colors that complement each other or go for a vibrant, mismatched look. Using your pencil and chosen templates, trace 5-8 circles of the same size for each flower. The more circles you use, the fuller your flower will be. If you want a two-tone flower, you can trace fewer circles of a different color for the inner layer.
Step 2: Cut Out Your Paper Circles
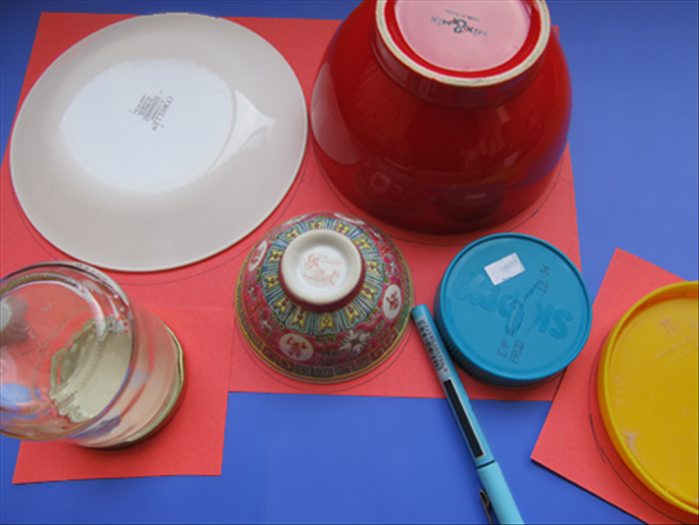
Carefully cut out all your traced circles. Aim for smooth, clean edges. This precision will make your finished flower look much neater. If working with children, pre-cutting circles can be helpful, or supervise closely as they cut.
Step 3: Fold Each Circle into a Petal
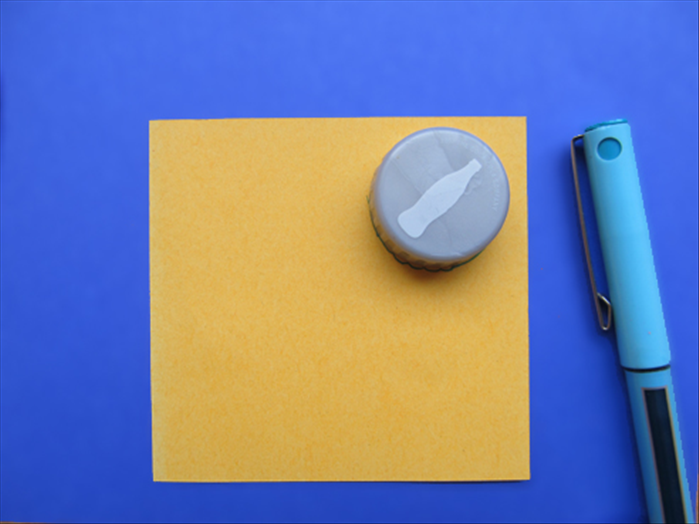
Take one paper circle. Fold it in half, then fold it in half again, creating a quarter-circle shape. This will form a single petal. Repeat this process for all your cut circles. Ensure your folds are crisp and neat; pressing them down firmly will help. For a slightly different petal shape, you can fold it in half, then bring the two outer edges towards the center fold, creating a 'fan' or 'ice cream cone' shape.
Step 4: Assemble Your Flower Petals
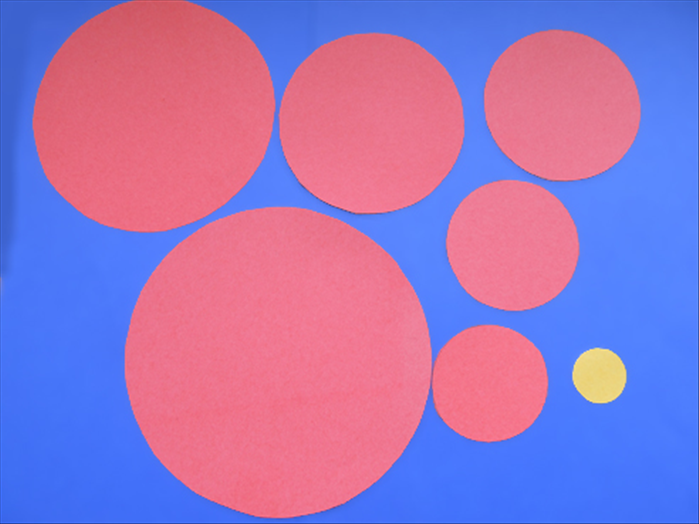
Now it's time to assemble! Take one folded petal and apply a small dab of glue to the outer edge of one of its folded 'flaps'. Press it firmly against the outer edge of another folded petal. Continue gluing the petals together in a circular pattern, overlapping them slightly at the bases. Arrange them so that they form a full, open flower shape. Allow the glue to dry completely for a sturdy flower.
Step 5: Add a Decorative Center and Finish
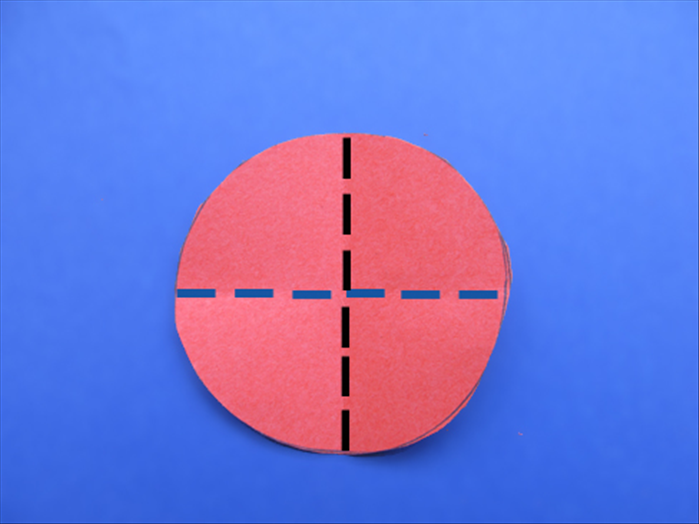
Once your petals are securely glued, you can add a decorative center. Cut a smaller contrasting circle, or use a button, bead, or a small pom-pom. Glue it firmly in the middle of your flower. For an extra touch, you can even curl the edges of the petals gently with a pencil or your finger to give them a more organic, dimensional look.
For a fuller flower, try layering different sizes of circles. Start with a base of larger petals and add smaller, folded circles on top for a multi-dimensional effect. You can also vary the fold: instead of folding twice, try folding a circle into thirds for a different petal look!
When working with scissors, especially with young children, always ensure proper supervision to prevent accidents. If using liquid glue, avoid getting it in eyes or mouth, and wash hands after use.
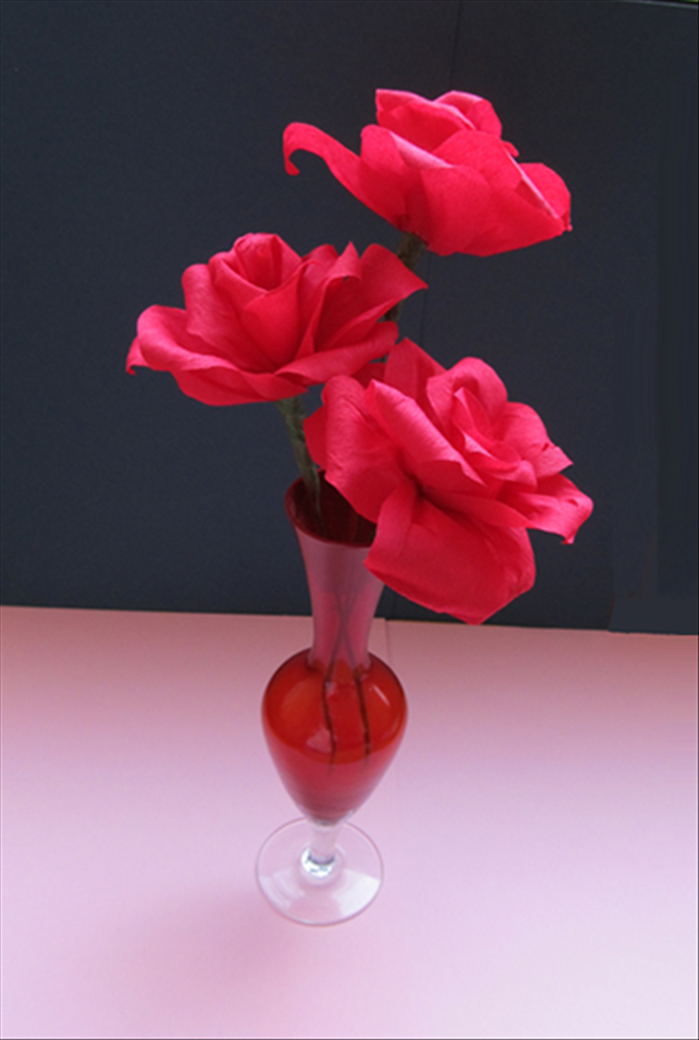
These easy paper flowers are incredibly versatile! Use them as unique gift toppers instead of bows, string them together to create a festive garland, glue them onto cards or scrapbooks, or simply arrange them in a vase for a permanent, vibrant bouquet. Experiment with different paper textures, patterns, and embellishments to make each flower uniquely yours. Happy crafting!