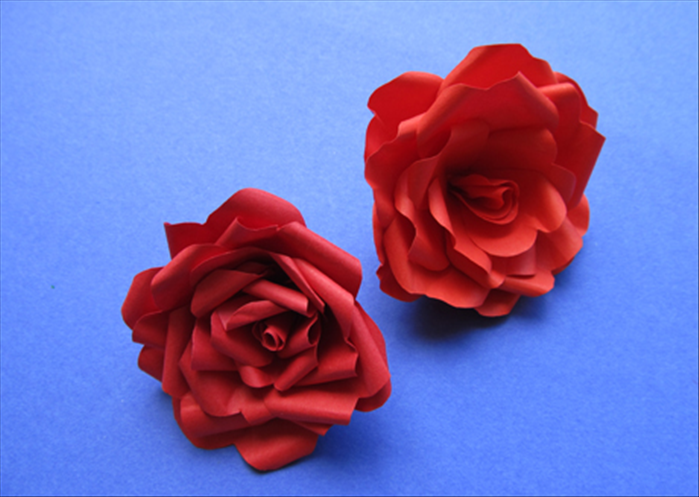
How to Make a Paper Rose Without Glue
Cut an 8×8 inch spiral, roll it tight from the outside, and tuck the center disk up into the coil. No glue. 10–20 minutes.
What You'll Need
- Colored paper, one 8×8 inch (20×20 cm) square
- Craft scissors
- HB pencils (pack)
One square is the whole build. No glue.
One square of paper, scissors, no adhesive. You cut a spiral, roll it from the outer end, then push the leftover center disk up into the coil so friction holds the bloom. Default size: 8×8 inches (20×20 cm) for a medium rose. Construction or origami paper; cardstock makes a stiffer bloom that is harder to roll. 10–20 minutes.
Cut the square
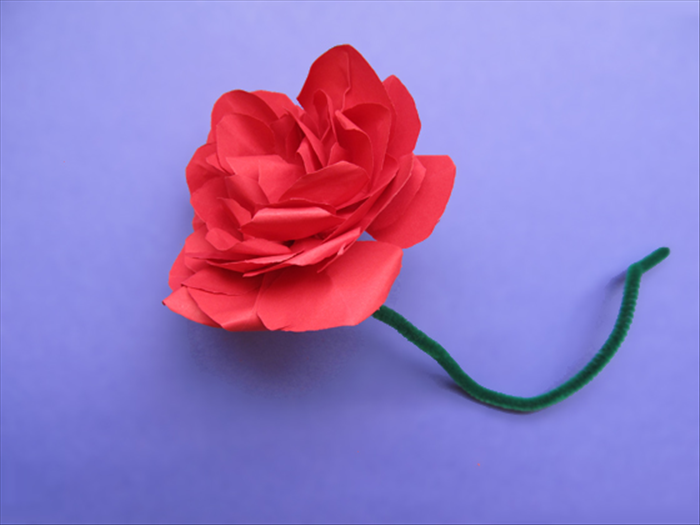
If your sheet is rectangular, fold one corner to the opposite long edge and cut off the leftover strip so you have an 8×8 inch square. Flatten it.
Draw the spiral
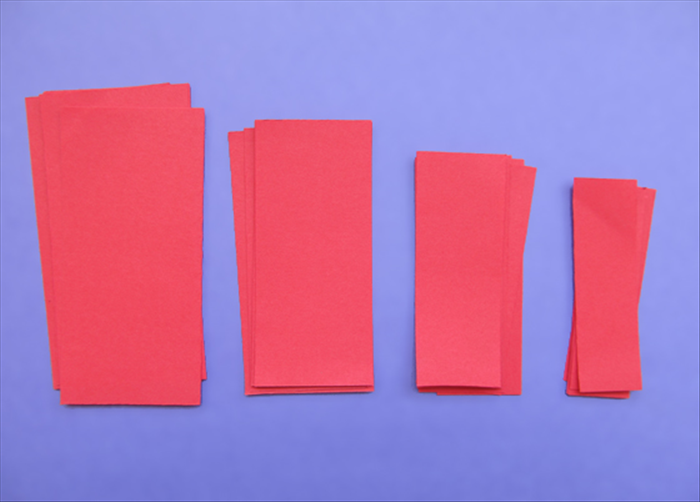
From near one outer corner, draw a spiral that coils toward the center. Keep the gap between turns about 1/2–3/4 inch (1.2–2 cm) — that gap is petal width. Leave a small disk in the center, about 3/4 inch (2 cm) across. Stay a little inside the paper’s outer edge.
Cut along the spiral

Cut on the line in one continuous pass until you reach the center disk. You now have a long coil with a small circle still attached at the inner end.
Roll a tight core
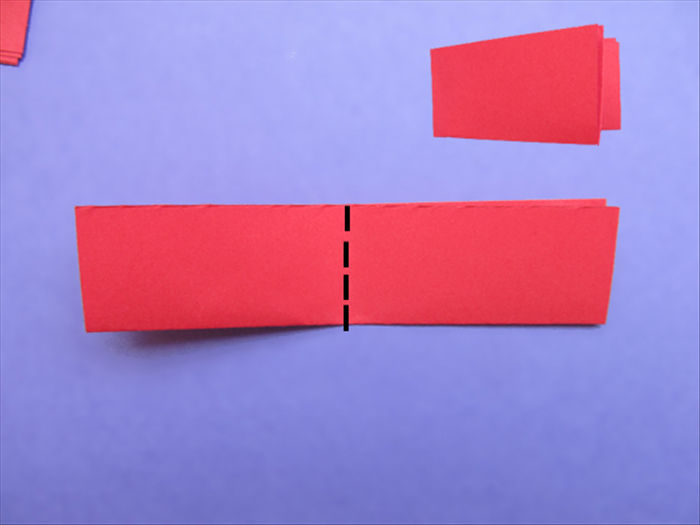
Pick up the outer end. Roll it tightly around itself (or around a pencil, then slide the pencil out). Keep the bottom edge of the strip lined up so the rose sits flat. This tight core is what keeps the rose from unwinding — there is no glue.
Roll out, then tuck the disk
Keep rolling, easing your grip a little as you go so the outer turns sit looser than the core. When you reach the center disk, push that disk up into the bottom of the coil. The overlapping layers pinch it and lock the rose.
Shape the petals
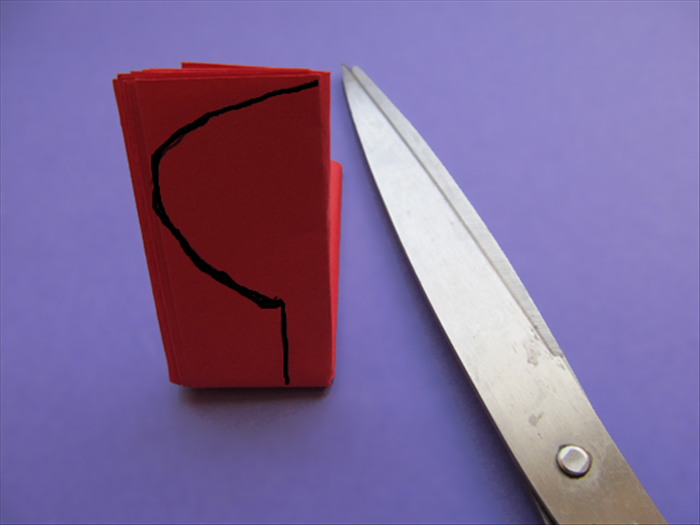
Let the outer turns relax. Curl a few outer edges out with a fingertip for a more open bloom, or leave them tight. If the rose loosens, unroll to the core, roll tighter, and seat the disk again.