DIY Paper Roses: Craft Stunning Flowers from Recycled Materials
Learn to craft gorgeous paper roses using everyday items like CDs & tuna cans. This easy, step-by-step guide is perfect for beginners to create beautiful handmade flowers.
What You'll Need
- Colored paper or cardstock (various colors)
- Old CD (or 4-inch round template)
- Empty tuna can (cleaned and label removed)
- Scissors
- Pencil
- Ruler (optional, for measuring strip width)
Transform everyday recycled items into beautiful paper roses. This guide uses a CD for tracing, a tuna can for shaping, and colored paper to create realistic flowers.
Prepare Your Petal Templates
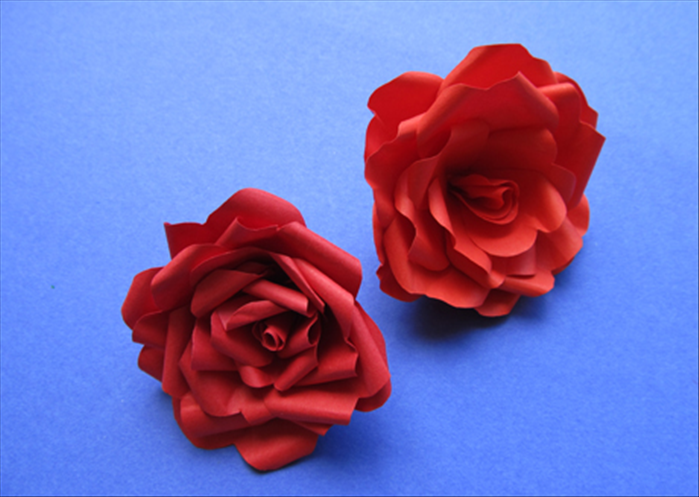
Place the old CD on the colored paper and trace around it with a pencil. Repeat to create 8-10 paper circles. These will become the petals of your rose.
Cut the Petal Spirals
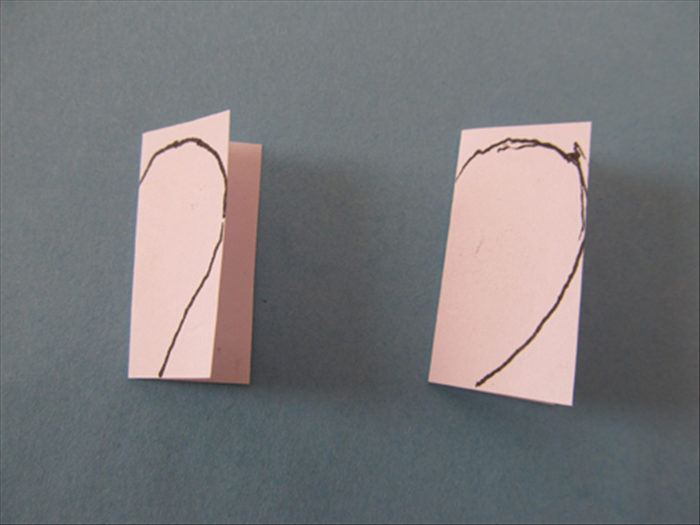
Cut each paper circle into a continuous spiral. Start from the outer edge and cut inwards in a flowing motion, creating a strip about 1 inch wide. Keep the strip even for best results.
Sculpt Petals with a Tuna Can

Wrap each paper spiral strip around the clean, empty tuna can. The circular shape will give the paper a gentle curve, making the petals look more natural. Hold for a few seconds, then remove.
Coil the Rose Bud

Take one shaped spiral and tightly coil it from the inner end to form the center bud. Keep the coil snug to create a compact core.
Form the Rose Petals

Continue wrapping the remaining pre-shaped spirals loosely around the bud. Let the paper fall naturally, using the curves you created to form layered petals. Adjust the tightness to control the bloom size.
Secure the Rose Base

Once you are happy with the rose shape, secure the end of the spiral to the base using a small amount of glue or tape. Press firmly to hold the flower together.
Tip
Use different paper colors and sizes to create a bouquet. For a more realistic look, slightly curl the outer edges of the petals with your fingers.
Warning
If using a hot glue gun, exercise caution to avoid burns. Adult supervision is recommended for children.