How to Make Easy Paper Tulips: Fun Craft for Kids
Create paper tulips with this step-by-step craft guide for children aged 6+ and beginners.
What You'll Need
- Colored paper (red, pink, yellow, orange for flowers; green for stems and leaves)
- Scissors
- Glue stick or craft glue
- Pencil
- Ruler (optional)
Make paper tulips using colored paper, scissors, and glue. Suitable for ages 6 and up.
Gather Your Materials
Collect all supplies: colored paper, scissors, glue, pencil, and optional ruler.
Prepare the Tulip Head Base
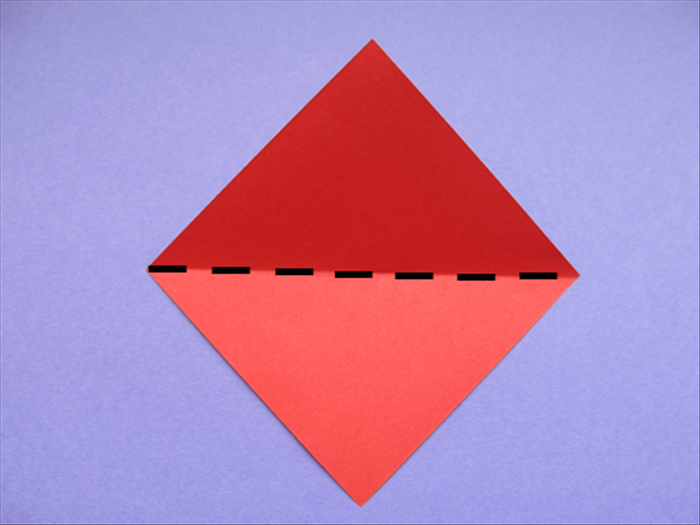
Cut a 6x6 inch (15x15 cm) square from colored paper. Fold it diagonally in both directions to create creases, then unfold.
Shape the Tulip Petals

Fold the square into a triangle by bringing two opposite corners together. Take the bottom right corner and fold it upward to meet the top point. Repeat with the bottom left corner. Flip and repeat on the other side.
Craft the Stem and Leaves

Cut a strip of green paper about 0.5 to 1 inch wide and 8-10 inches long. Roll it tightly from one end to form a stem, securing the end with glue. Cut leaf shapes from green paper and glue them to the stem.
Assemble Your Paper Tulip

Open the bottom of the folded tulip head slightly. Apply glue inside the opening and insert the top of the stem. Press firmly to secure.
Display Your Creation

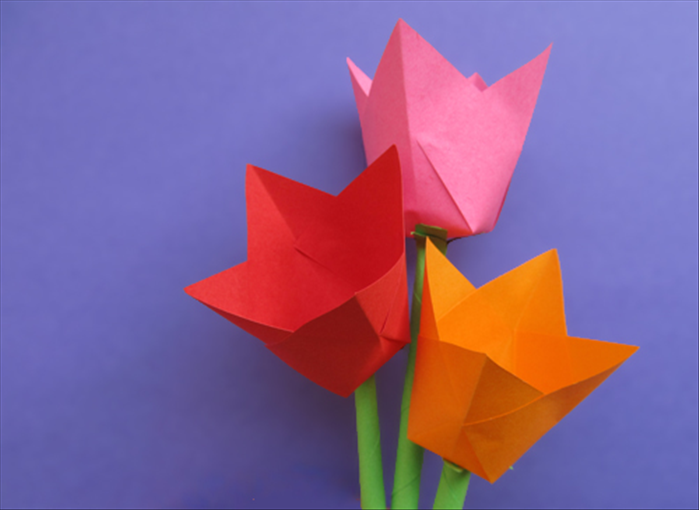
Place your finished paper tulip in a vase or arrange with other tulips to create a bouquet.
Tip
Use patterned paper for unique tulip heads or different shades of green for stems and leaves.
Safety
Always use scissors with care. Children should have adult supervision when cutting paper.