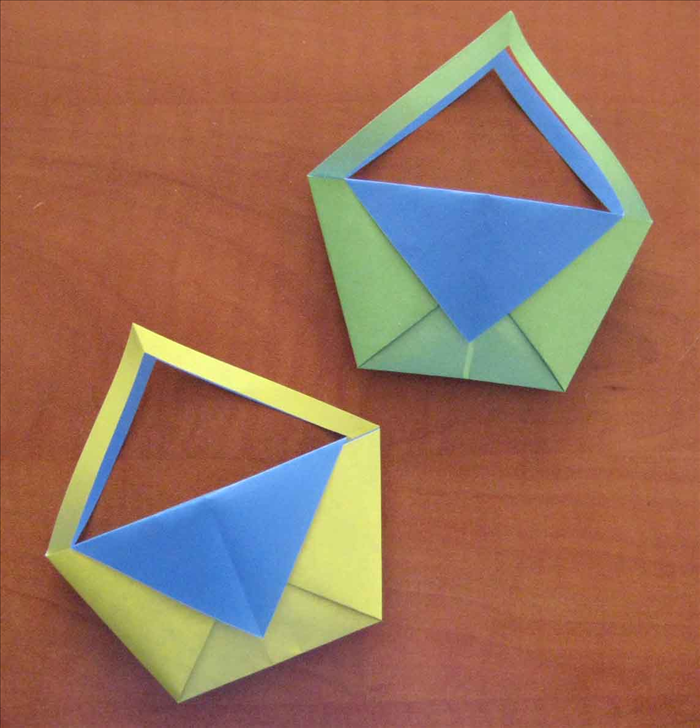
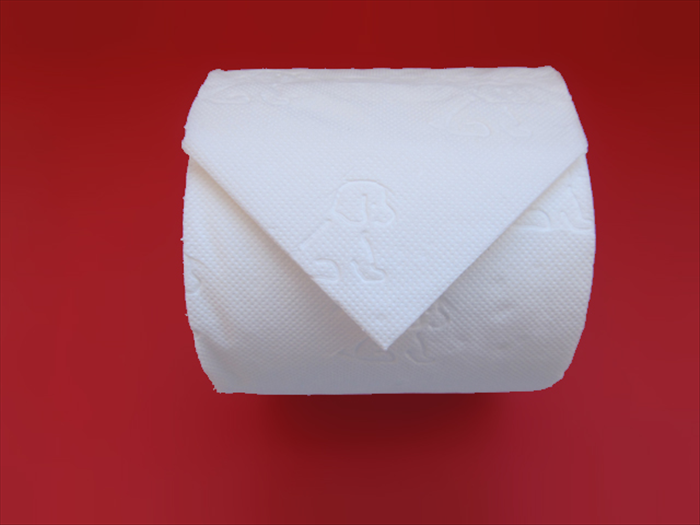
How to fold a cute origami tissue holder
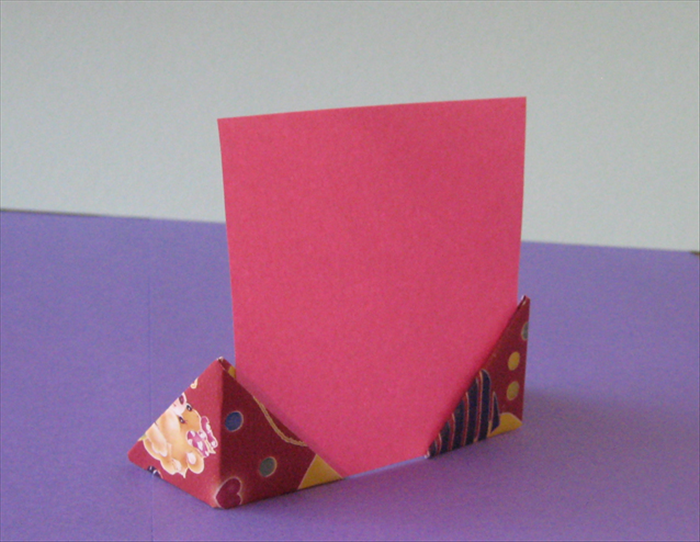
This guide will show you how easy and quickly you can fold a piece of paper to make a tissue holder. It is a good way to store a few tissues in your glove compartment or pocketbook.
Easy 18,971 views
What You'll Need
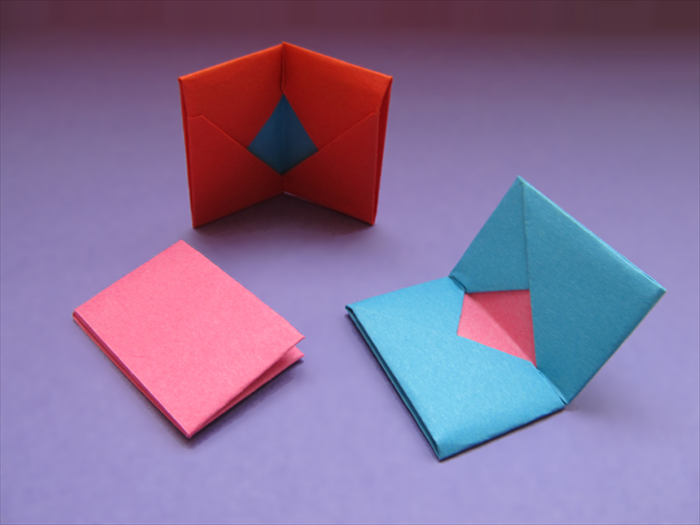
- origami wallet
- origami envelope
- origami tissue holder
- useful origami
- origami
- paper crafts
Steps
- 1
Step 1
 To make an origami tissue holder you need 1 square sheet of paper. It looks best if the paper has a different color on each side.
 - 2
Step 2
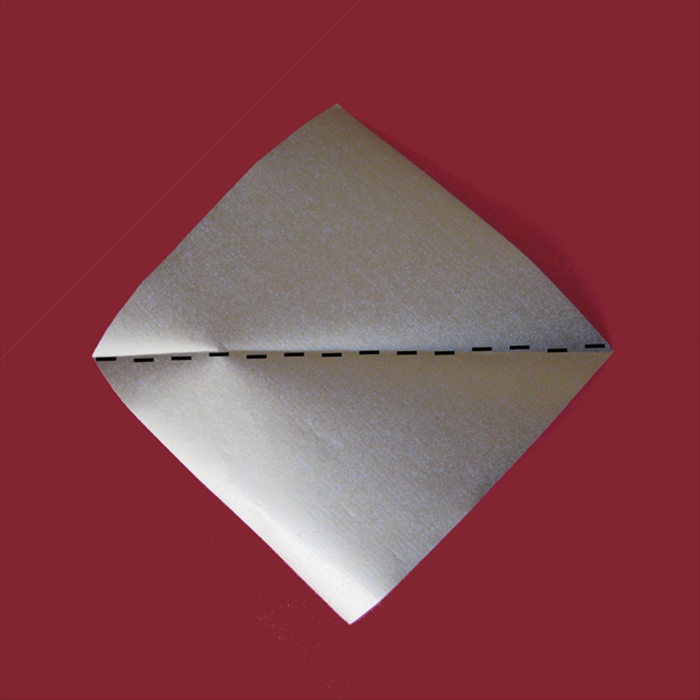 Place the paper with the points at the top, bottom and sides. Fold it in half horizontally and unfold.
 -
- 3
Step 3
 Fold the top and bottom points to the center crease you just made.
 - 4
Step 4
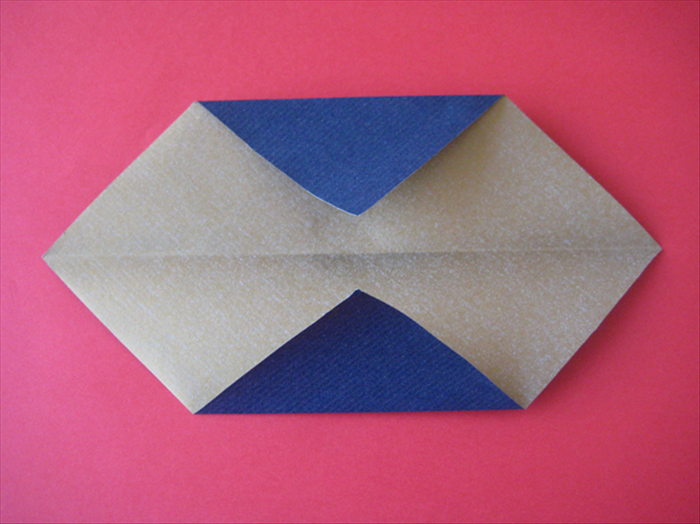 result
 - 5
Step 5
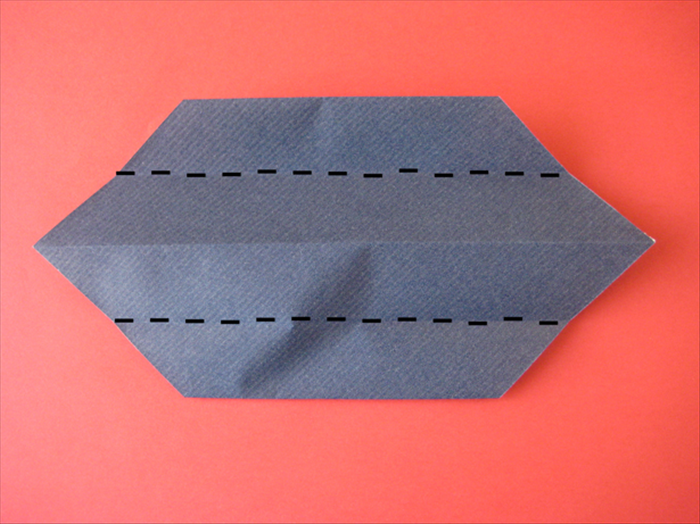 Flip the paper over to the back side. Bring the top and bottom edges to align with the center crease. A triangle of paper will pop up from underneath. See the next picture for result.
 - 6
Step 6
 result
 - 7
Step 7
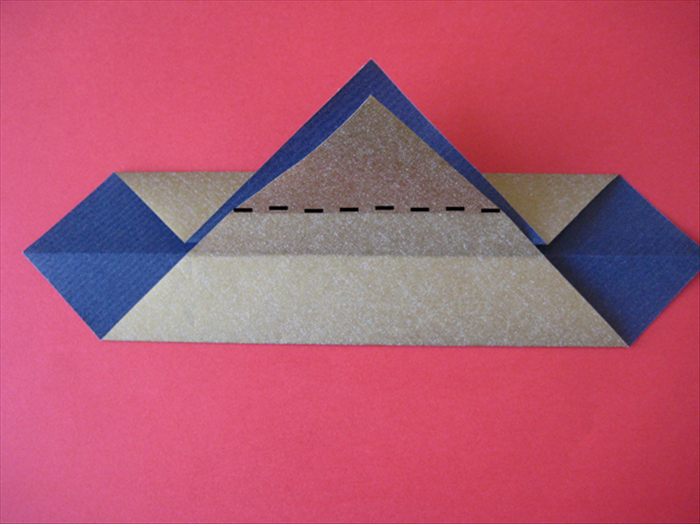 Bring the bottom point up to the top point. Fold it back down halfway from the center crease. To have the same result on the opposite side, lift the new layer at the top and fold the point down and.back half way from the center crease.
 - 8
Step 8
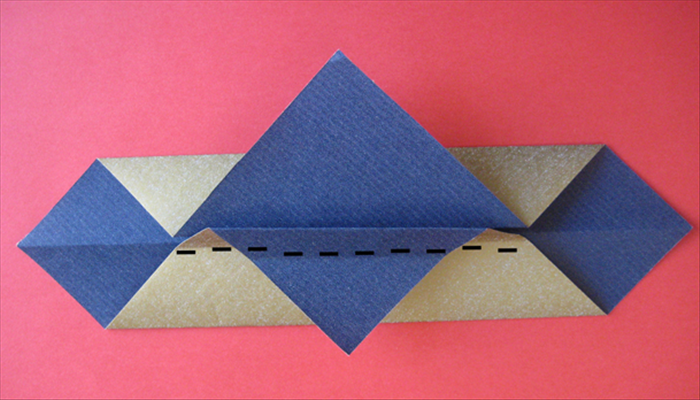 Fold the top of the flap you just made along the center crease under it.
 - 9
Step 9
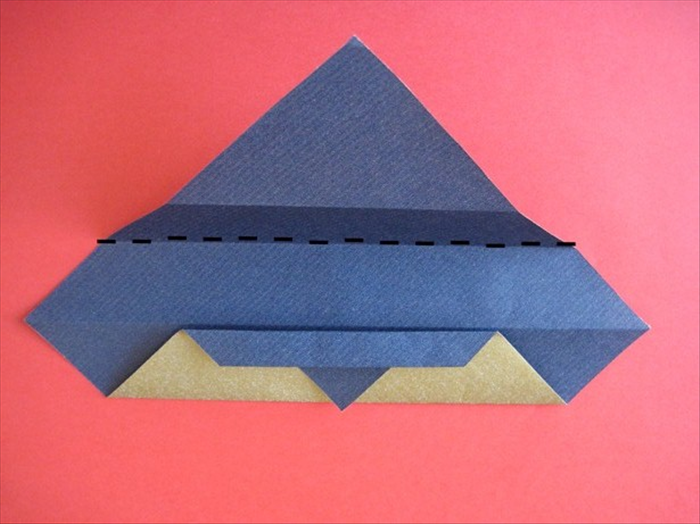 Unfold and then refold along the second crease down from the top.
 - 10
Step 10
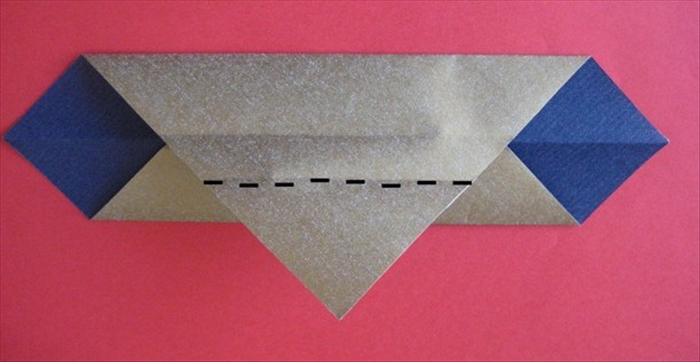 Fold the bottom point on the flap up to the top edge.
 - 11
Step 11
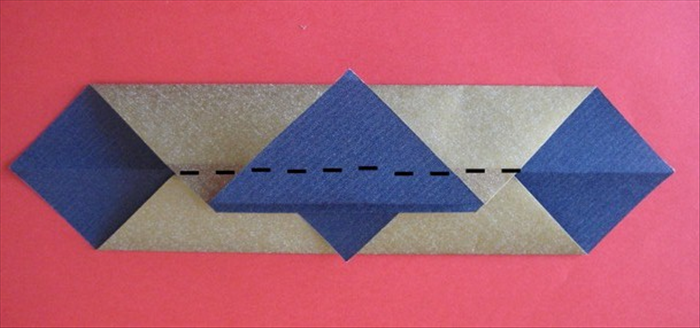 Fold the top flap along the center crease underneath.
 - 12
Step 12
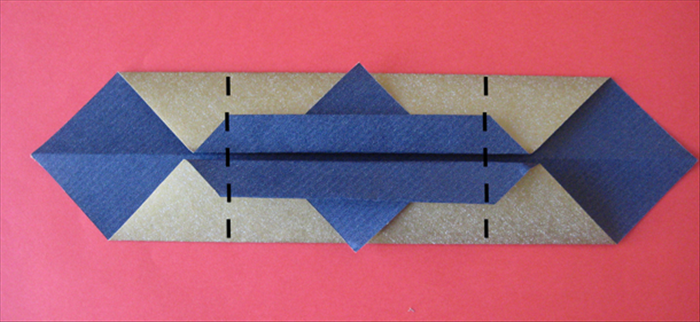 Fold both sides to the back where the straight edge of the little triangles end.
 - 13
Step 13
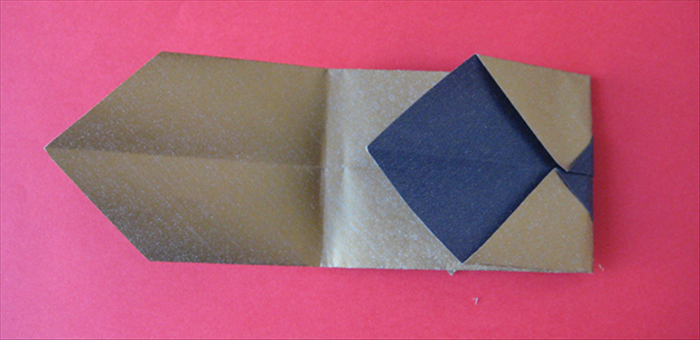 Bring the left side to the right and insert it into the pocket.
 - 14
Step 14
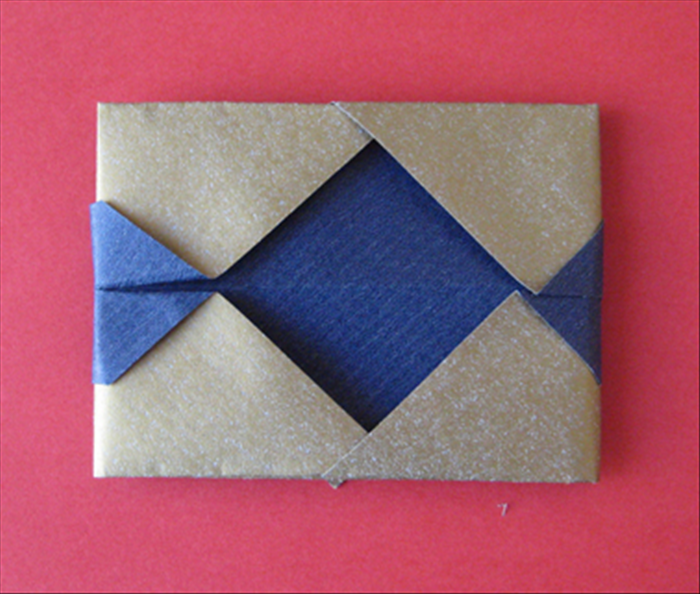 Result
 - 15
Step 15
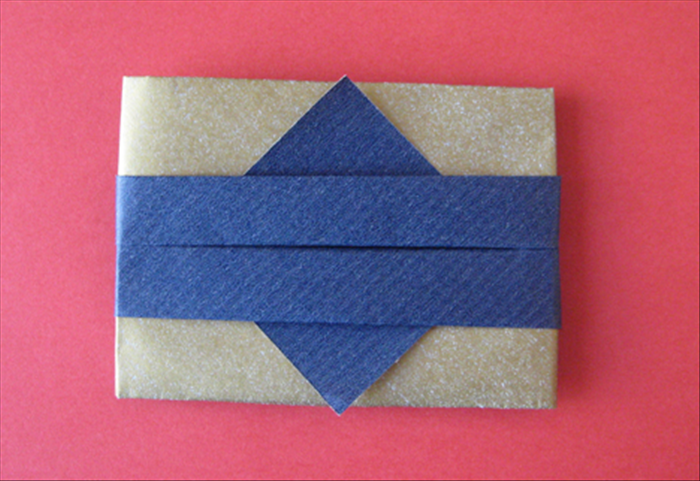 Flip the model over to see the finished tissue holder.
 - 16
Step 16
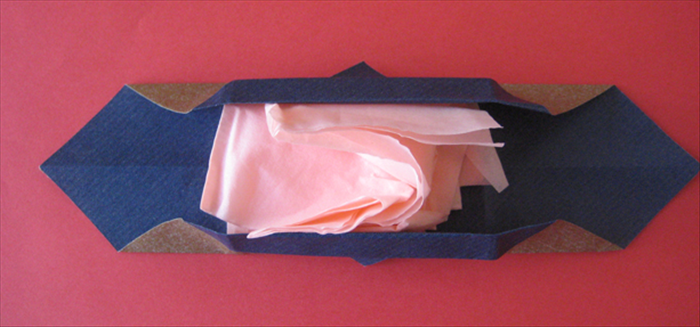 To insert tissues you need to unfold the sides. Place the tissues in center with one corner of the tissue sticking up (so you can pull it out) and then refold the sides.
 - 17
Step 17
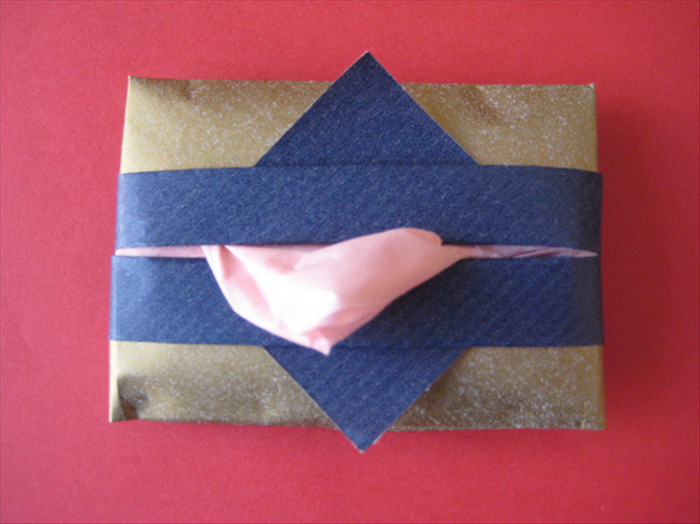
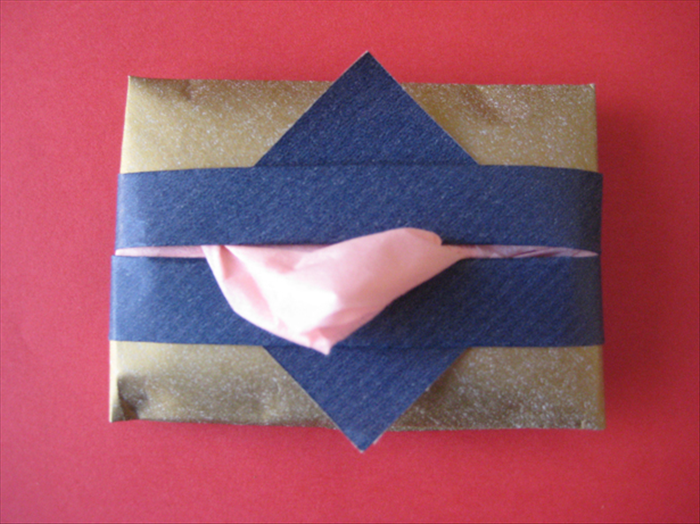 .Your tissue holder with tissues is ready