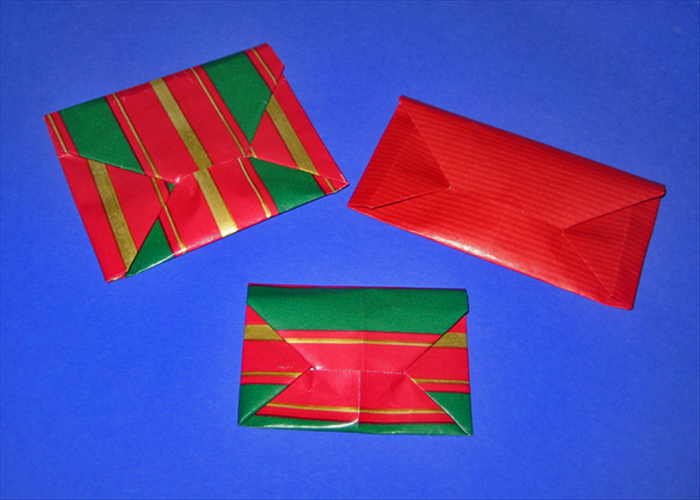
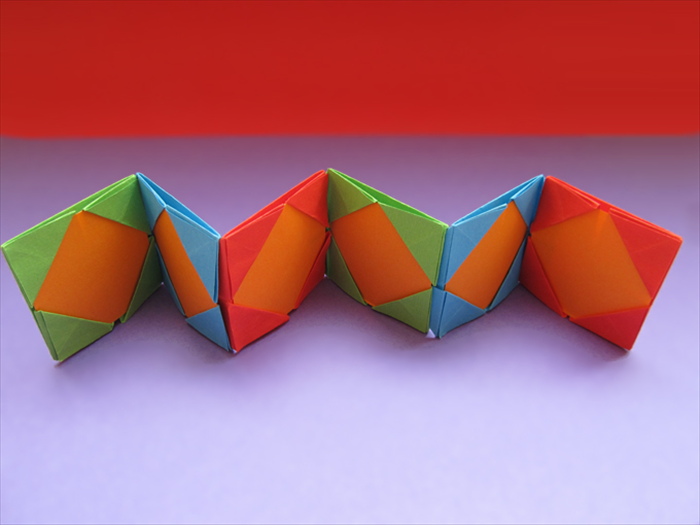
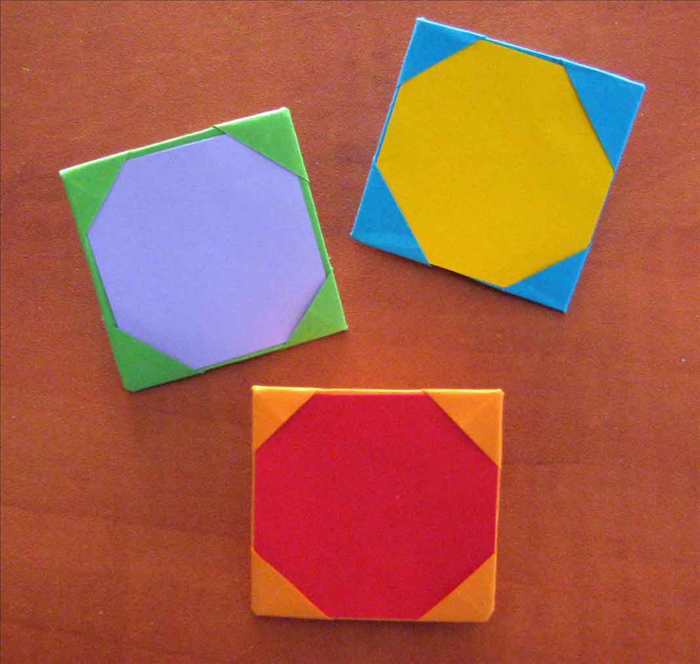
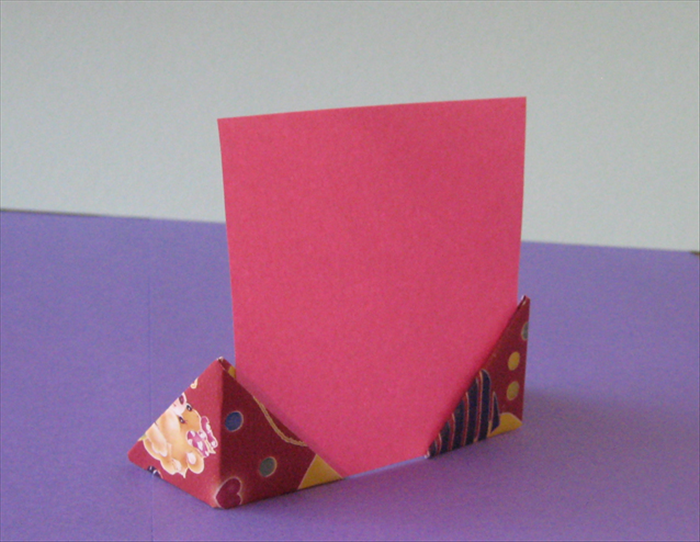
How to fold a picture or note holder, also known as the traditional origami magic pocket.
This quick easy model can be used as a picture stand . You can make a few and show 3 or 4 pictures at a time.
Easy 11,253 views
What You'll Need
- origami picture frame
- picture holder
- origami
- easy origami
- useful origami
Steps
- 1
Step 1
 Materials: 2 identical rectangle papers, each with the length twice the width
 - 2
Step 2
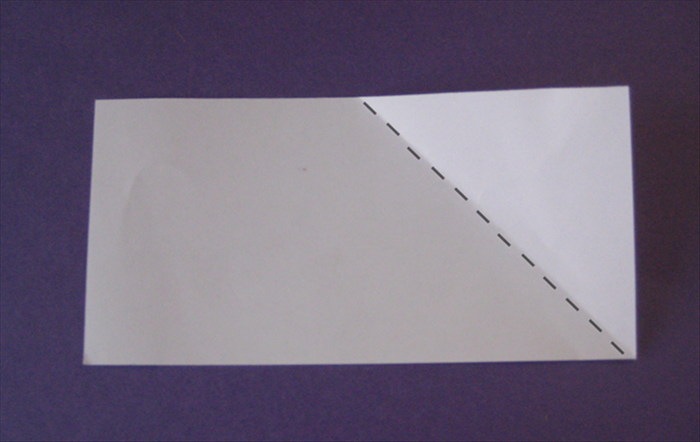 Fold the right top corner down to bottom middle point.
 -
- 3
Step 3
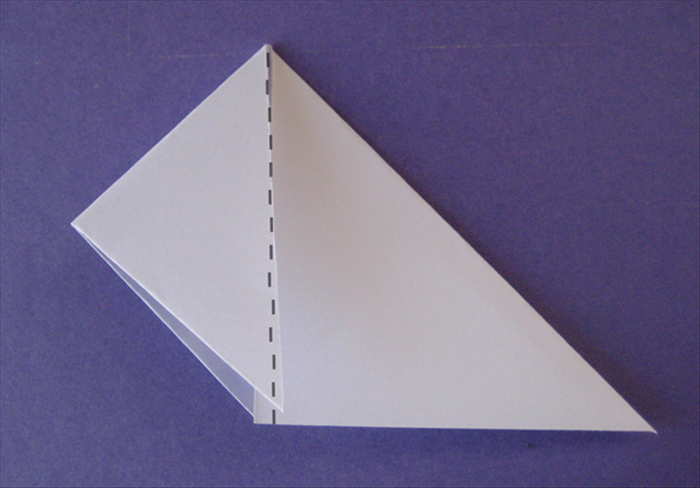 Fold the left point to the right edge.
 - 4
Step 4
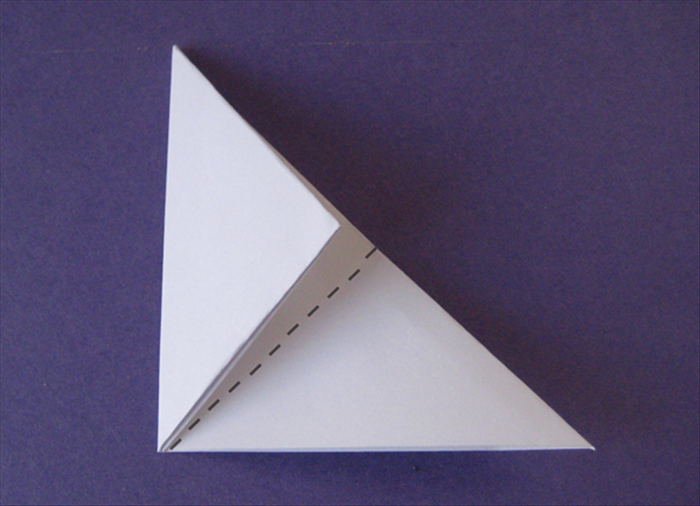 Fold the left side up to crease in half. Unfold
 - 5
Step 5
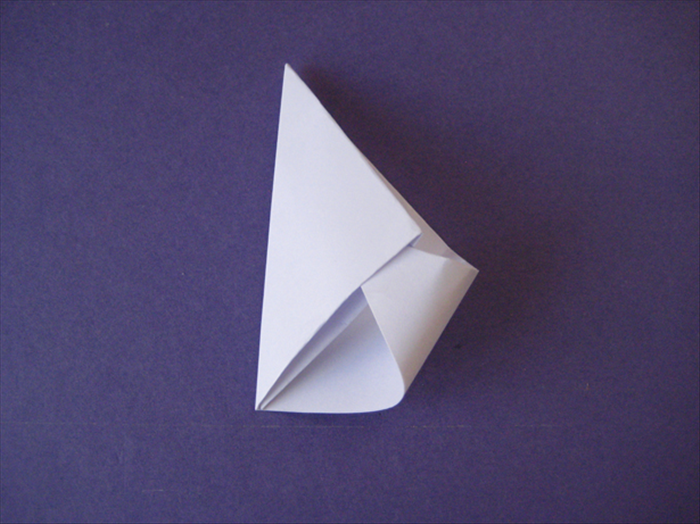 Bring up the right side and push it into the pocket.
 - 6
Step 6
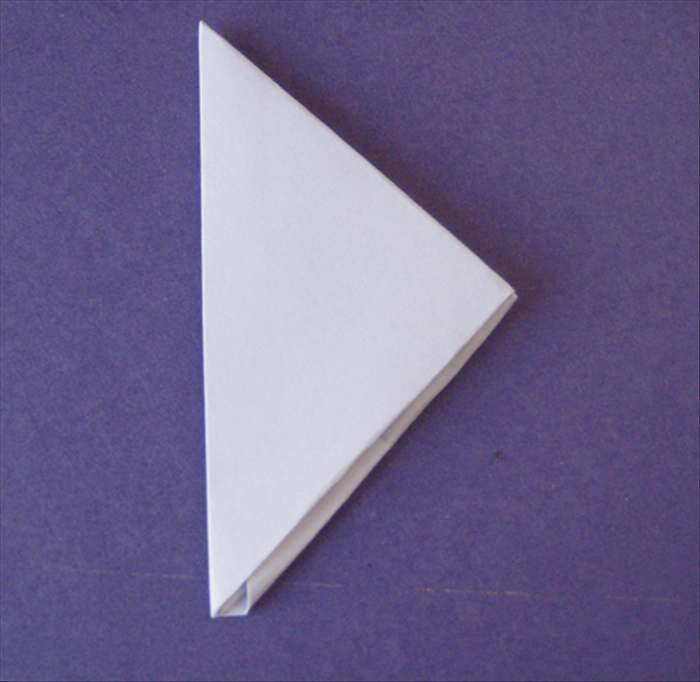 Result
 - 7
Step 7
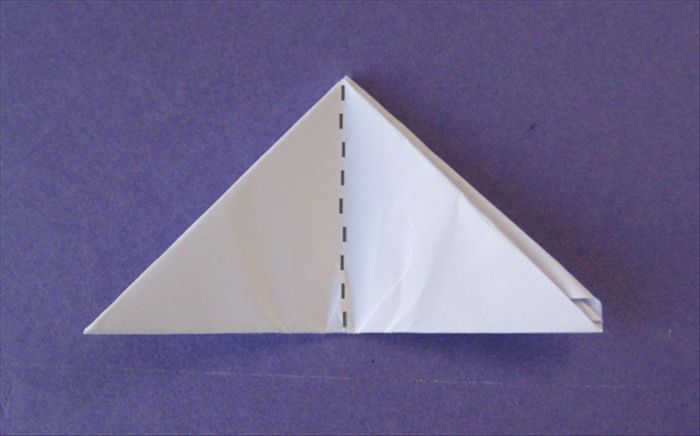 Rotate the paper so that long edge is on the bottom. Fold it in half. Your magic pocket is done!
 - 8
Step 8
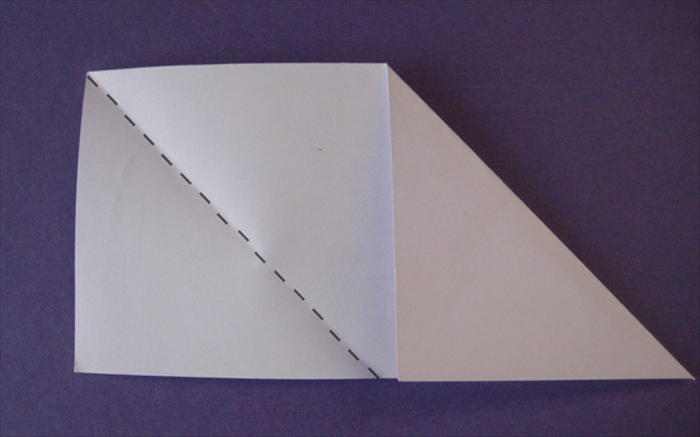 Fold left bottom corner to top middle point.
 - 9
Step 9
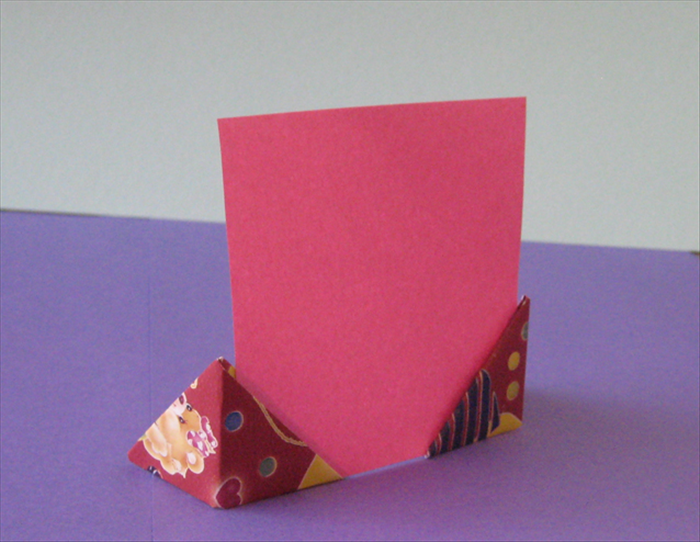 Repeat the instructions for the second paper and insert the bottom of your picture in the pockets as shown.
 - 10
Step 10
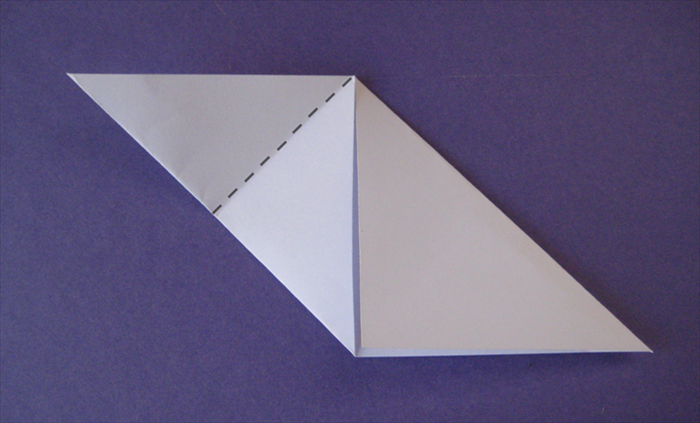 Fold the left side down in half.