How to Make an Origami Picture Frame and a Photo Album
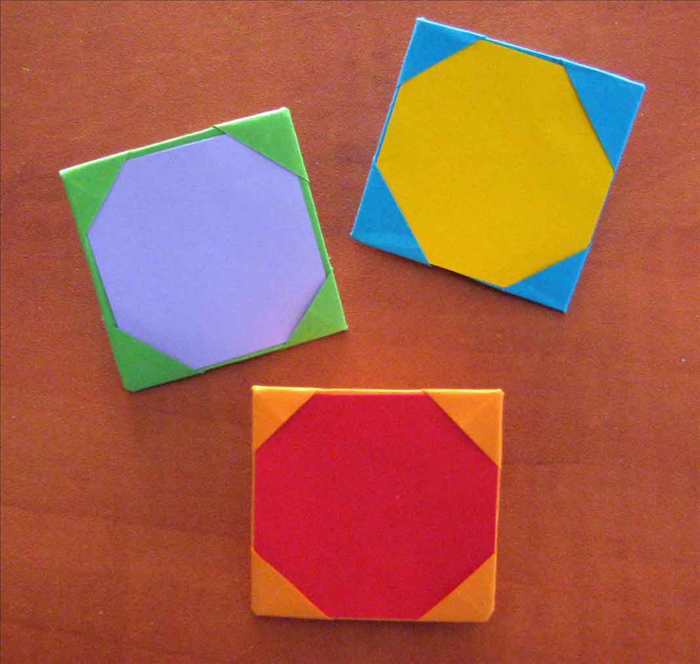
Fold square paper into picture frames, then connect them to make a simple photo album.
What You'll Need
- Square origami paper, 6x6 inch or 8x8 inch (one sheet per photo)
- Photos sized to fit inside the frame opening
- Tape or glue (to connect frames)
- Flat, clean surface
- Ruler and pencil (optional, for precise folds)
- Bone folder (optional, for crisp creases)
Use square origami paper to fold a frame for each photo. Connect the finished frames with tape or glue to form an album.
Step 1: Prepare the Paper
Start with a square sheet, color side up. If using patterned paper, decide which side will be the frame border.
Step 2: Make Base Creases
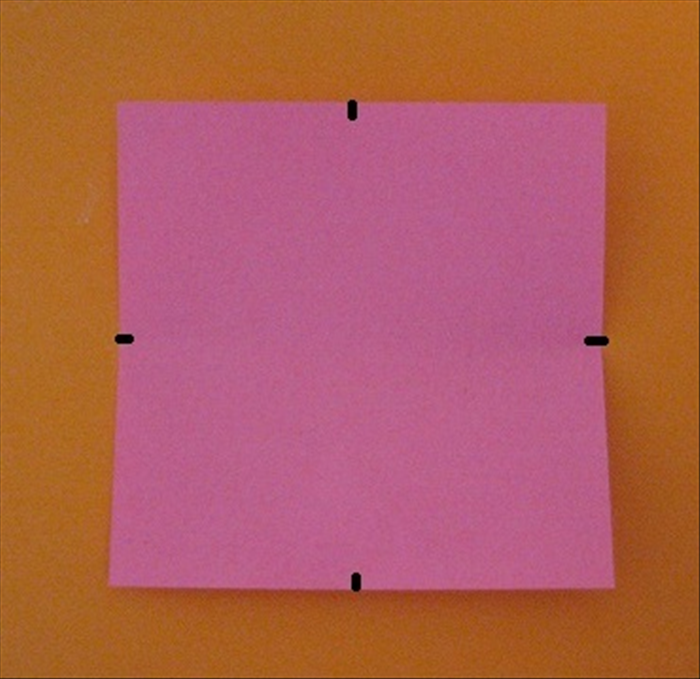
Fold the paper in half horizontally, crease, and unfold. Fold in half vertically, crease, and unfold. You now have a plus sign crease pattern.
Step 3: Fold Corners to Center
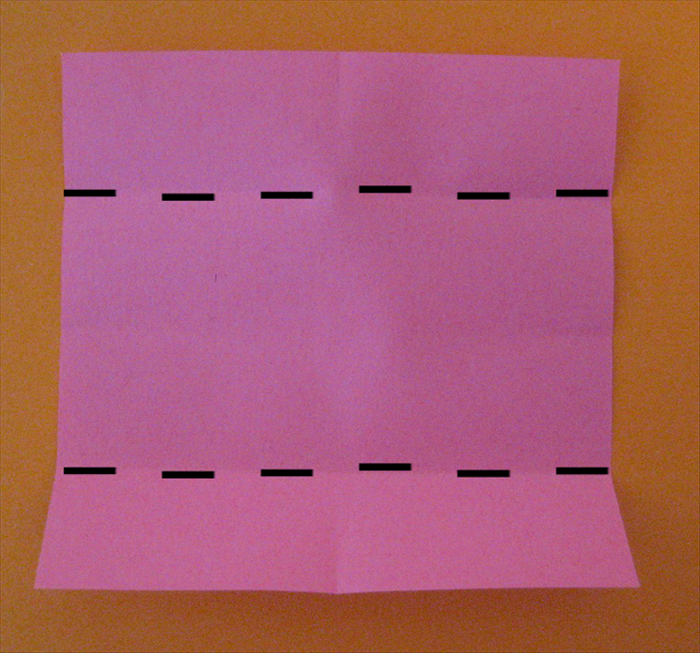
Fold each of the four corners inward so their tips meet at the center intersection. Crease firmly.
Step 4: Fold Edges to Center
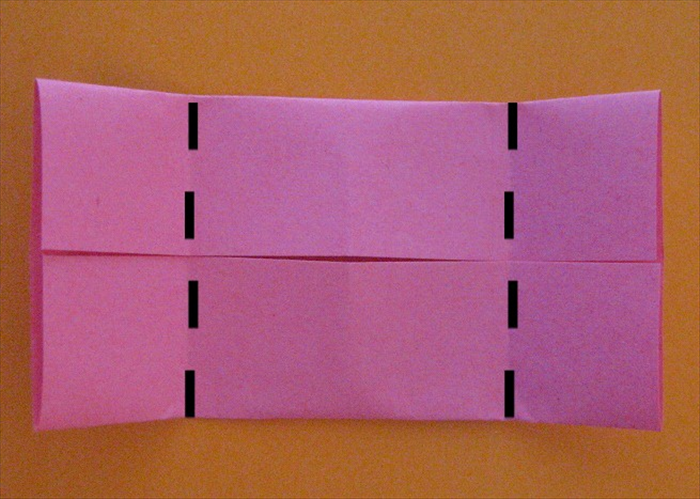
Flip the paper over. Fold each of the four edges of the smaller square inward toward the center point. Crease firmly.
Step 5: Insert Photo and Assemble Album
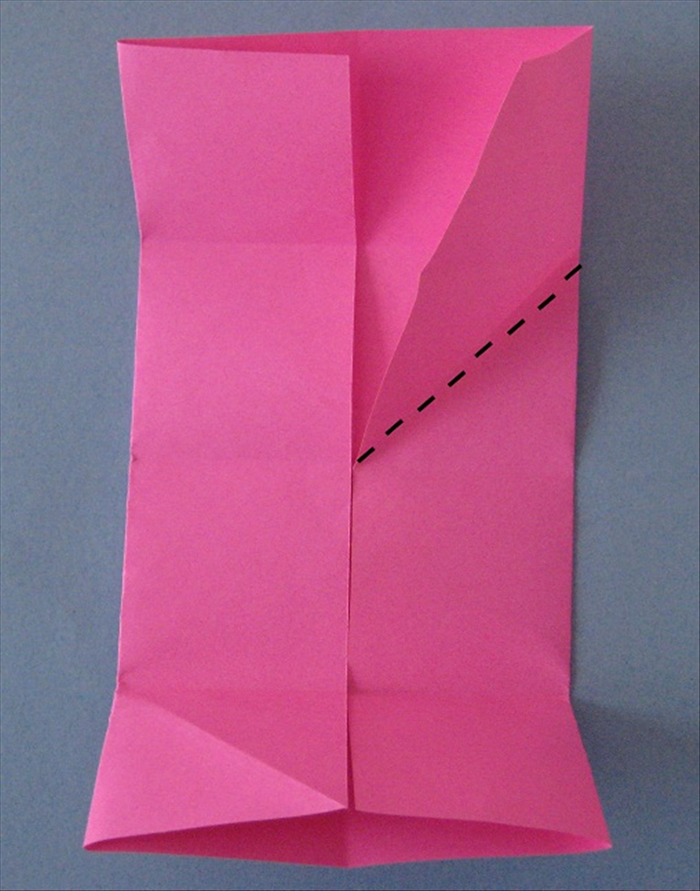
Unfold the last folds slightly to create a pocket. Slide a photo into the pocket. Repeat for each photo. Connect the finished frames side by side with tape or glue to form an album.
Tip
Use 8x8 inch paper for larger photos. For a sturdier album, use thicker paper or cardstock.
Warning
Make sure all creases are sharp to keep the frame shape. Avoid overloading the album with too many pages, as it may tear.