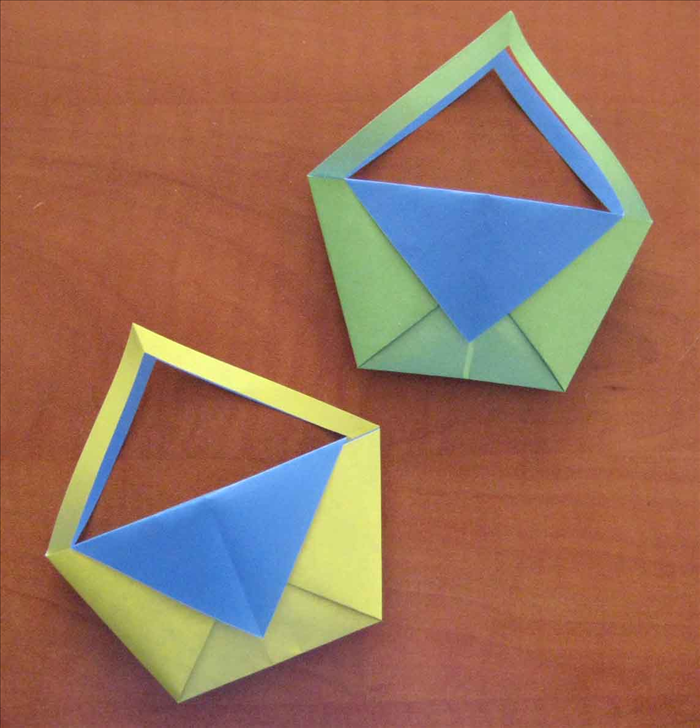
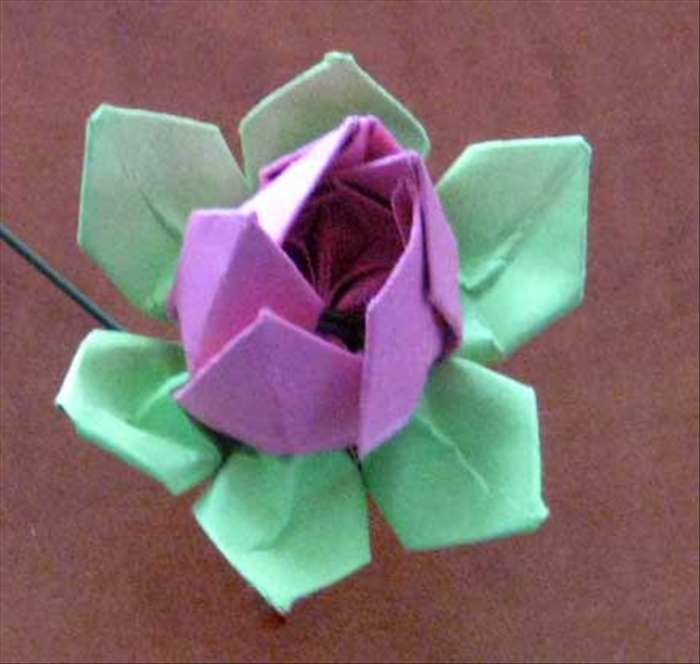
How to make a paper picture frame. Origami for beginners.
This guide will show you how to make a simple origami picture frame.
Easy 13,133 views
What You'll Need
- Origami
- origami picture frame
- paper frame
- origami for children
- easy origami
Steps
- 1
Step 1
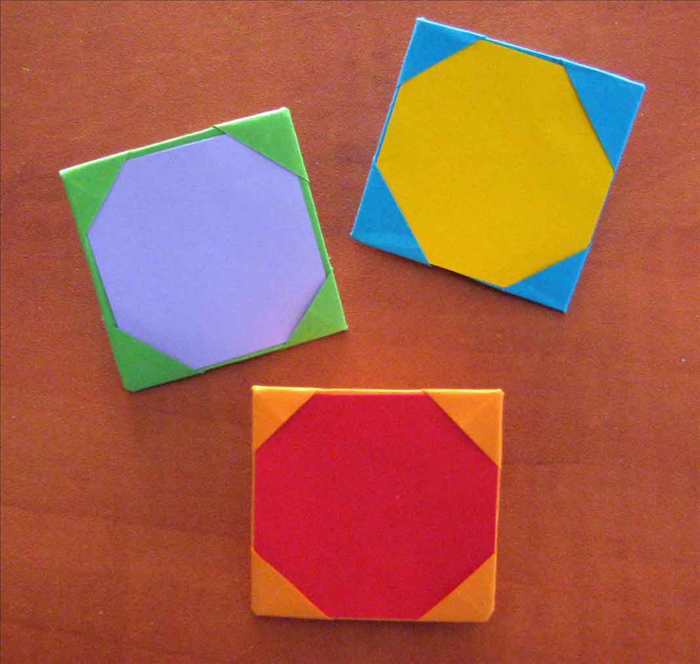 This model is suitable for a square picture. Materials: 1 square sheet of paper 4X the size of the picture you want to frame. Optional paper glue
 - 2
Step 2
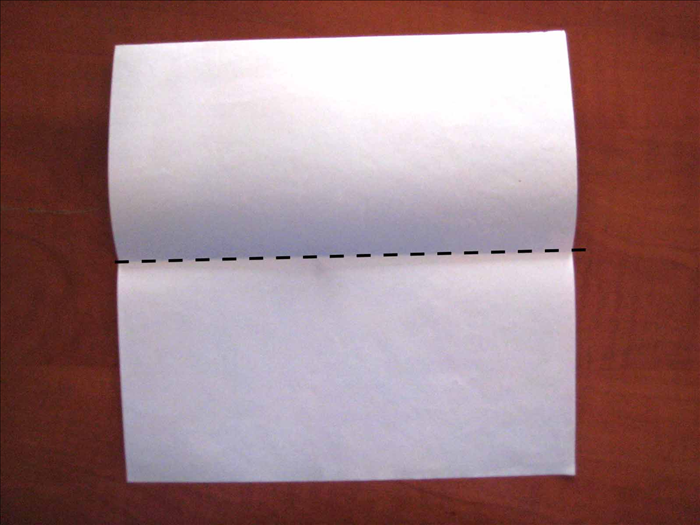 Place the colored side you want showing on the frame face down. Fold the paper in half horizontally and unfold
 -
- 3
Step 3
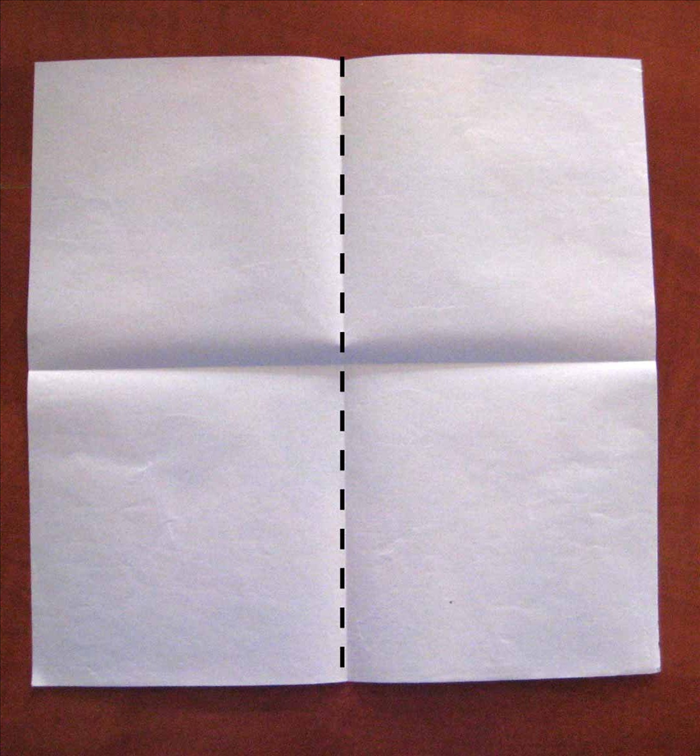 Fold the paper in half vertically and unfold.
 - 4
Step 4
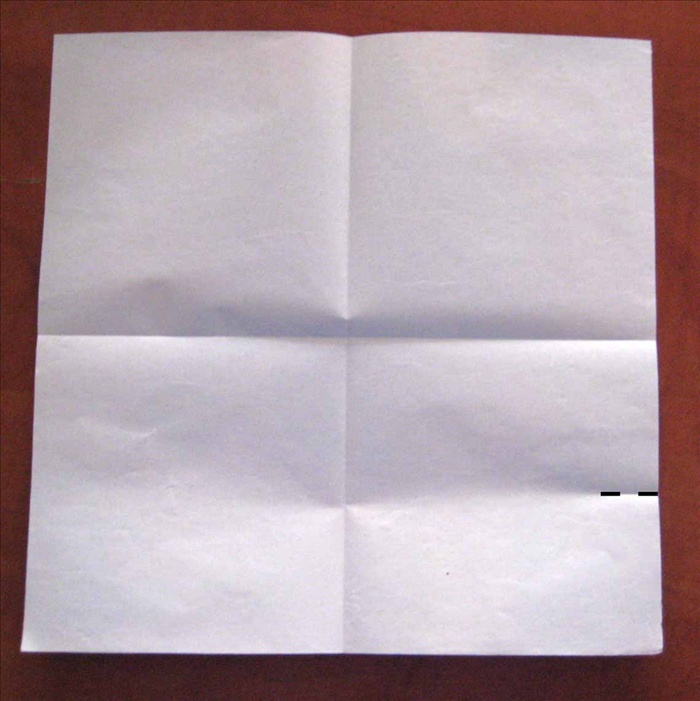 Bring the bottom edge up to the center crease. Do not crease it, only pinch the side to mark it.
 - 5
Step 5
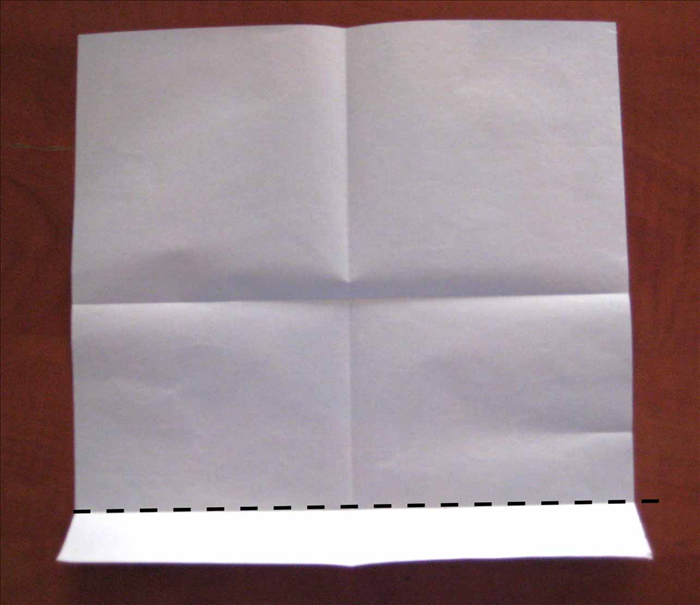 Fold the bottom edge up to the pinch mark you just made. Repeat step 4 and 5 on the top side.
 - 6
Step 6
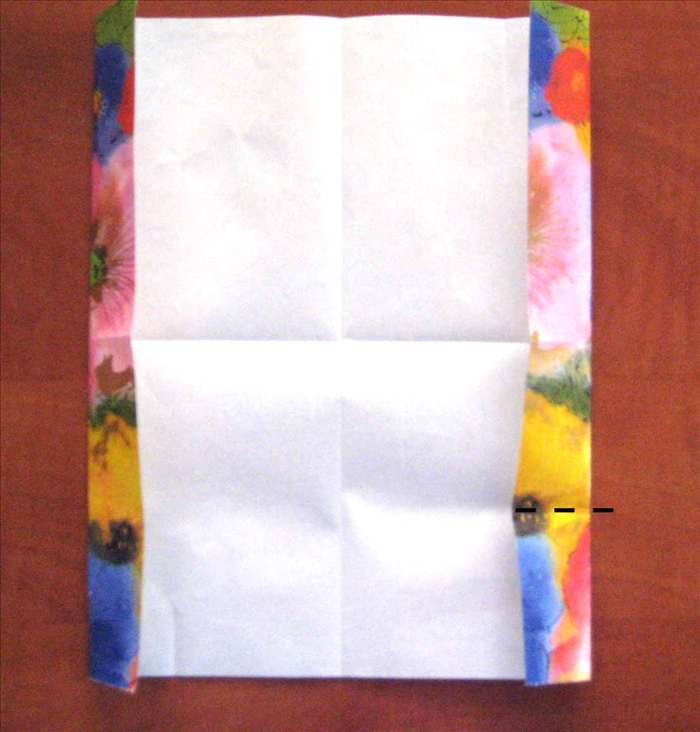 Rotate the paper so that the folded edges are on the sides. Repeat steps 4 and 5 on the top and bottom.
 - 7
Step 7
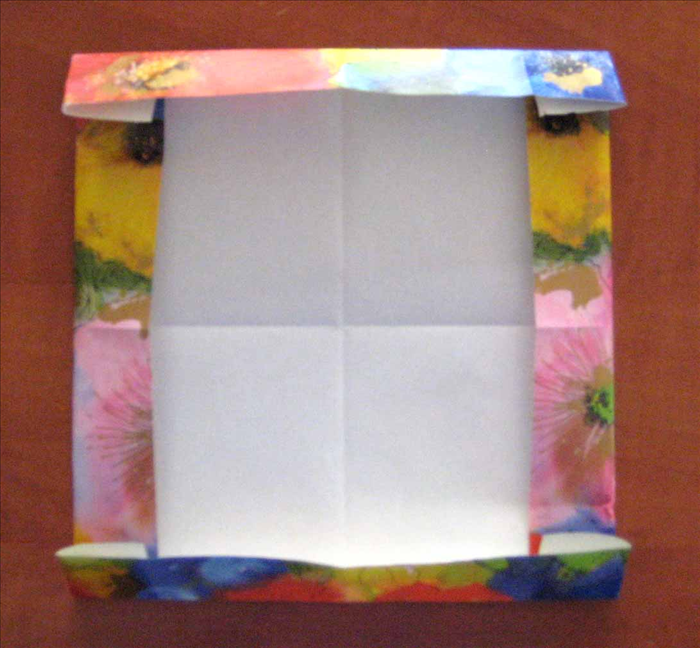 Result
 - 8
Step 8
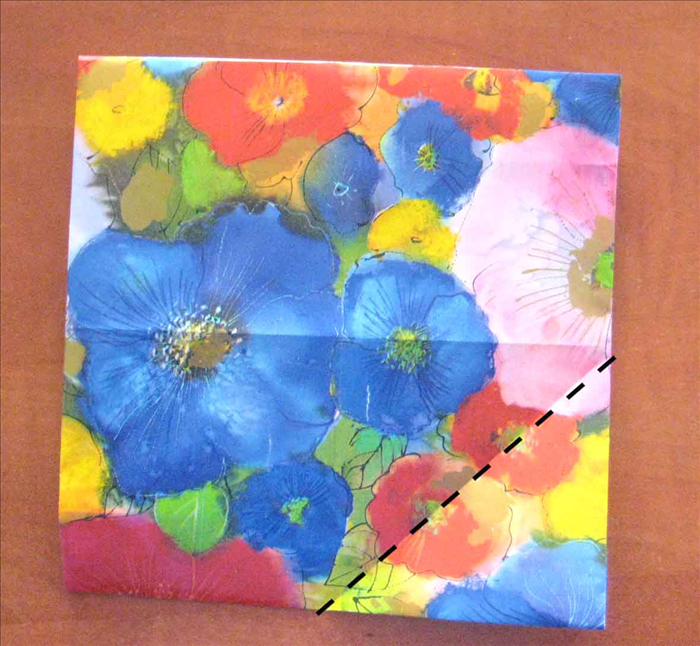 Flip the paper over to the back side. Fold all the edges to the center point.
 - 9
Step 9
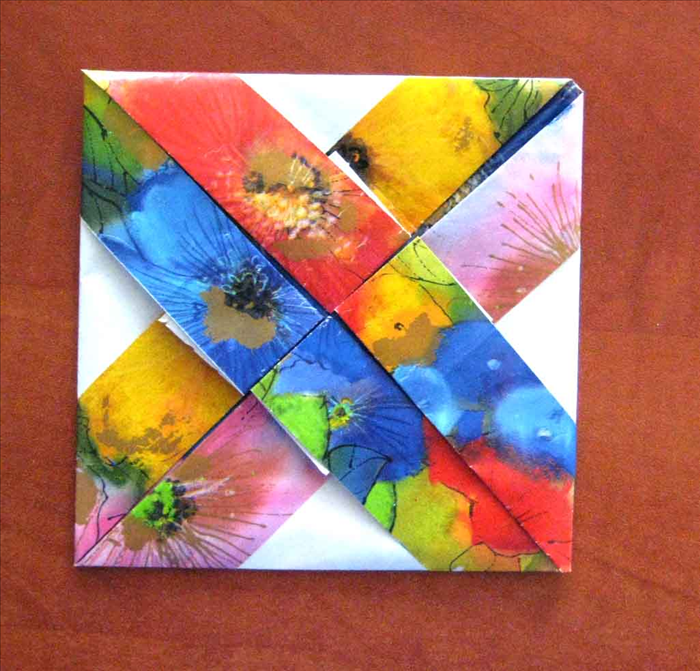 Result You can glue the folded edges in place if you want.
 - 10
Step 10
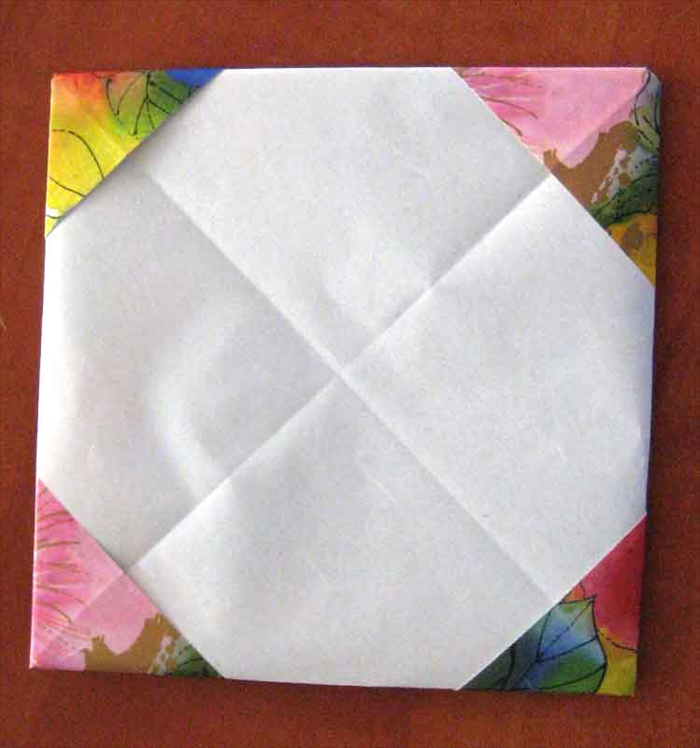 Flip the paper over and your frame is ready. Slip the edges of your picture into the pockets at the corners.