How to Fold an Origami Tent
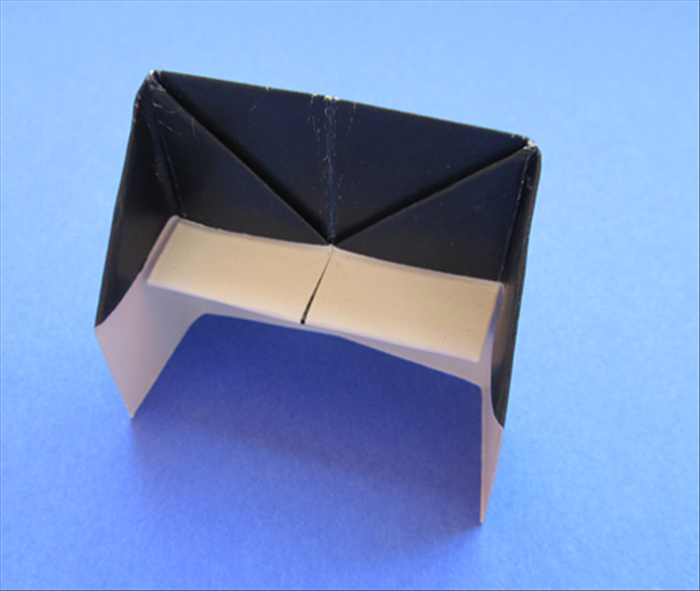
Fold one 6×6 inch square through a triangle base into a standing tent with an inside pocket. No glue.
What You'll Need
- Square origami paper (15×15 cm / 6×6 in)
One square is enough.
One square, no cuts, no glue. You crease an X and a +, collapse to a triangle, fold the four corners up, then open it into a standing tent. A 6×6 inch (15×15 cm) sheet is a good first size. Printer or origami paper.
X and book creases
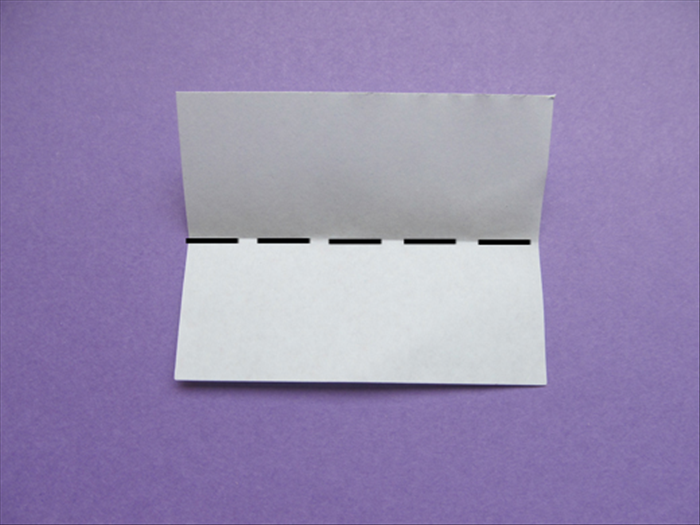
Colored side up. Fold both diagonals; crease; unfold (an X). Flip the sheet. Fold in half horizontally; crease; unfold. Fold in half vertically; crease; unfold. You now have an X and a +.
Collapse to a triangle
With the + side up, push the horizontal crease ends in so the top and bottom edges meet. Flatten into a triangle (waterbomb-style base). Align the edges.
Fold the front corners up
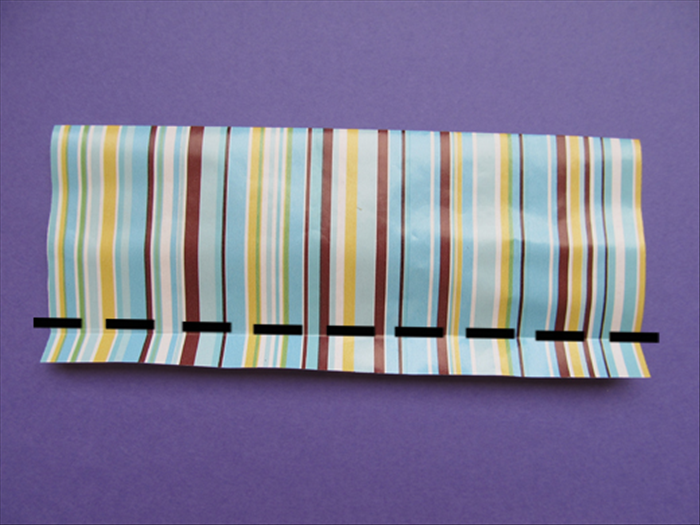
Point up, open layers toward you. Fold the bottom-right corner of the top layer up to the top point. Do the same with the bottom-left corner of that layer. Crease.
Flip and fold the back corners
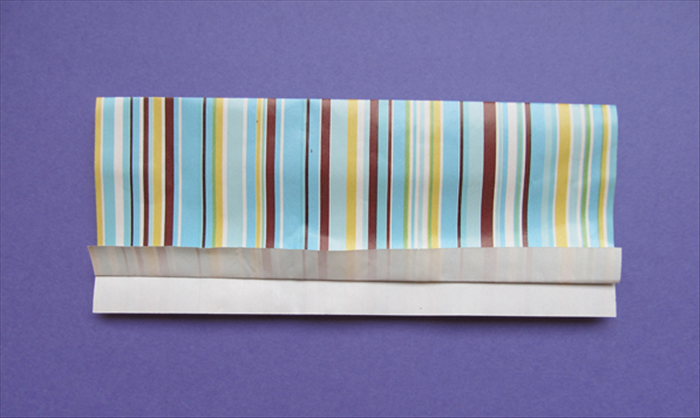
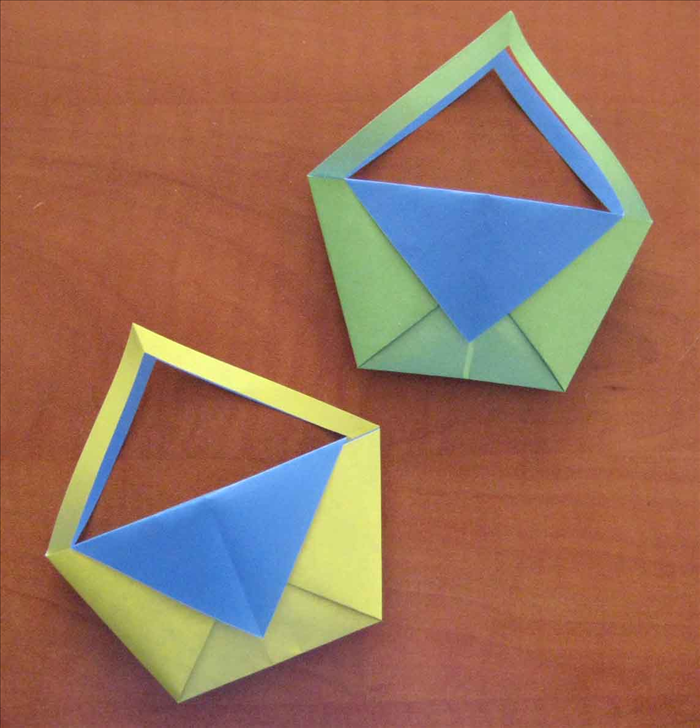
Turn the model over. Fold the new top-layer bottom corners up to the top point the same way. You should see a smaller diamond / house shape.
Fold the side triangles down
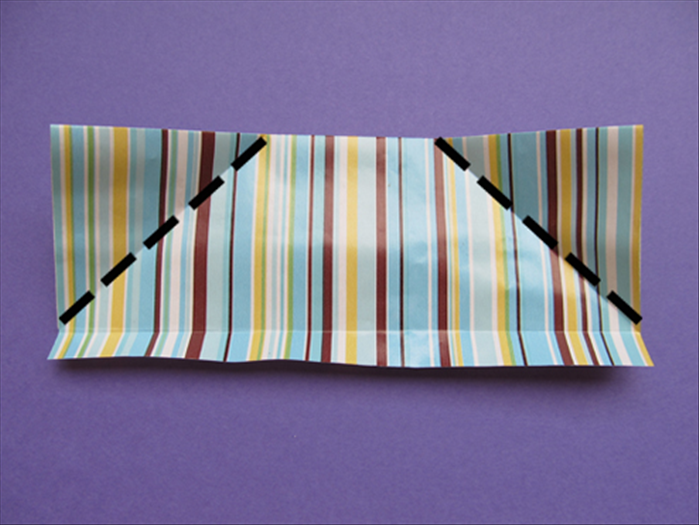
Two small triangles stick up at the sides. Fold each down so its top edge meets the horizontal line at the base of the roof. Crease hard — those folds set the roofline.
Open into a tent
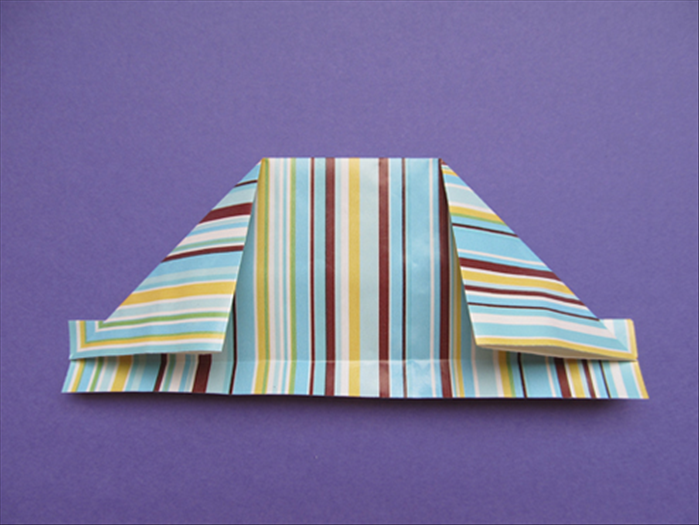
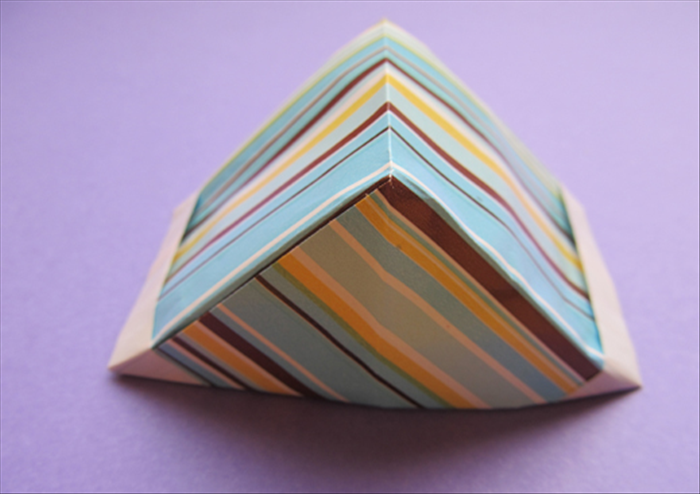
Open the model from the bottom and let the creases stand it into a 3-D tent. Pinch the side creases if it wants to collapse. The inner flaps form a pocket you can slide a name card into. No glue.