How to make a 3D picture with origami
This guide will show you how to turn a magazine page into a simple relief pattern
Easy 8,068 views
What You'll Need
- origami art
- 3d art
- paper relief
Steps
- 1
Step 1
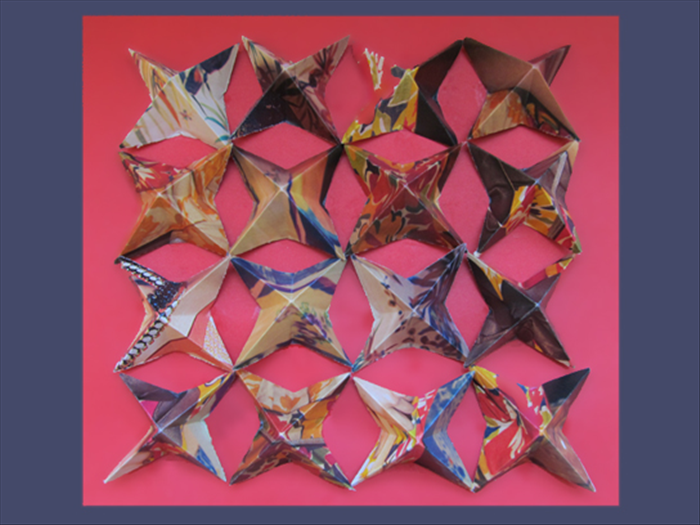 Magazine page or pages Canvas, cardboard or other flat colored surface for the background White glue Scissors or craft knife to cut the squares
 - 2
Step 2
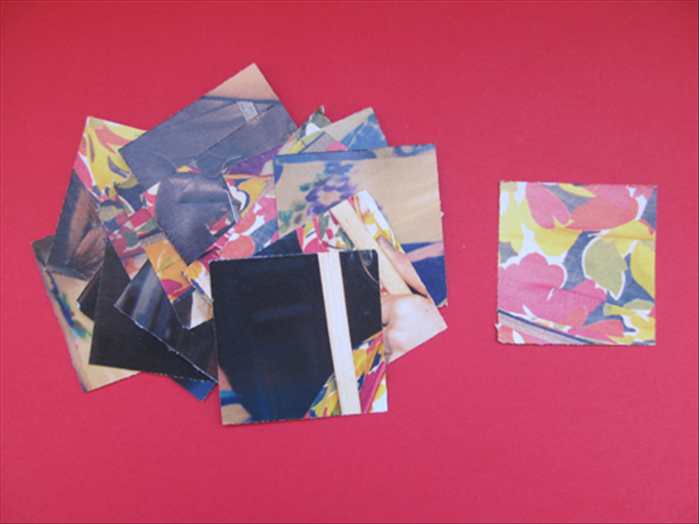 Find a magazine page with colors or patterns that you like. Cut it into 16 or more equal sized squares.
 -
- 3
Step 3
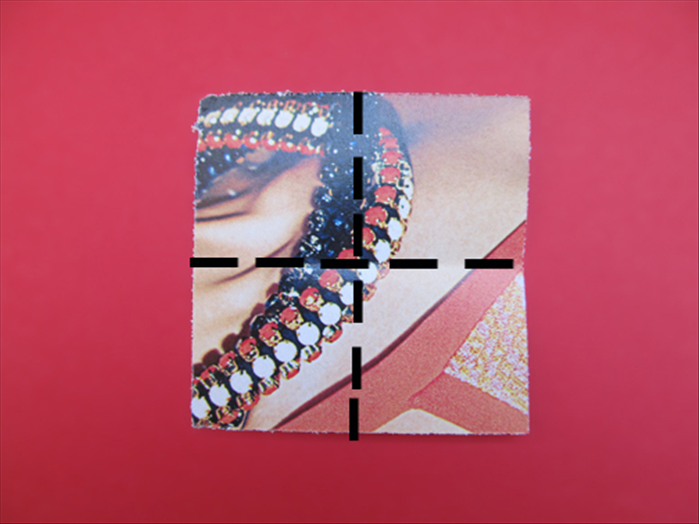 Fold the paper in half horizontally. Unfold Fold the paper half vertically. Unfold
 - 4
Step 4
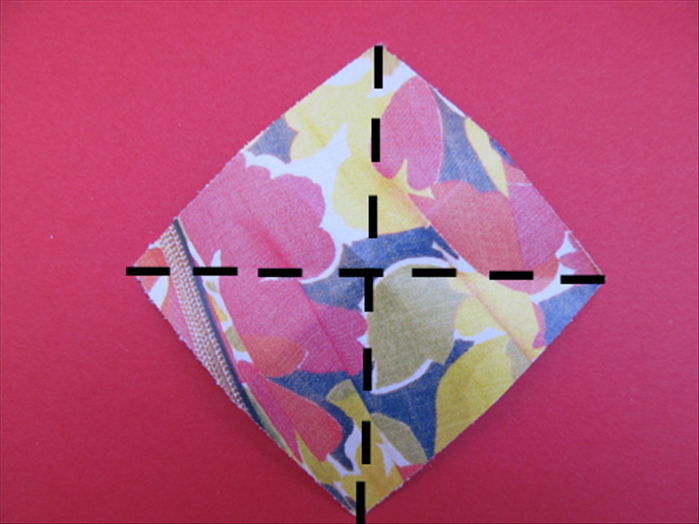 Flip the paper over to the backside Rotate the paper so that the points are at the top, and sides. Fold the paper in half horizontally. Unfold Fold the paper in half vertically. Unfold
 - 5
Step 5
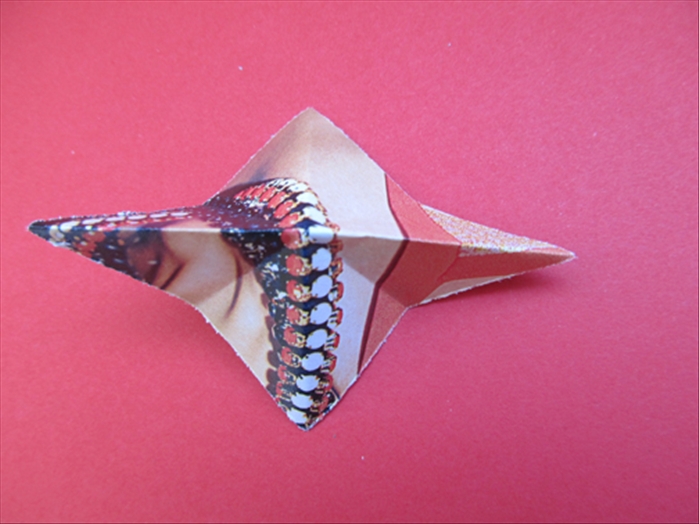 Pinch the crease of the last vertical fold you made.
 - 6
Step 6
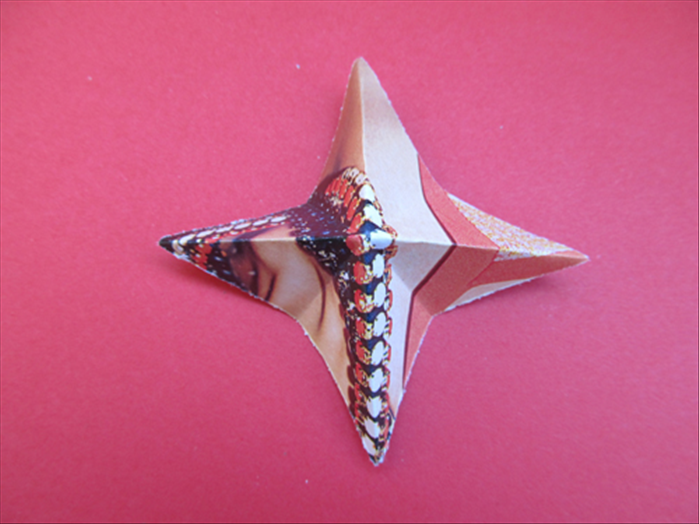 Pinch the crease the last horizontal fold
 - 7
Step 7
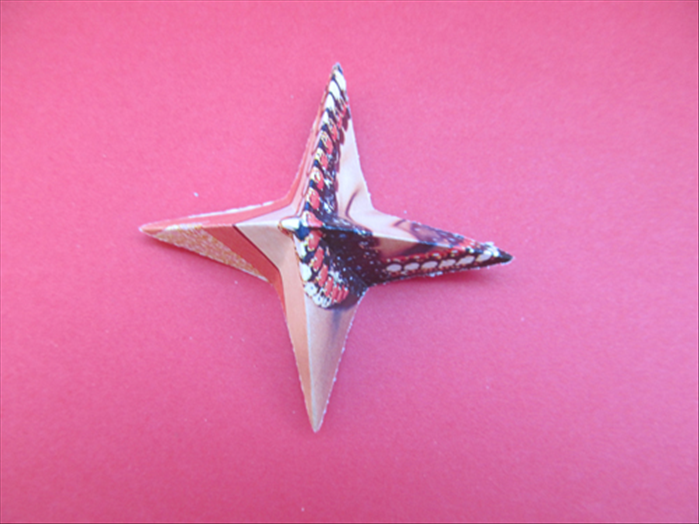 The result is a 4 pointed star. *Notice that the other folds go inward.
 - 8
Step 8
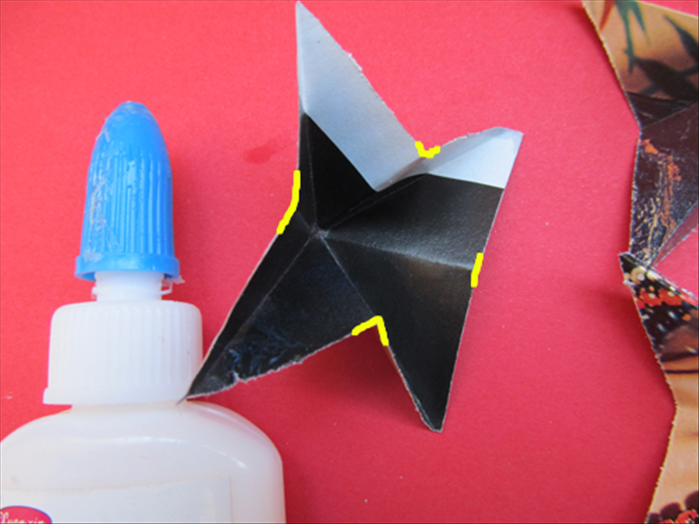 Flip the paper over. Put glue on the edge points of the folds that go inward.
 - 9
Step 9
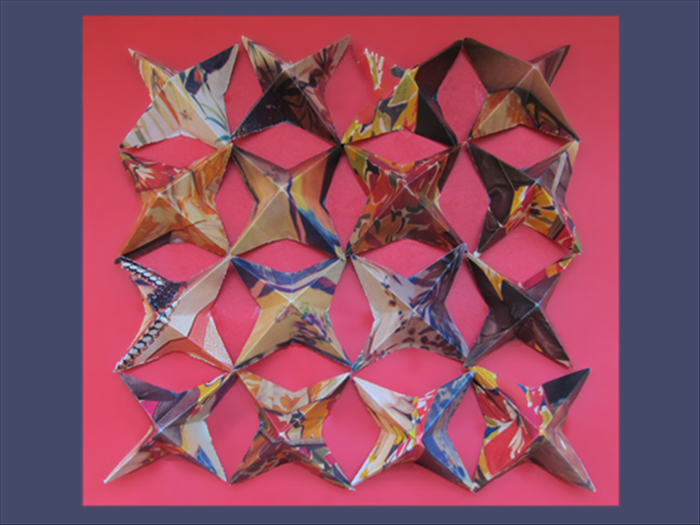 Align the stars in rows on your background. Let the glue dry completely and your paper relief is ready to be mounted and hung.