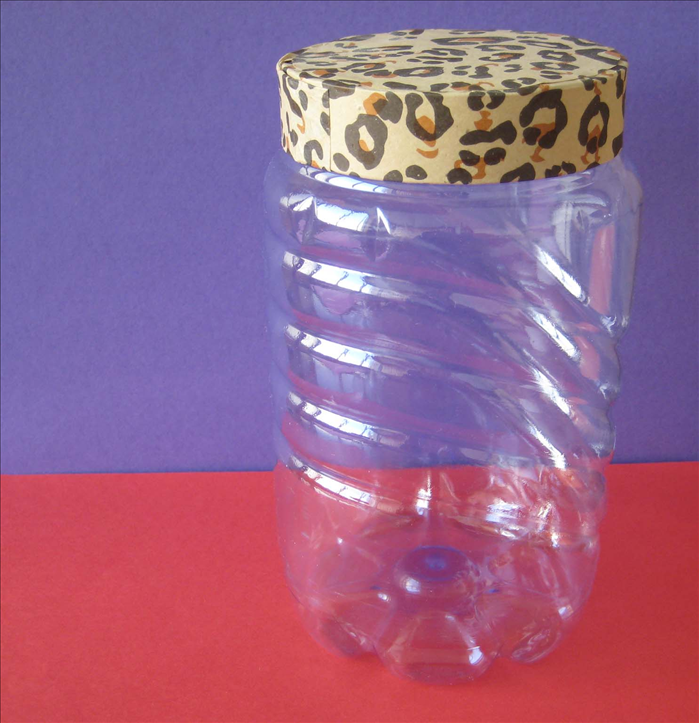
How to make paper molas
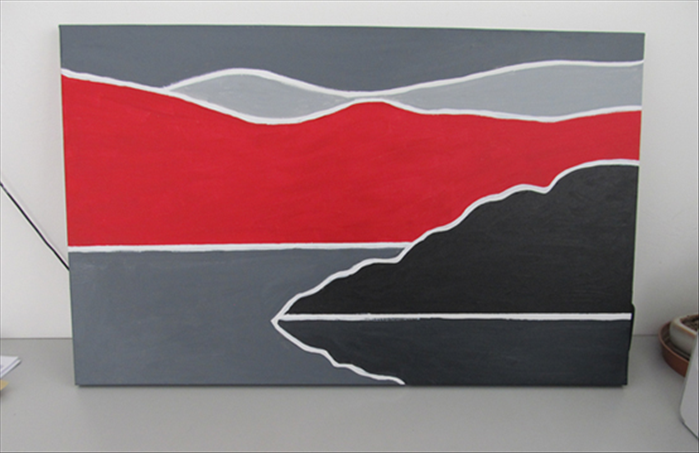
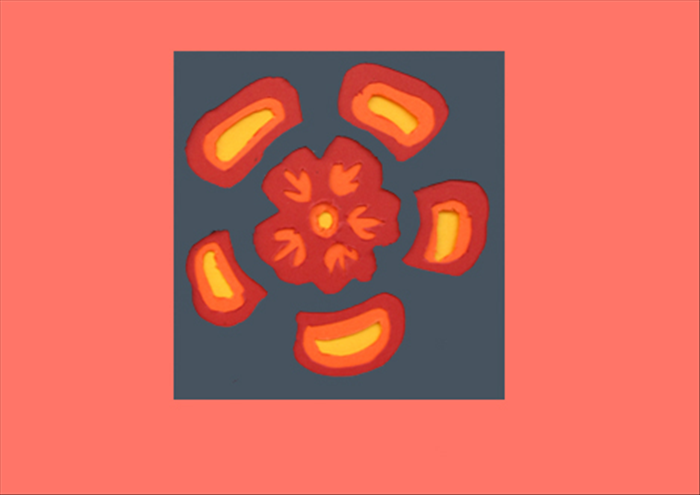
The Kuna Indians of the San Blas Islands decorate their blouses with beautiful mola designs. They are made by cutting out parts of cloth layers to reveal the colors underneath. This guide will show you how to make a mola with paper. You can make it as large and complicated as you wish.
Easy 18,986 views
What You'll Need
- arts and crafts
- paper crafts
- Molas
- indian crafts
- paper cutting
- pictures from paper
- picture cut outs
Steps
- 1
Step 1
 Materials: 4 or more pieces of thick colored paper A piece of cardboard Scrap paper Crafts knife Optional nail scissors Paper glue Pen Old pen or pointed object
 - 2
Step 2
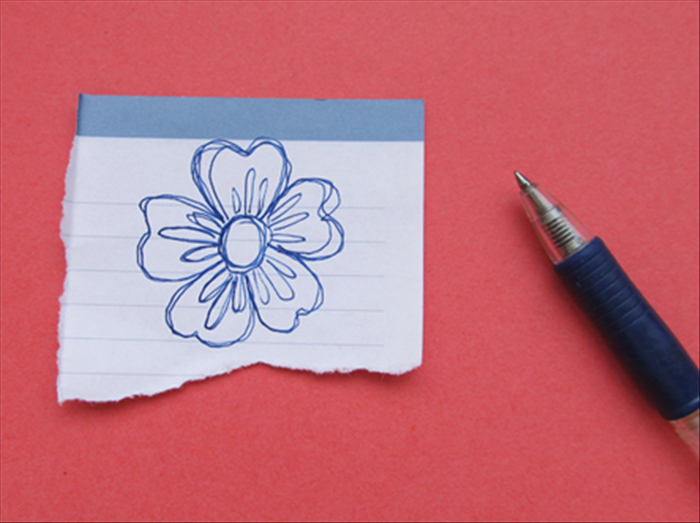 Doodle on the scrap paper until you create a design that pleases you.
 -
- 3
Step 3
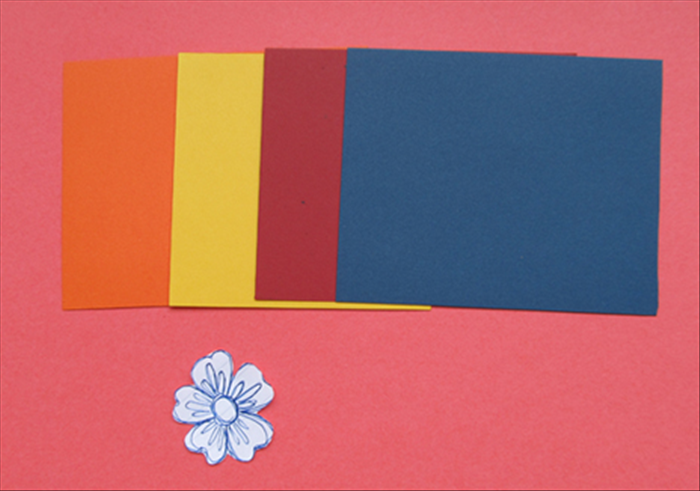 Cut out the design. Decide the order you want the colors to show through
 - 4
Step 4
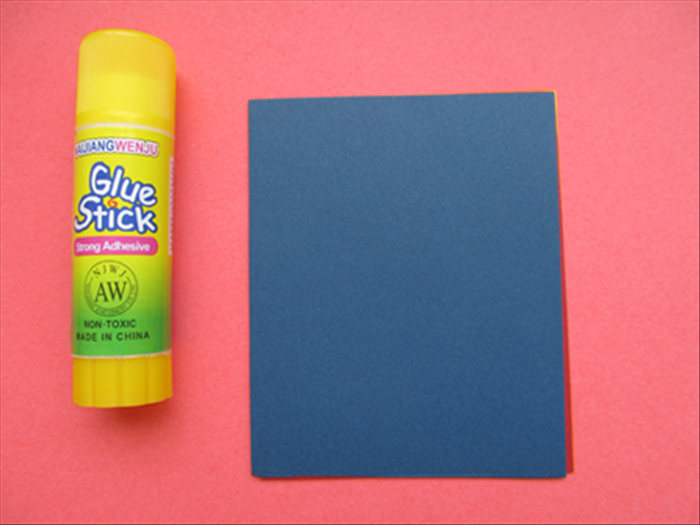 Use only a small line of glue at the top of each colored paper to hold them together.
 - 5
Step 5
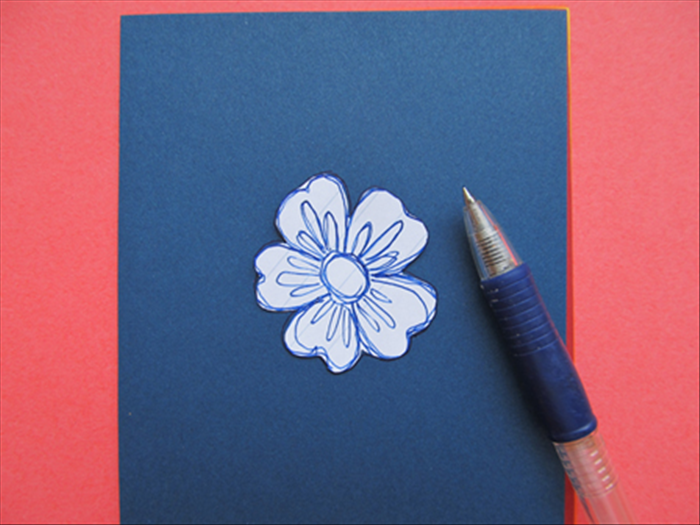 Trace a line around your image
 - 6
Step 6
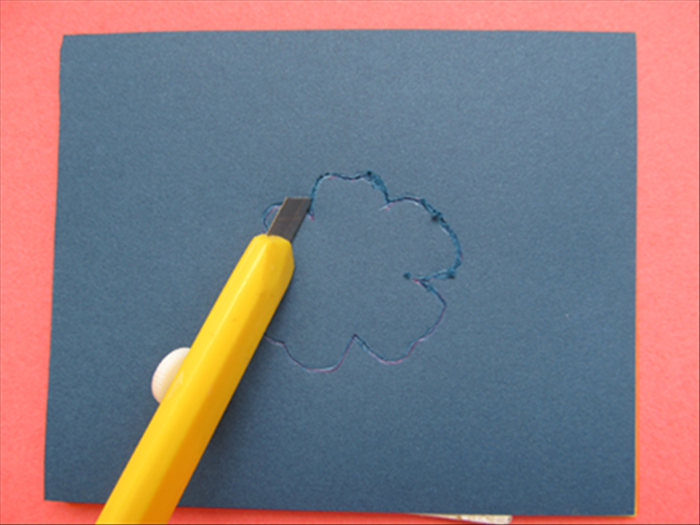 Place the cardboard under the top layer. Cut out the image using a crafts knife or nail scissors.
 - 7
Step 7
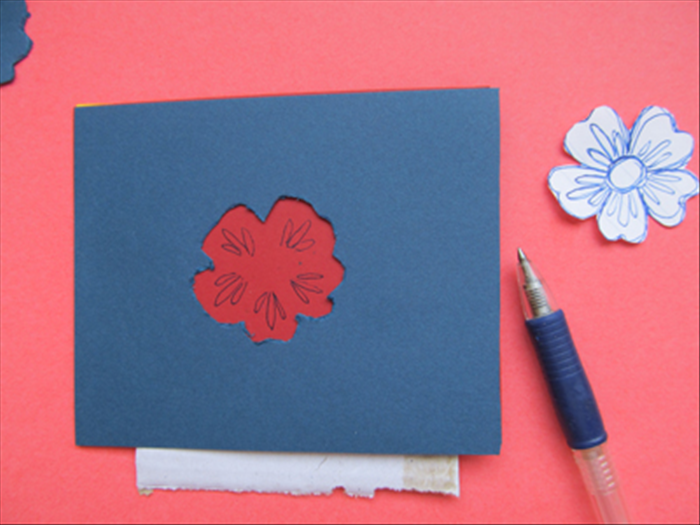 Insert the cardboard under the second layer. Use your cut image for reference to draw on the next layer and cut it out.
 - 8
Step 8
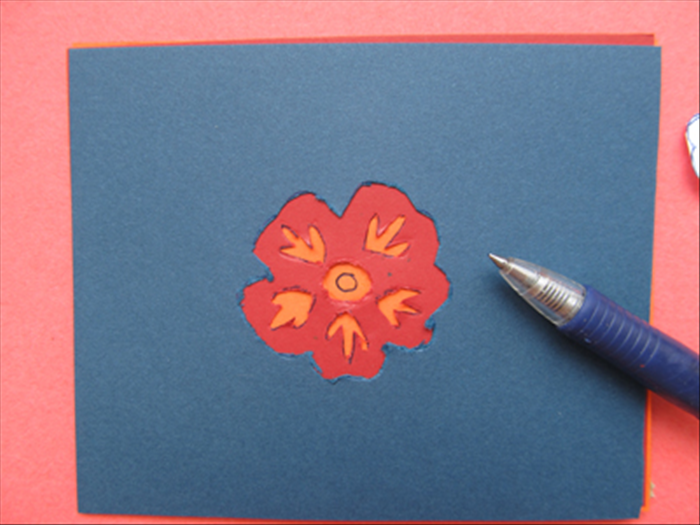 Put the cardboard under the third layer Draw and cut along the new lines.
 - 9
Step 9
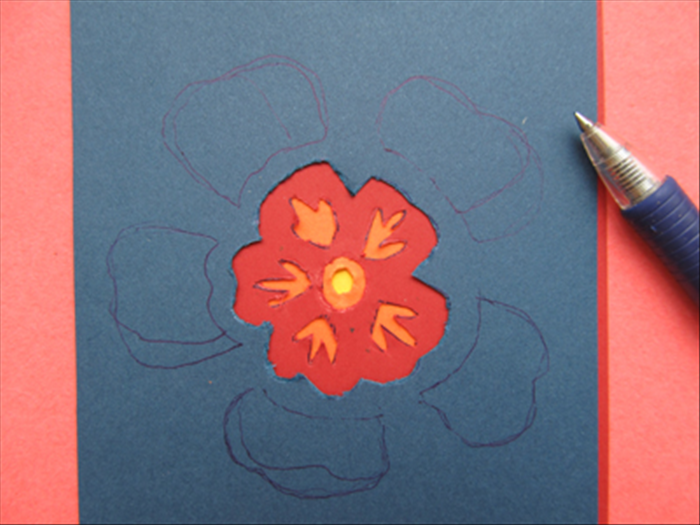 You can add more to the design by repeating the whole process. Remember to put cardboard under the layer you are cutting.
 - 10
Step 10
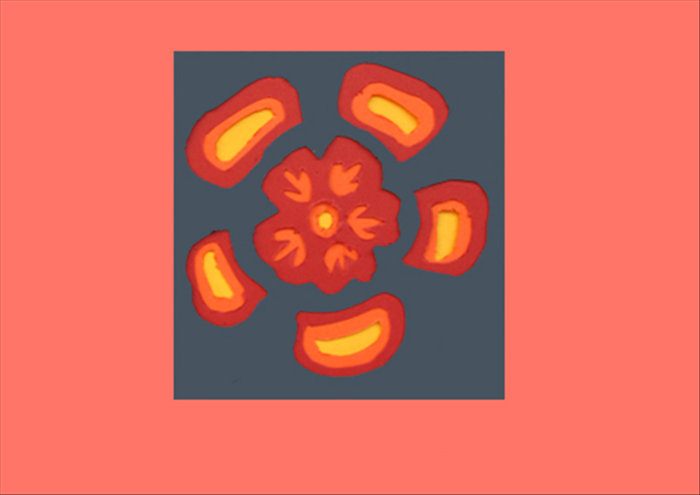 Have fun experimenting!