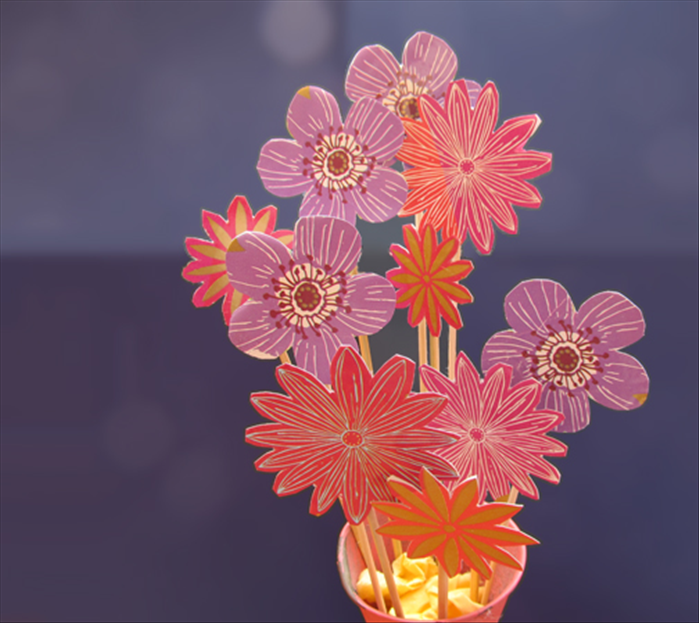
How to make a color wheel collage
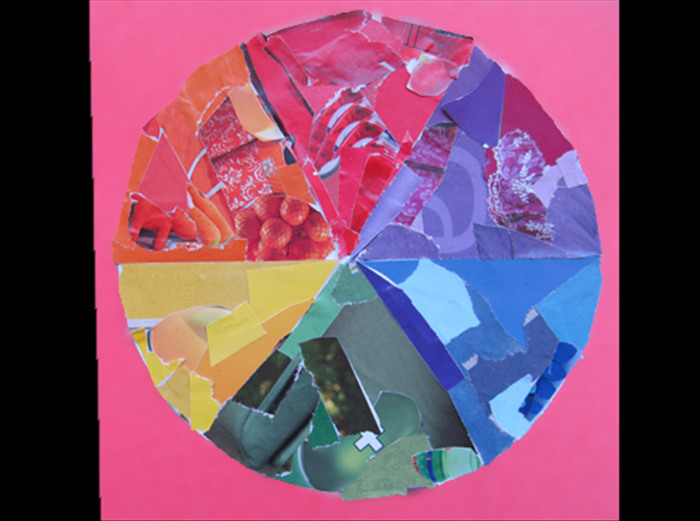
Kids and adults love to rip, cut and glue paper. This guide will show you how to turn junk mail, old magazines and other paper scraps into a pretty collage of a color wheel. It is a good way to teach children about primary and secondary colors or just to have fun making a nice work of art.
Easy 11,104 views
What You'll Need
- color wheel
- collage
- junk mail
- green crafts
Steps
- 1
Step 1
 Materials: Junk mail, paper scraps or old magazines Paper glue Scissors Optional: colored pencils or markers
 - 2
Step 2
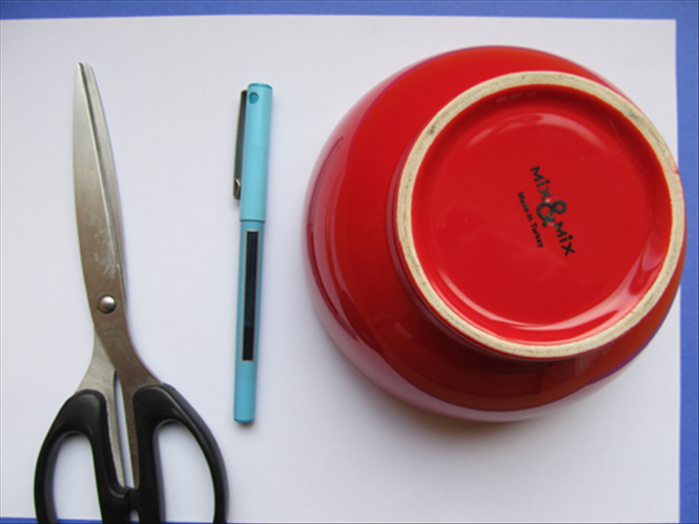 Trace the outline of a round object that is the same size you want your color wheel to be. Cut out the circle
 -
- 3
Step 3
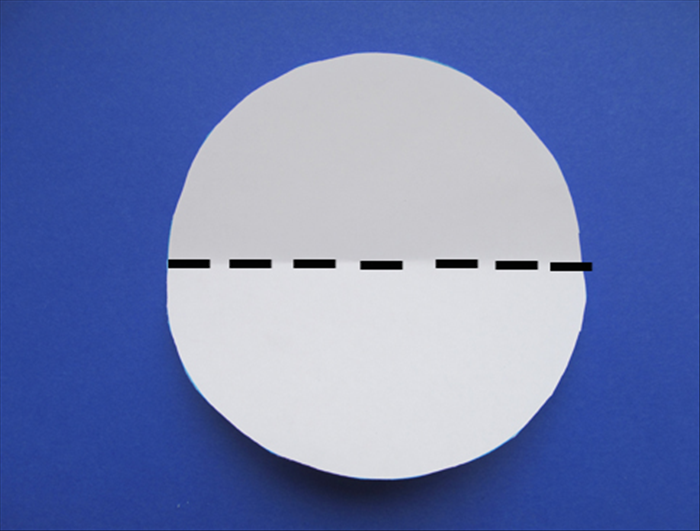 Fold the circle in half
 - 4
Step 4
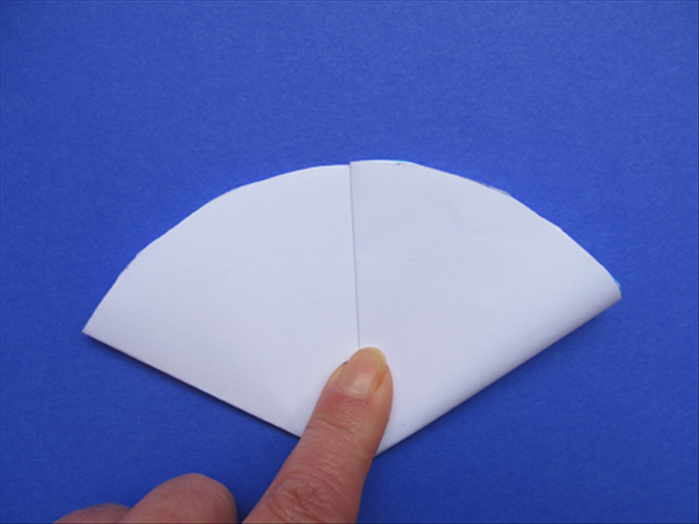 Bring the right edge of the half circle over to the left about 1/3 of the way
 - 5
Step 5
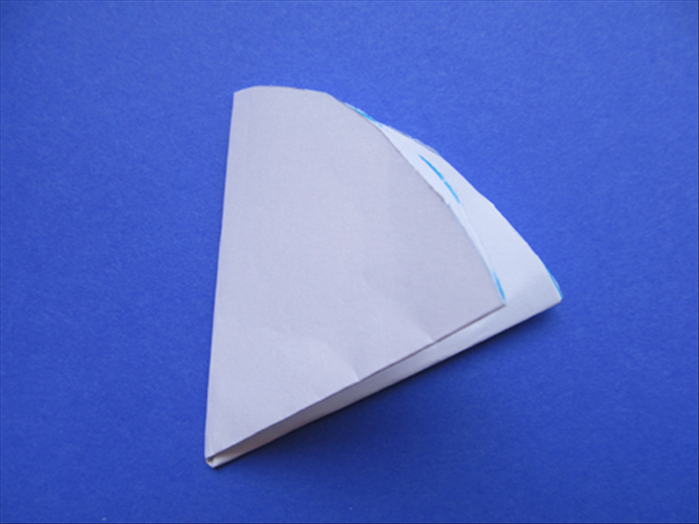 Bring the left side over and adjust the 2 flaps until they are equal in size. Crease the edges.
 - 6
Step 6
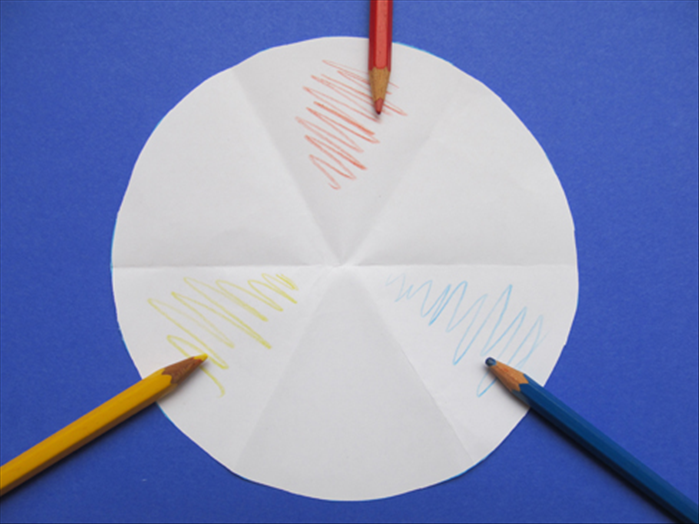 Unfold the circle. There should be 6 creases. The primary colors are red, yellow and blue. There will be one in each triangle with a space between them. You can mark the top and bottom side triangles to remember where to place them. See the picture
 - 7
Step 7
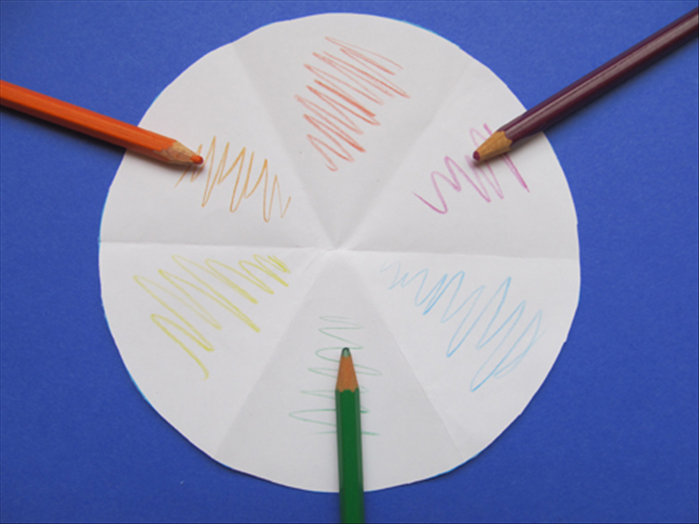 The secondary colors are the ones you get when you mix 2 primary colors. They are placed between the colors that are used to make them. Mark purple in the triangle between the red and blue triangles. Mark green in the triangle between the blue and yellow triangles Mark orange in the triangle between the red and yellow triangles See the picture for reference
 - 8
Step 8
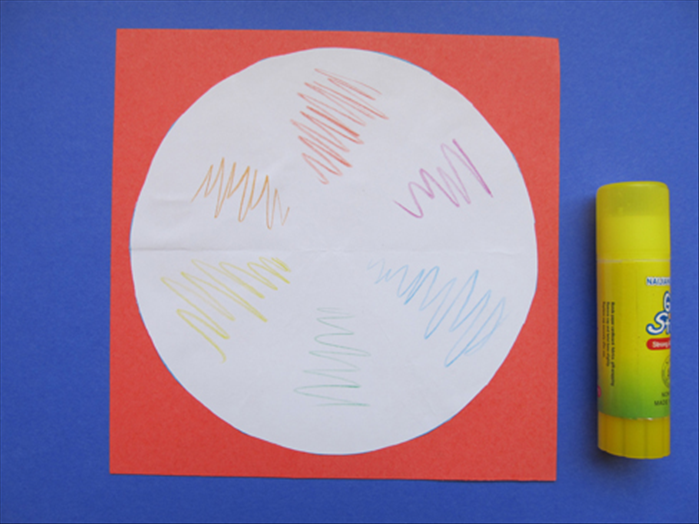 Glue the circle to the background paper
 - 9
Step 9
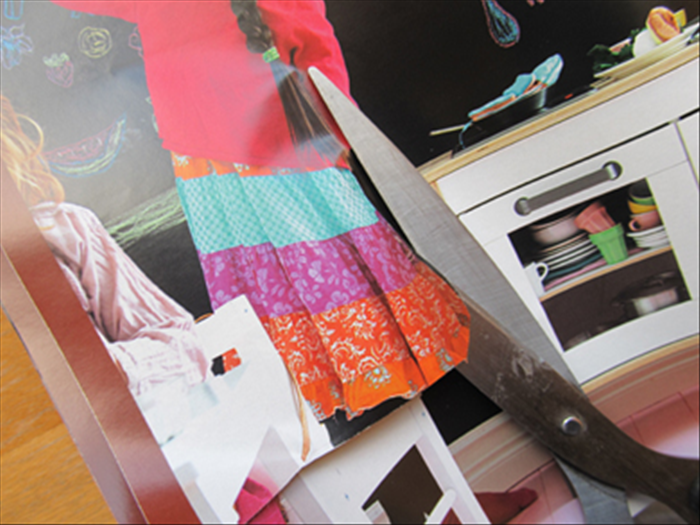 Rip or cut out the primary and secondary colors from your junk mail, magazines or scrap paper.
 - 10
Step 10
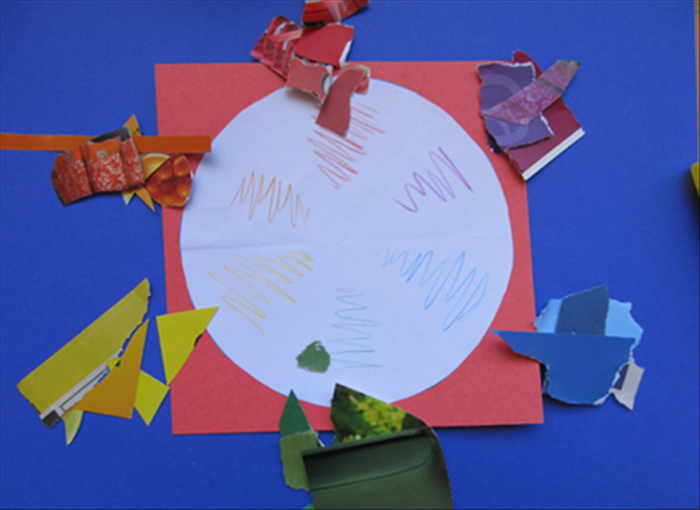 Result
 - 11
Step 11
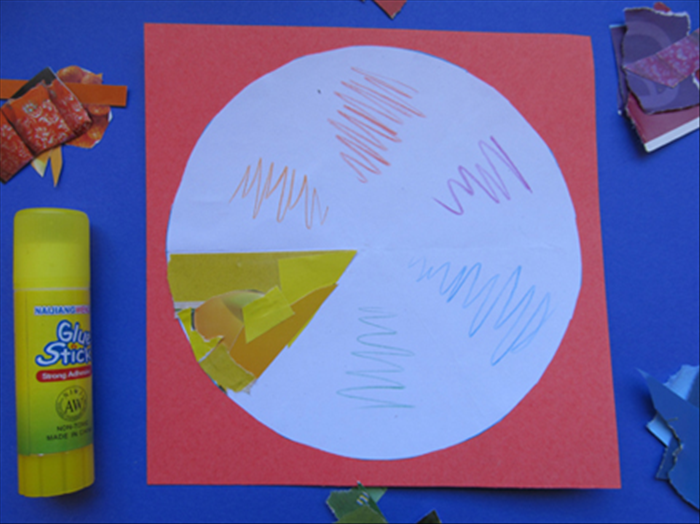 Glue the papers of matching colors inside the triangles.
 - 12
Step 12
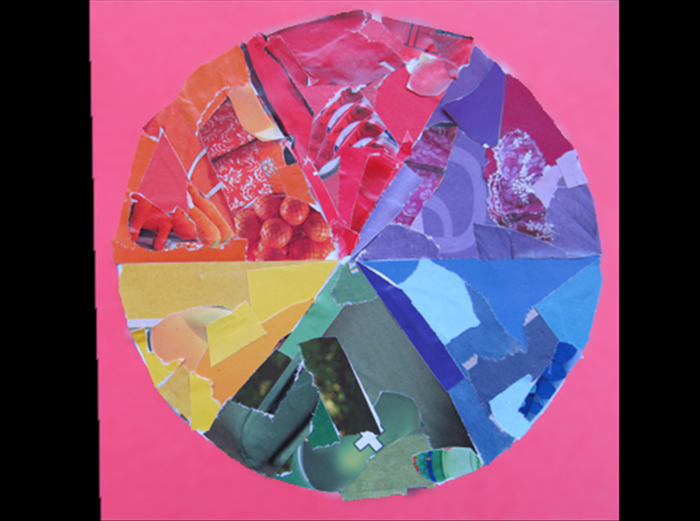 Continue overlapping and gluing until you have filled all the triangles. Enjoy!