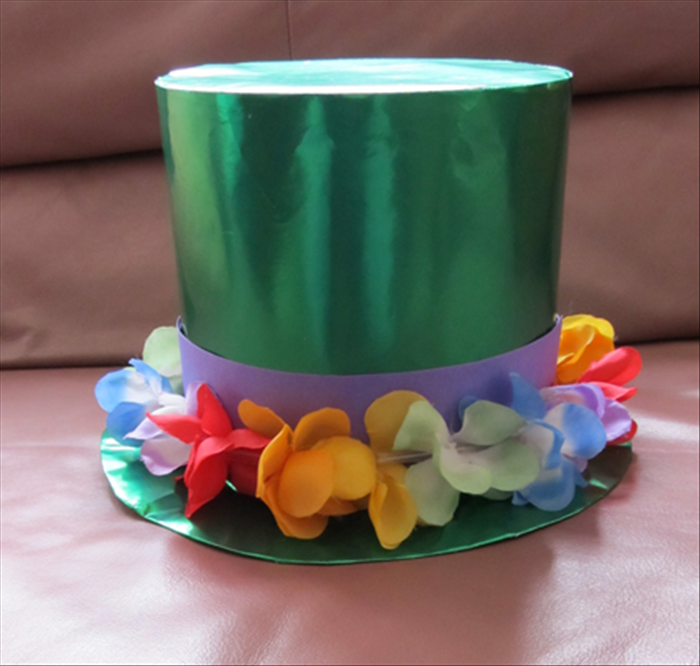
How to make a hand with fingers that bend
This beginner’s guide will show you how to make a cardboard and paper mache hand with fingers that bend. It is an easy introduction to sculpting and observing shapes
Easy 16,211 views
What You'll Need
- sculpture
- paper mache
- hand
Steps
- 1
Step 1
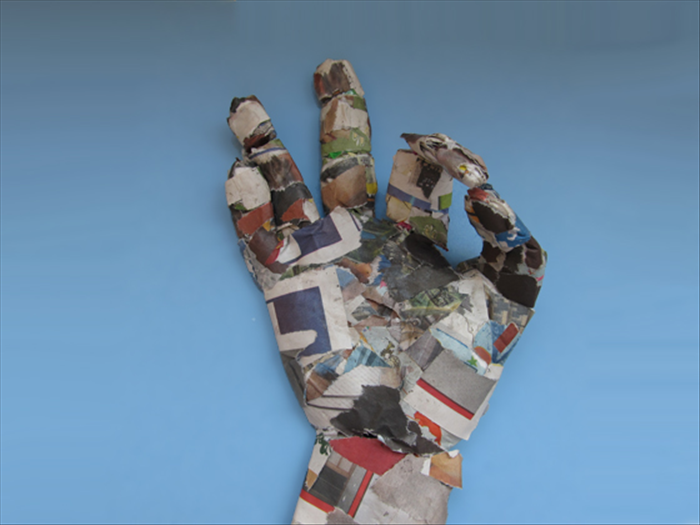 Materials: Newspaper Paper glue Transparent tape Cardboard Pipe cleaners Toilet paper or tissues
 - 2
Step 2
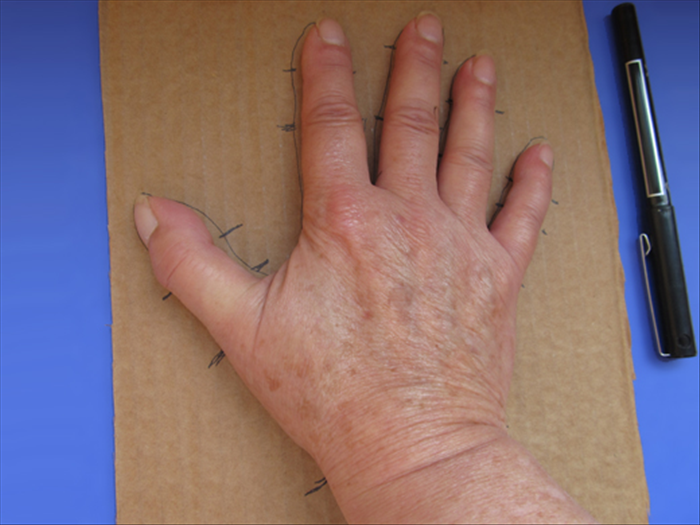 Trace the outline of your hand. Make marks next to all the finger joints. Remove your hand Mark the joints inside the outline of the hand Cut out the hand
 -
- 3
Step 3
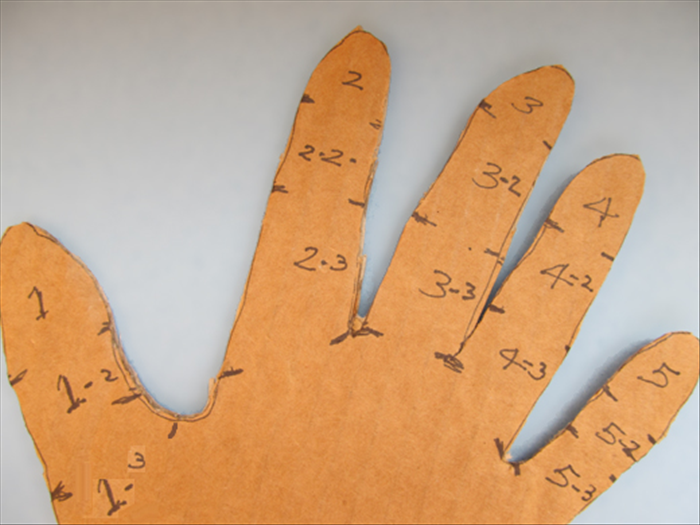 Number the fingers as show in the picture The finger tips are number 1, 2, 3, 4 and 5 The middle of each finger is the same number as the tip with -2 next to it The bottom of each finger is the same number as the tip with -3 next to it
 - 4
Step 4
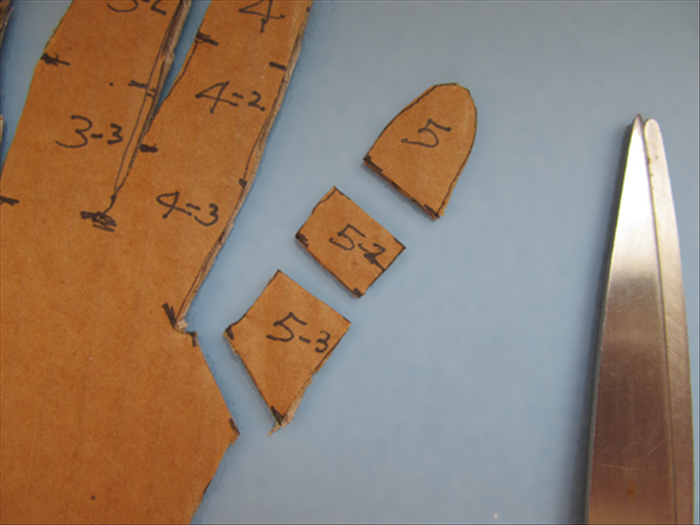 Cut across the fingers at the joint marks
 - 5
Step 5
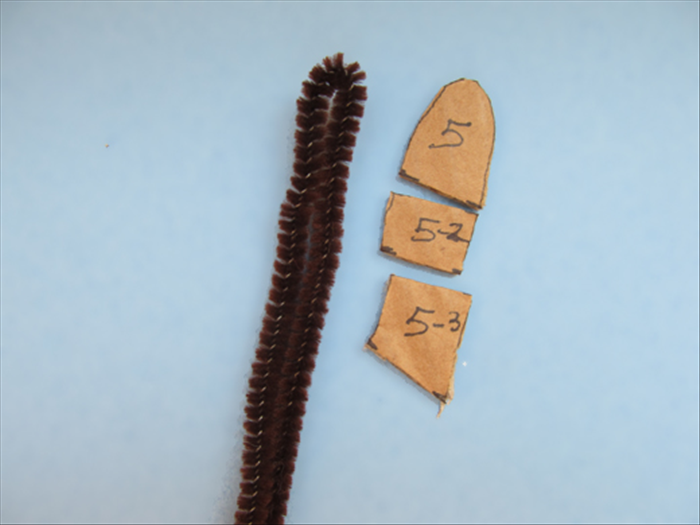 Fold a pipe cleaner in half
 - 6
Step 6
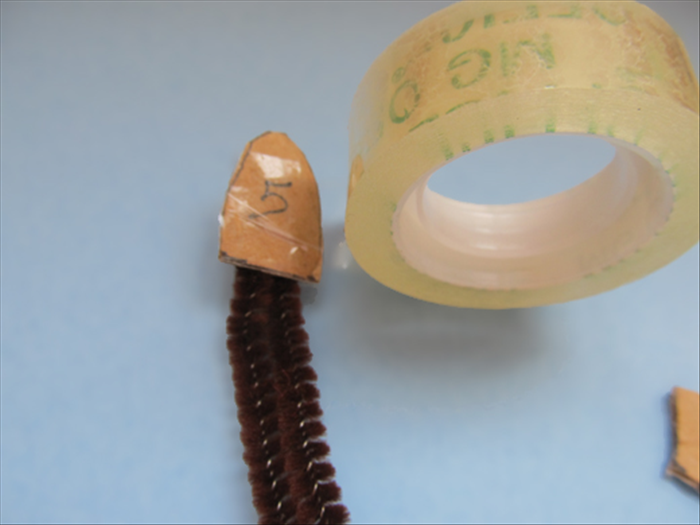 Place the tip of the finger at the top of pipe clean. Wrap it with transparent tape to hold it in place.
 - 7
Step 7
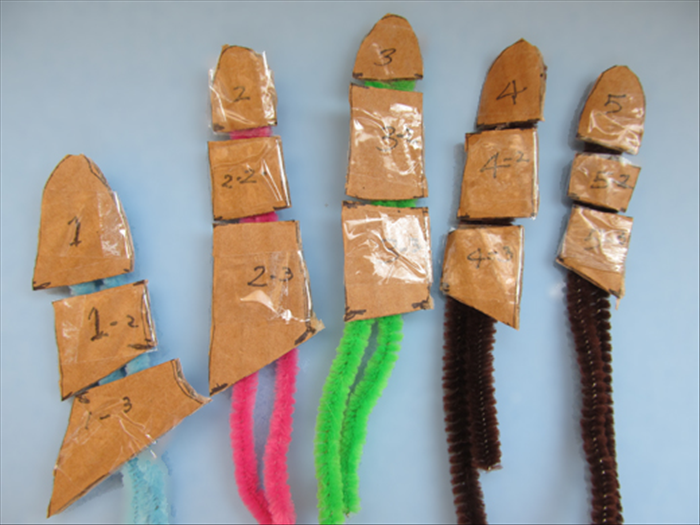 Place the number with -2 under it, wrap it in place. Wrap the same number with -3 under it. Do all the fingers
 - 8
Step 8
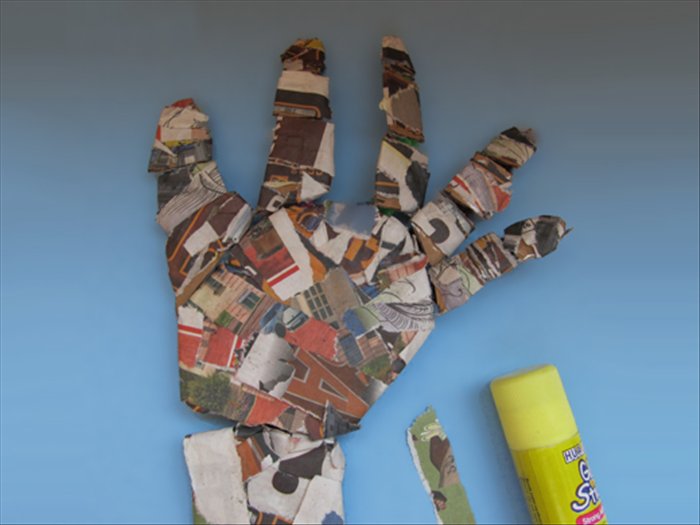 Match the bottom edges of the fingers to the top edge of the hand. Wrap tape around the base of the hand to hold them in place
 - 9
Step 9
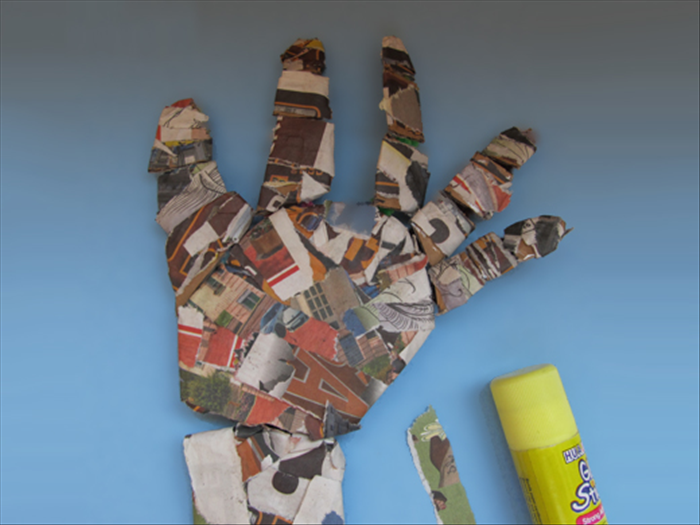 Rip strips of newspaper. Coat one side of the papers with glue and wrap them around the hand and fingers. *Wrap each cut part of the fingers separately so they will be able to move.
 - 10
Step 10
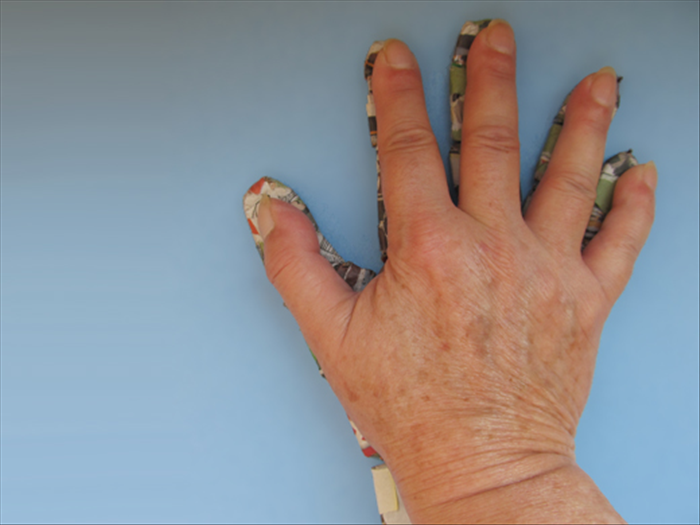 Place your hand on top of the model. Push and squash the fingers to align them with your hand.
 - 11
Step 11
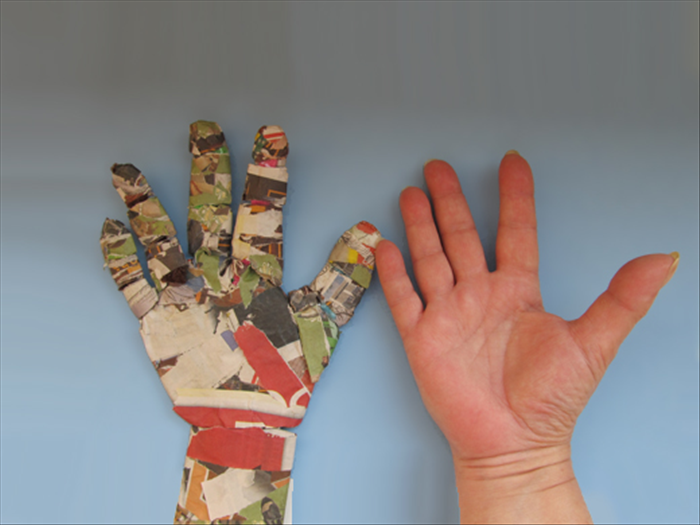 Place your hand palm up next to the model. Look for the highest areas of your hand.
 - 12
Step 12
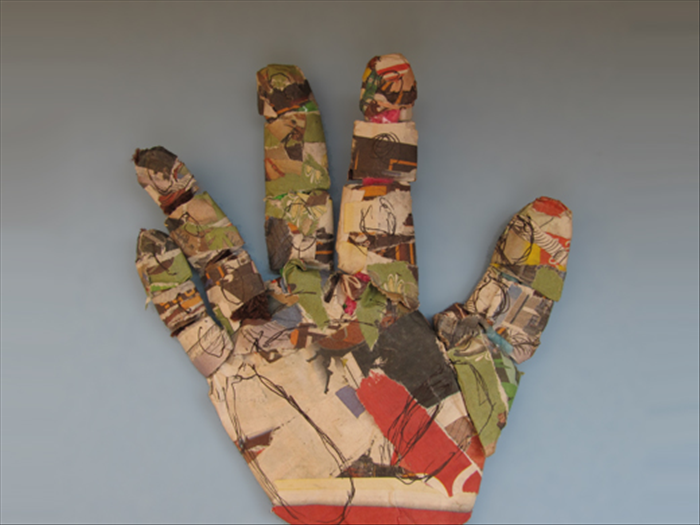 Draw ovals on the highest areas
 - 13
Step 13
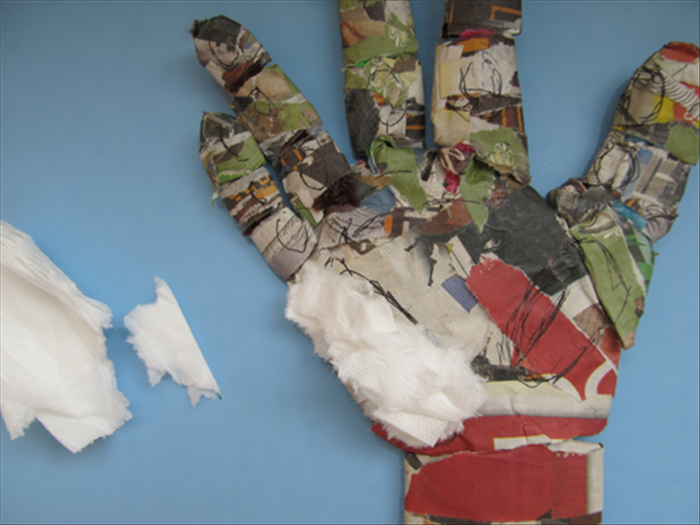 Put small wads of toilet paper inside the ovals you drew on the fingers. Near the bottom of your palm is higher than your fingers and needs more toilet paper. *It will help you to see the higher areas if you look at your hand from the side.
 - 14
Step 14
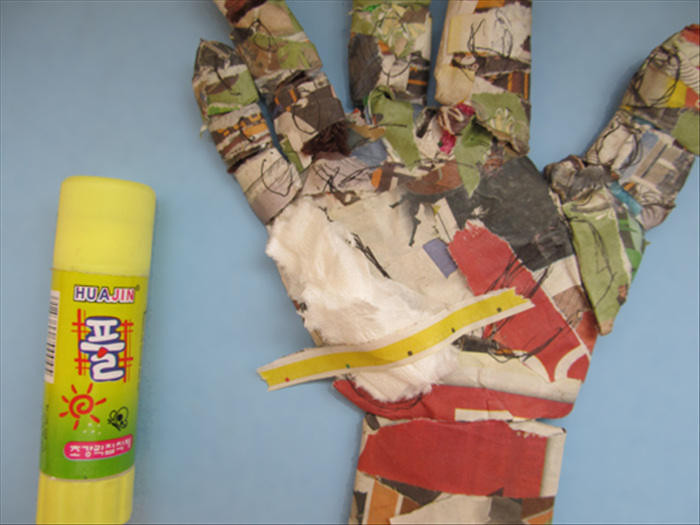 Put glue on one side of newspaper strips. Place them on top of the toilet paper and around the sides.
 - 15
Step 15
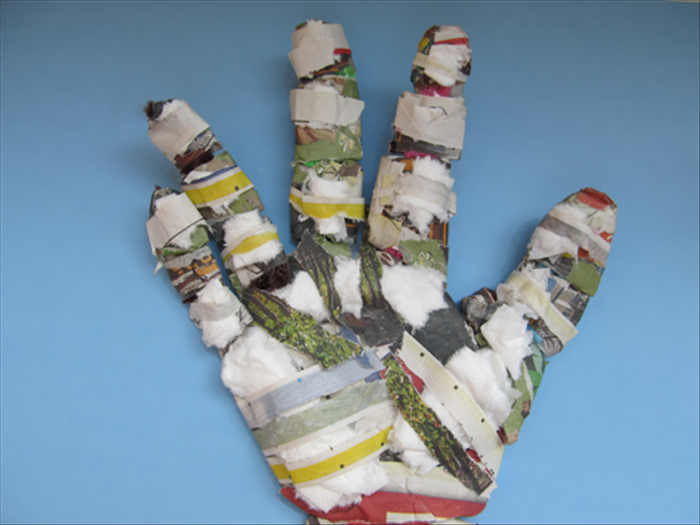 Continue adding toilet paper and covering it with newspaper strips. When you are finished flip the hand over to the back and repeat steps 11 – 15 *The knuckles are the highest areas on the other side. They do not need as much padding as the palm.
 - 16
Step 16
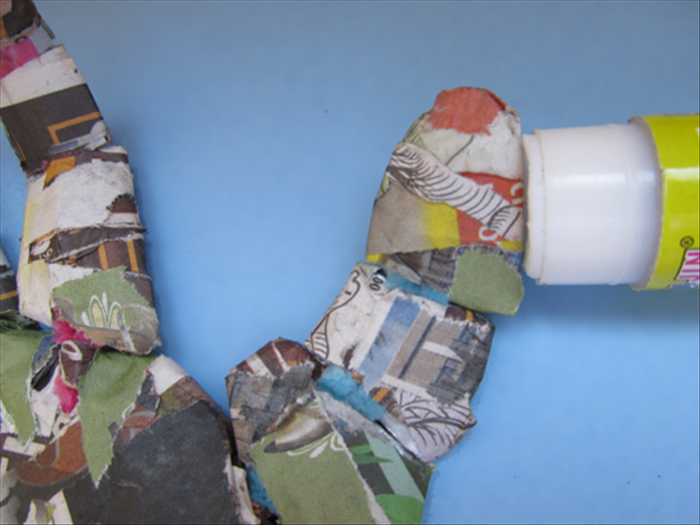 When everything is covered coat the paper around the edges of the cardboard with glue.
 - 17
Step 17
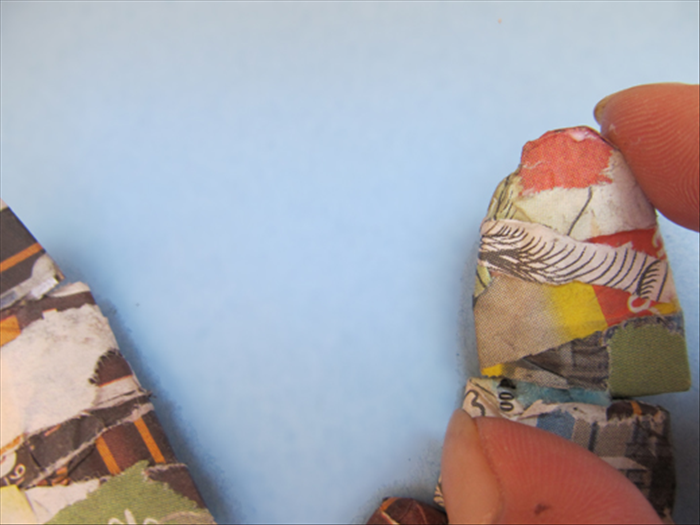 Squash the paper against the edges of the cardboard to keep the width the same and smooth.
 - 18
Step 18
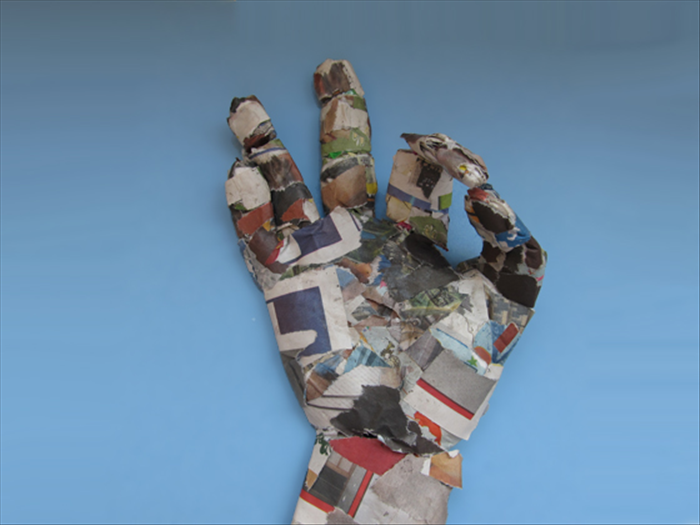 Coat the rest of the hand with glue and smooth out any loose ends. That’s it!. Move the fingers of your real hand and try to match the fingers on the sculpture.