How to Make a Cardboard Jumping Puppet (Jumping Jack)
Cut cardboard head, torso, arms, and legs; join them with brads; string the limbs so a pull makes the puppet jump.
What You'll Need
- Sturdy cardboard / poster board
- Baker's twine or strong craft string
- Metal brads / paper fasteners
- HB pencils (pack)
- Single-hole punch
- Craft scissors
Brads and twine are the pieces most kitchens don't have — search phrases above.
A jumping jack is a flat cardboard figure whose arms and legs swing when you pull a string on the back. You need one head, one torso, two arms, two legs, metal brads at the joints, and three strings: one across the arms, one across the legs, and a pull string that joins those two.
Plan on about 1–2 hours. Age 6 and up works if an adult handles the scissors and hole punch for younger kids.
Adults should run the scissors and hole punch for younger kids. Use non-toxic markers or paint if children decorate.
Draw and cut the pieces
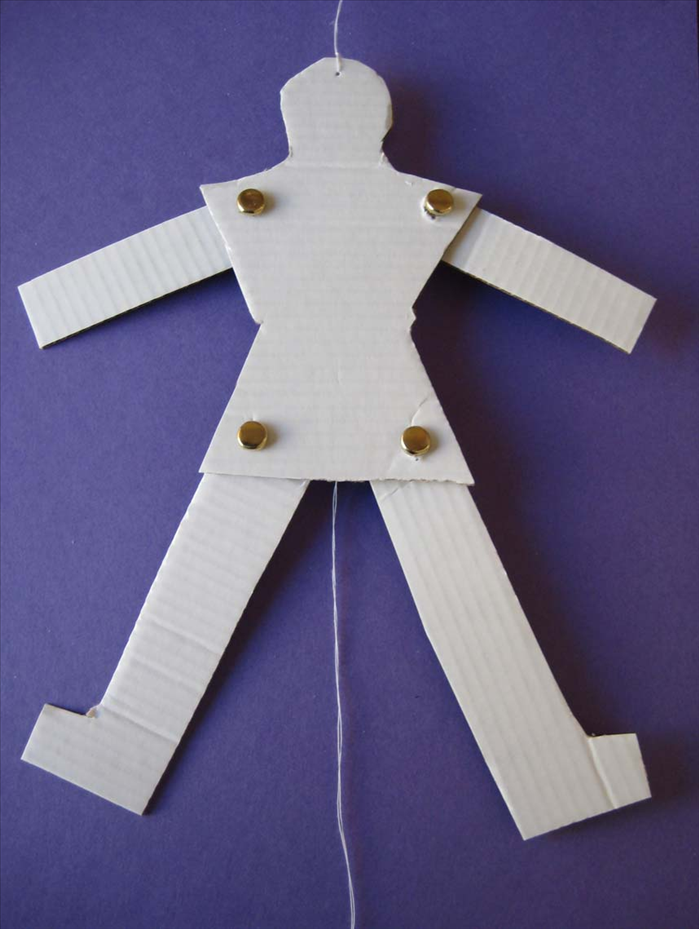
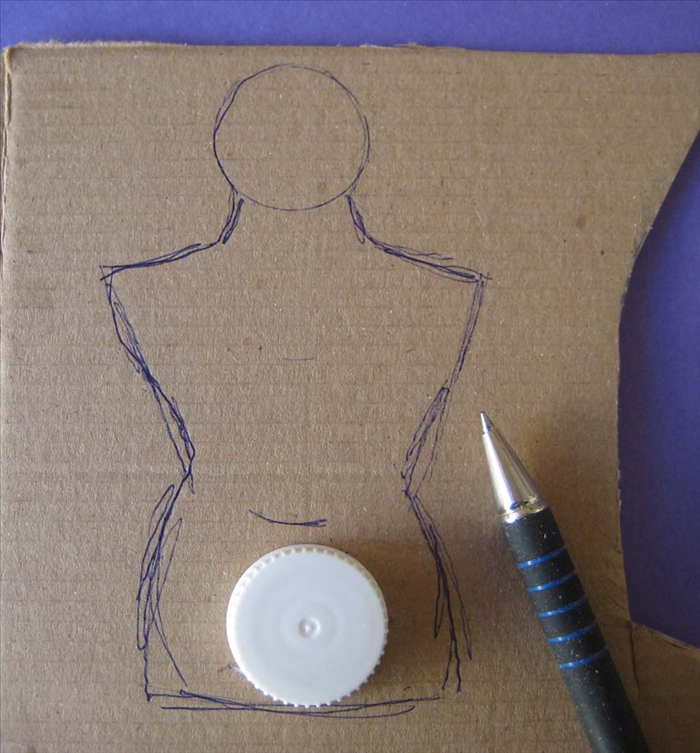
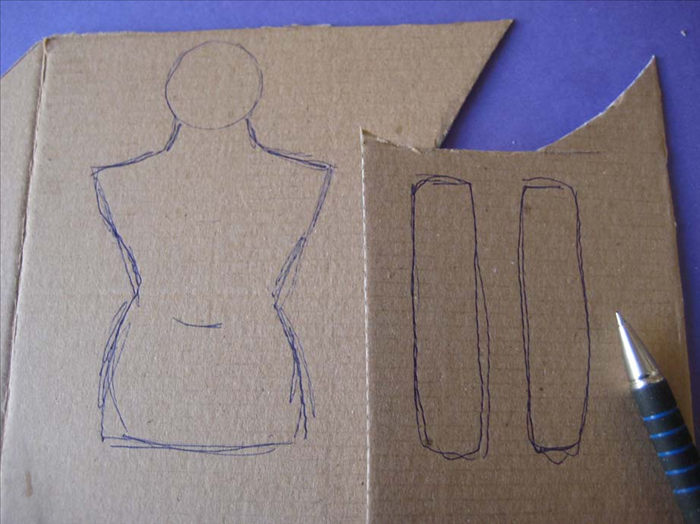
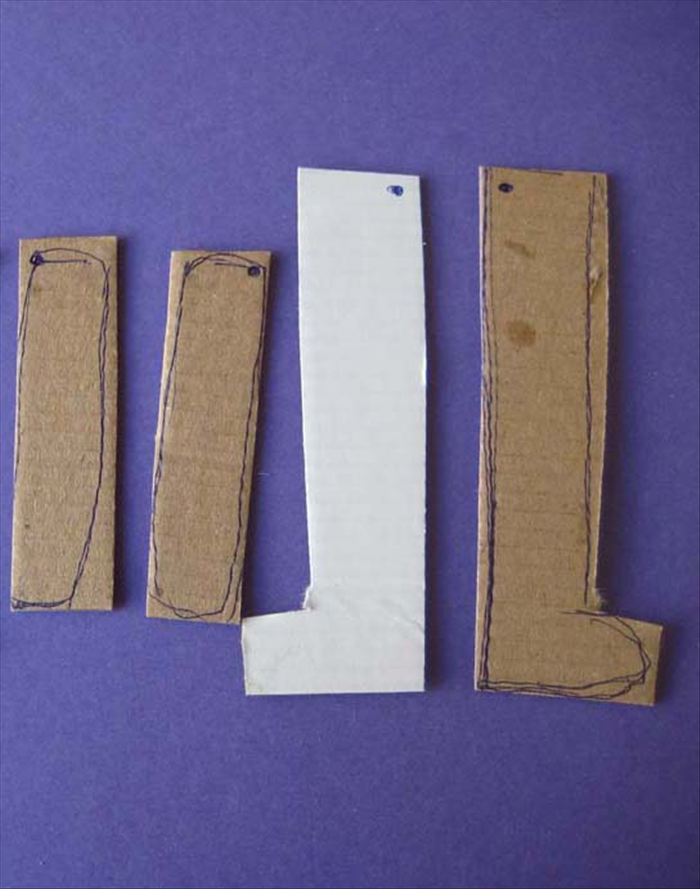
Draw one head, one torso, two arms, and two legs on cardboard. Keep the arms the same length as each other, and the legs the same length as each other, so the figure moves evenly. Freehand is fine; a long torso and a rounded head read clearly as a jumping jack. Cut the pieces out with scissors.
Join the head to the torso
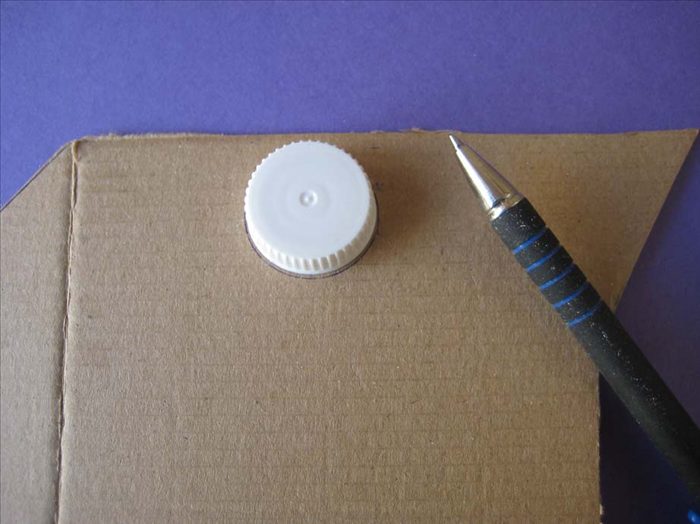
Punch a hole at the bottom center of the head and a matching hole at the top center of the torso. Join them with a metal brad, loose enough that the head can swivel a little. Punch two shoulder holes on the upper sides of the torso and two hip holes on the lower sides for the limbs.
Attach the arms and legs
Punch a hole at the top of each arm and each leg. Brad each arm to a shoulder hole and each leg to a hip hole. Splay the brad wings on the back, but leave the joints loose so the limbs can swing. Tight brads kill the jump.
String the jumping mechanism
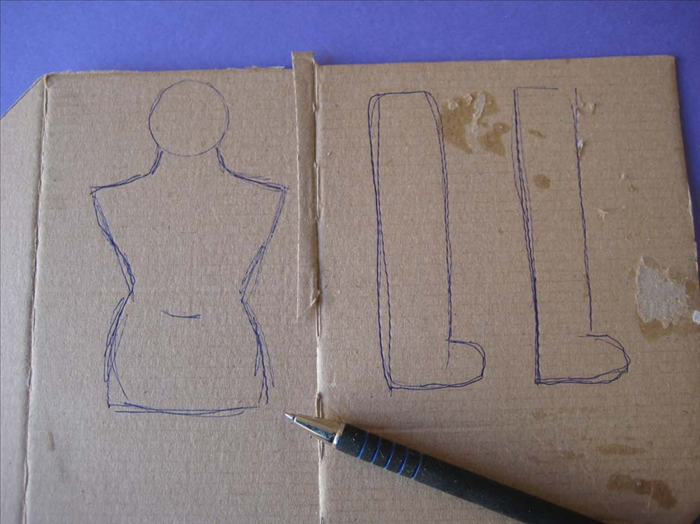
Punch a hole near the bottom of each arm and each leg.
Arm string: cut about 12–18 inches (30–45 cm) of string. Thread it through the bottom hole of one arm, across the back, through the bottom hole of the other arm, and tie it so it can pull the arms down without locking them.
Leg string: do the same across the two leg bottom holes with a separate piece of string.
Pull string: cut another 12–18 inches (30–45 cm). Tie one end to the middle of the arm string and the other end to the middle of the leg string. Pulling this middle string should move arms and legs together.
Decorate
Add a face, hair, and clothes with markers, paint, or crayons. Optional extras that already show up in common craft kits: glitter, small fabric scraps, or googly eyes. Let paint or glue dry fully before you hang the puppet.
Hang and test
Punch a hole at the top of the head and thread a short hanging loop. Hang the puppet on a doorknob or hook. Pull the main string and check that both arms and both legs move. If the motion sticks, look for tangled string or brads that are too tight, then loosen or retie.
Once the pull string works cleanly, you can cut a second figure with different proportions if you want another character from the same method.