How to make a plastic bag dispenser from a milk carton
Don’t throw out that milk carton. This green guide will show you how easy it is to turn it into a pretty plastic bag dispenser.
Easy 6,717 views
What You'll Need
- plastic bag dispenser
- green
- milk carton
Steps
- 1
Step 1
 Materials: Milk carton Scissors Wrapping paper Glue
 - 2
Step 2
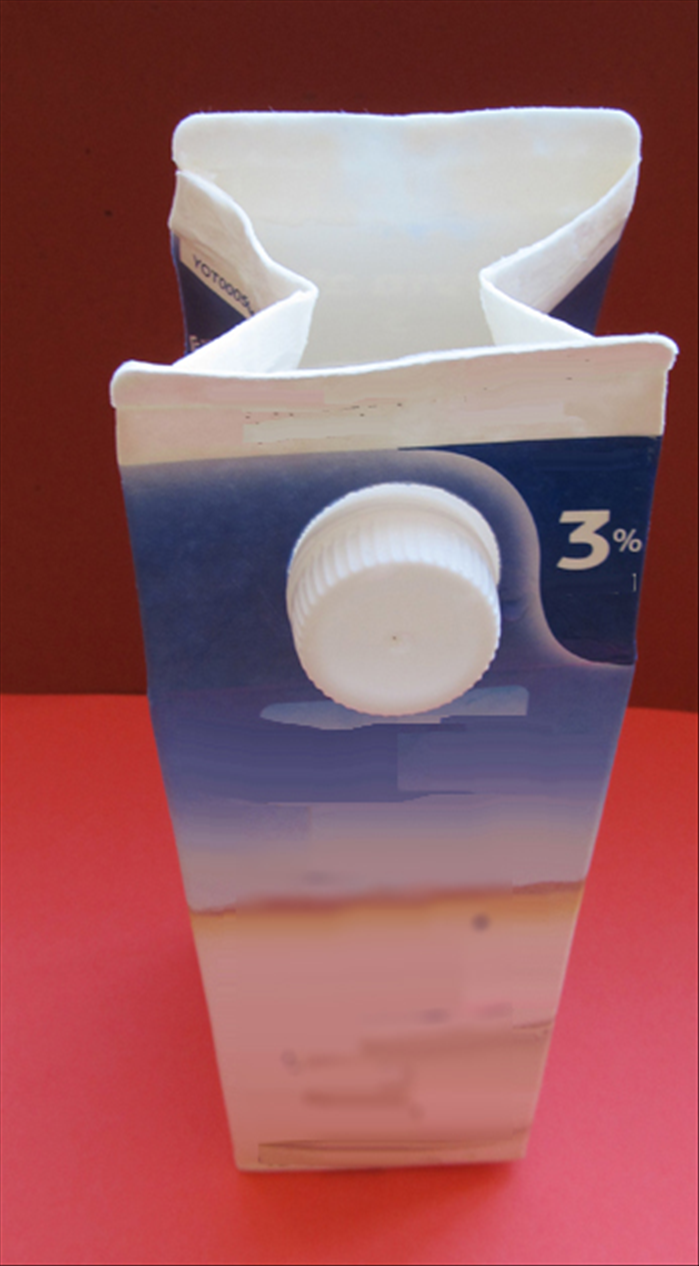 Open the top and bottom of the milk container. Do not open the sides. Wash it out well and let it dry.
 -
- 3
Step 3
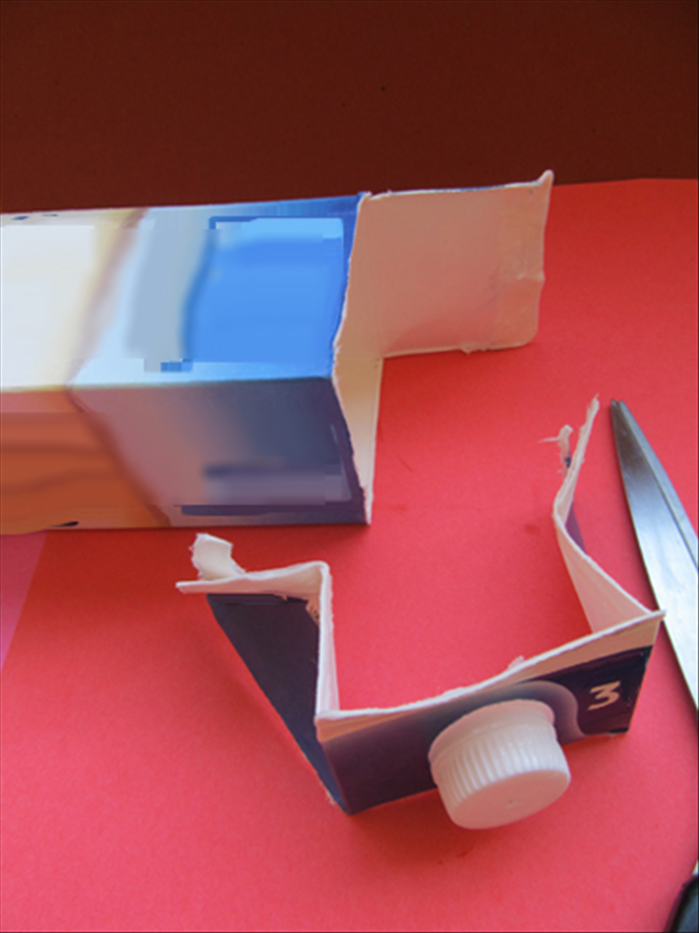 Cut off along the fold line on the sides and front as shown in the picture.
 - 4
Step 4
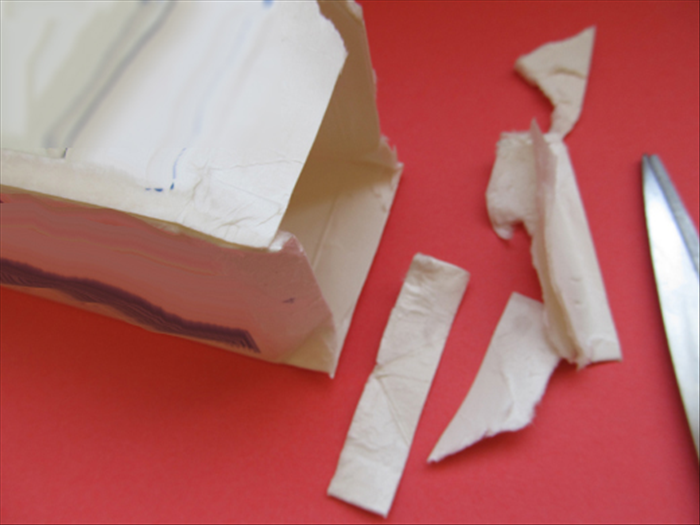 Cut off the bottom leaving about ¾ inch
 - 5
Step 5
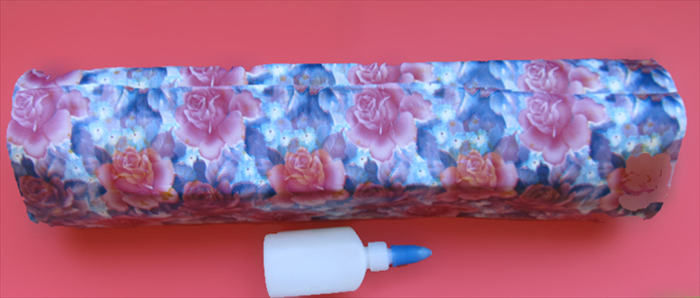 Wrap decorative paper around the milk carton. It should be is at least 3 inches longer at the top of the milk carton and 1 ½ inches at the bottom. Glue it in place.
 - 6
Step 6
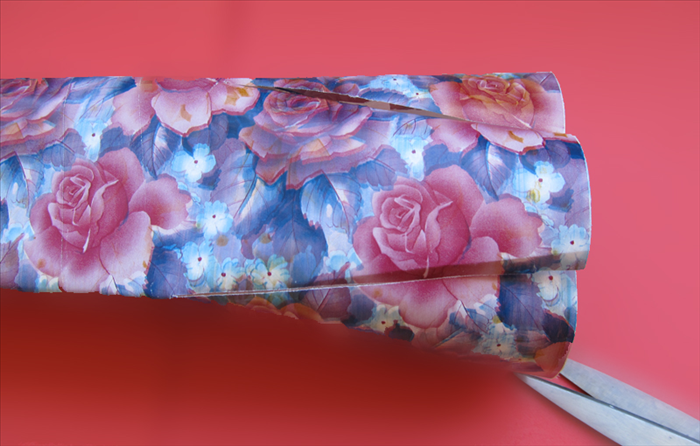 Press on the corners of the carton to mark where they are and make a slit to each corner. Do this to the bottom of the carton also
 - 7
Step 7
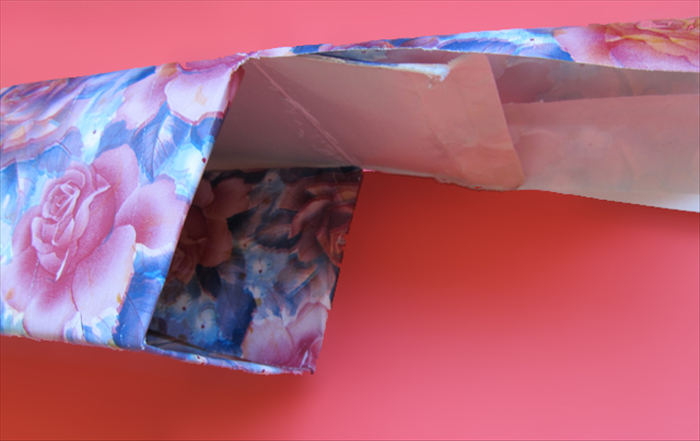 Fold the paper down along all the edges.
 - 8
Step 8
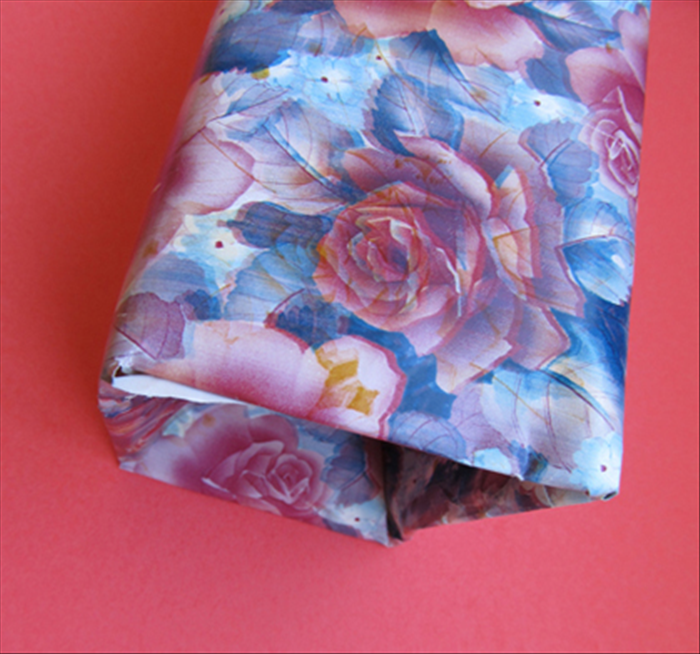 Repeat on the bottom
 - 9
Step 9
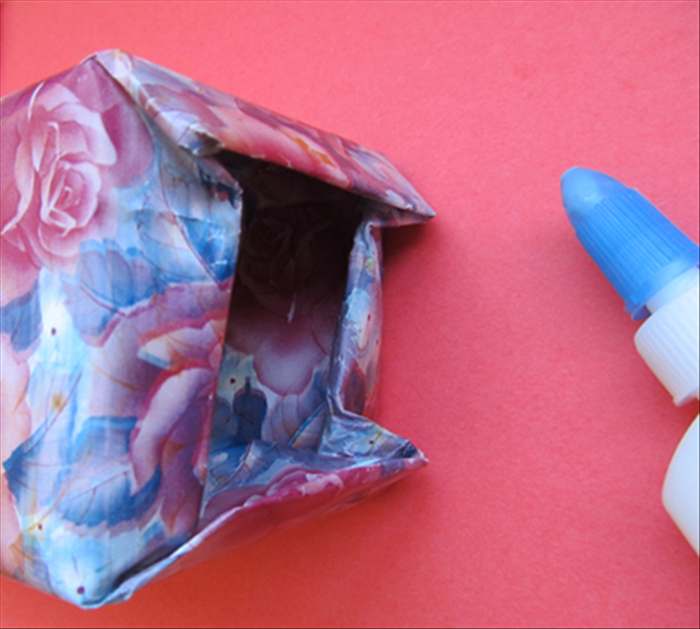 Fold the bottom back down and glue it in place
 - 10
Step 10
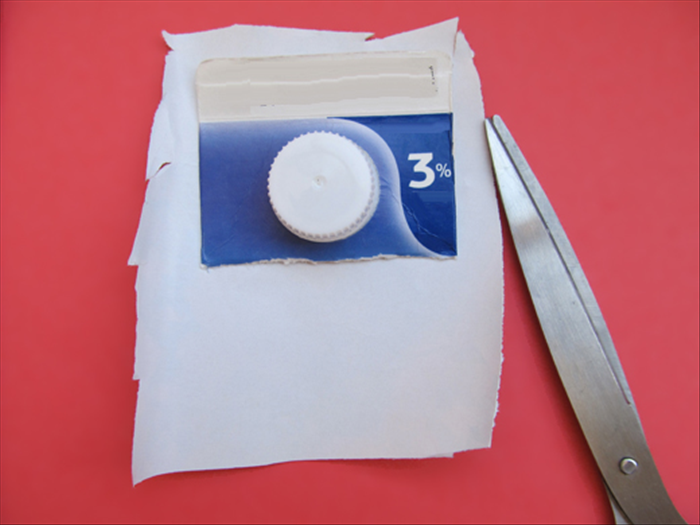 Use the top of the milk carton to measure and cut a piece of decorative paper as shown in the picture
 - 11
Step 11
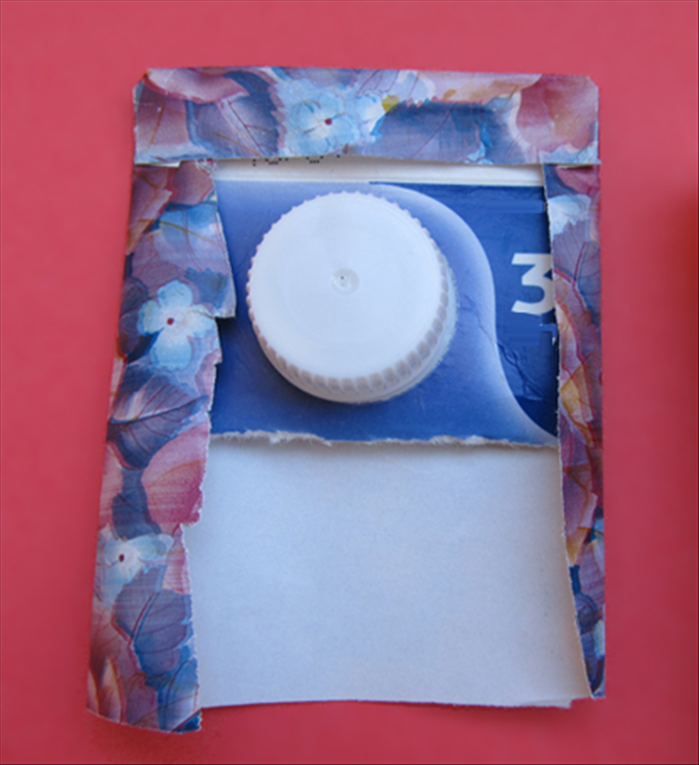 Fold the paper over the edges. Crease and remove the carton.
 - 12
Step 12
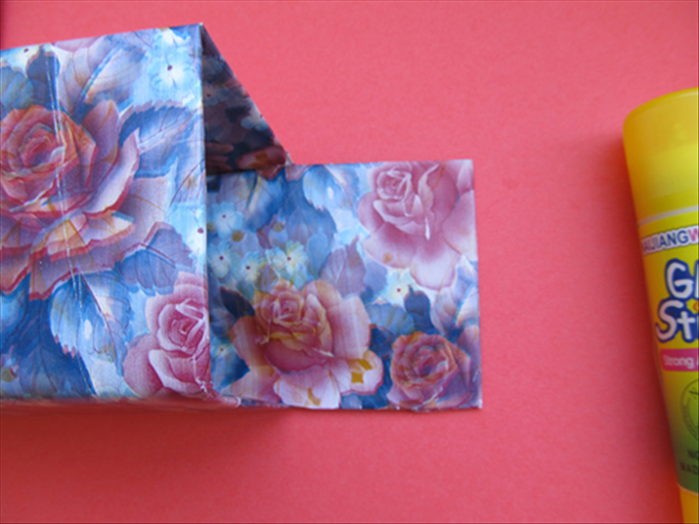 Place the piece on top of the covered milk carton with the fold over the top edge. Glue it in place
 - 13
Step 13
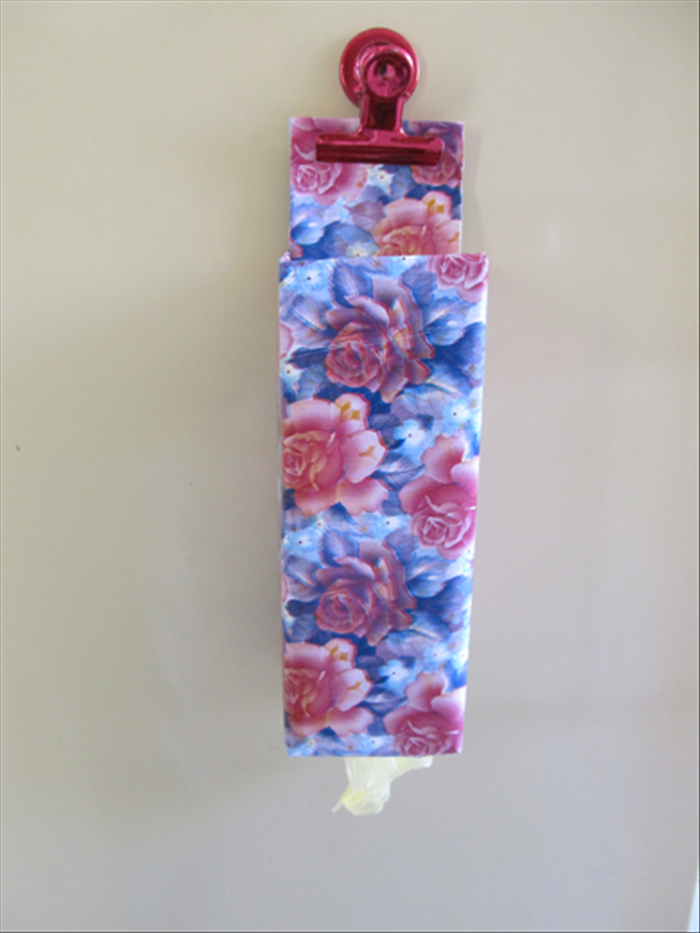
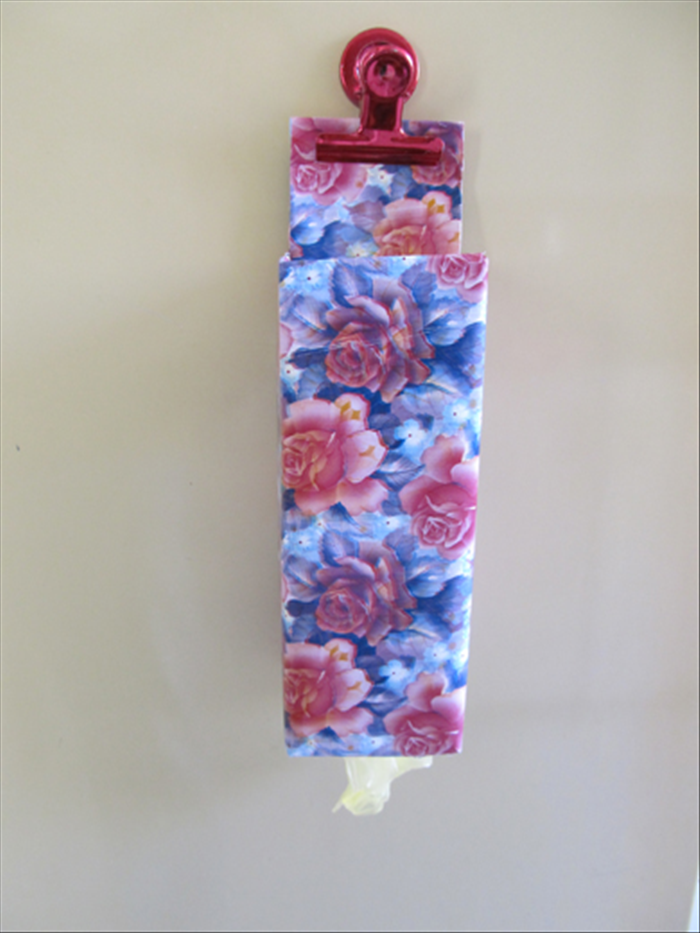 That’s it! You can punch a hole at the top to hang it on a nail or use a magnet clip as shown in the picture. Now you have a nice way to store your plastic bags. Just push them into the top and pull from the bottom whenever you need one.