Iron Plastic Bags for Crafts: Turn Them into DIY Sheets
Learn how to fuse plastic bags with an iron to create durable, flexible sheets for cutting, gluing, and sewing.
What You'll Need
- Clean, dry plastic bags (grocery, bread, produce)
- Parchment paper (baking paper)
- Household iron
- Scissors or rotary cutter
- Protective ironing surface (old towel or thick fabric)
- Cutting mat
Fusing plastic bags with heat creates a sturdy, fabric-like material. Use it for wallets, pouches, or decorative items. Work in a ventilated area and follow safety steps.
Prepare a Safe, Ventilated Workspace
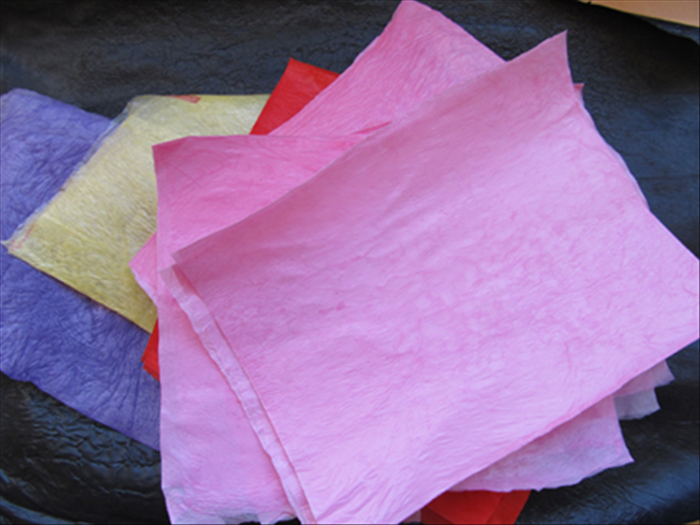
Open a window or use a fan to ensure airflow. Cover your ironing surface with a thick towel. Keep the iron away from edges. Never leave the hot iron unattended.
Select and Prepare Plastic Bags
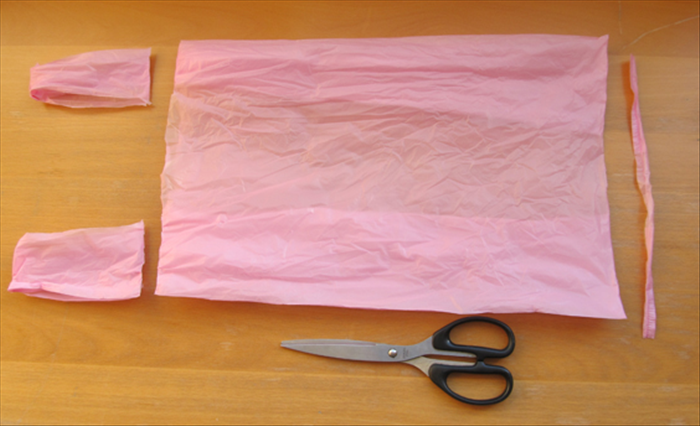
Use clean, dry bags. Most grocery bags are HDPE and fuse to a crinkly texture. Cut off handles and seams. Flatten bags and remove any labels or sticky residue.
Layer Bags Between Parchment Paper
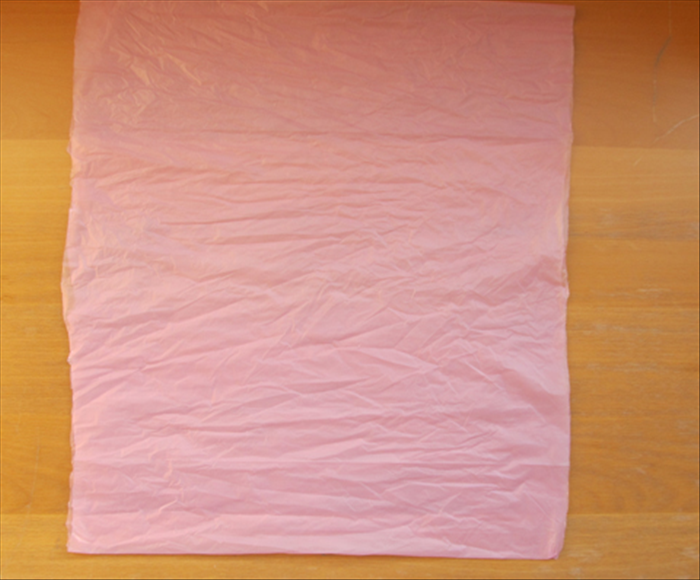
Stack 4–6 layers of plastic on the ironing surface. Place a sheet of parchment paper on top and bottom. Keep the stack flat and even.
Iron on Low to Medium Heat
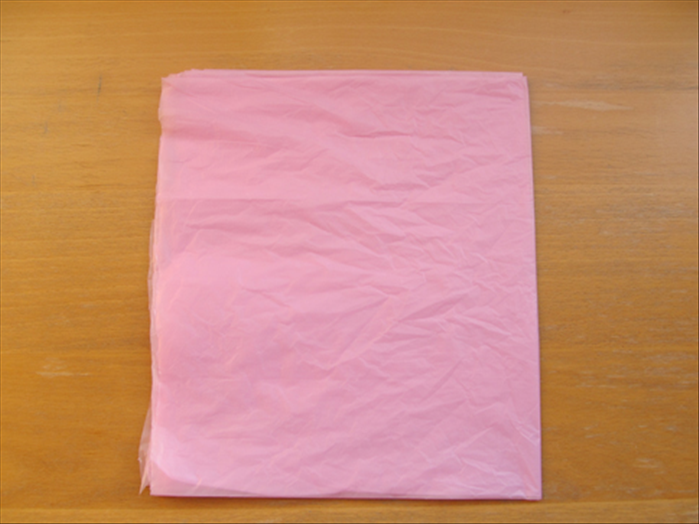
Set the iron to low or medium (no steam). Press slowly over the parchment paper for 10–15 seconds per area. Lift and check; if not fused, press again. Avoid overheating to prevent holes.
Cool and Trim the Fused Sheet
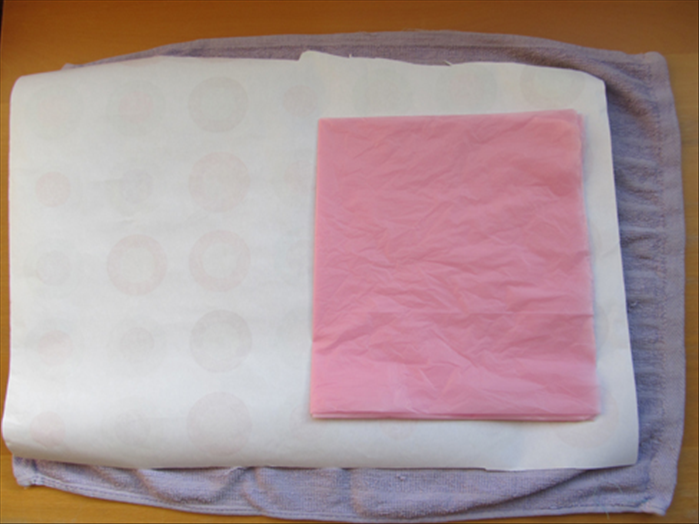
Let the fused plastic cool completely. Peel off the parchment paper. Trim edges with scissors or a rotary cutter on a cutting mat. Store flat or rolled.
Experiment with Colors and Patterns
Mix different bag colors and patterns. Layer contrasting colors for a marbled effect. Test small samples first to see how each bag type fuses.
Safety Warning
Always work in a well-ventilated area to avoid inhaling fumes from heated plastic. Never leave a hot iron unattended. Keep children and pets away from the ironing area.