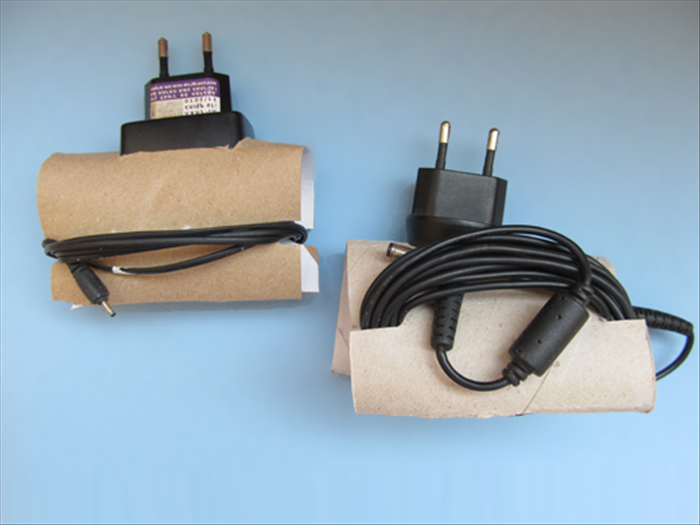
How to make a rectangular box from a toilet paper roll
This guide will show you how to squash a toilet paper roll and turn it into a box
Easy 7,350 views
What You'll Need
- toilet paper rolls
- green crafts. box
Steps
- 1
Step 1
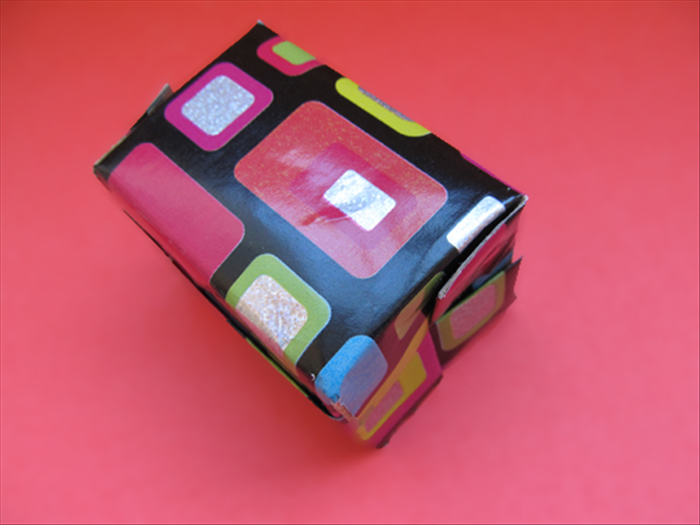 Materials: Toilet paper roll Scissors Knife, ruler or similar hard straight edge object Optional: Wrapping paper, paper glue
 - 2
Step 2
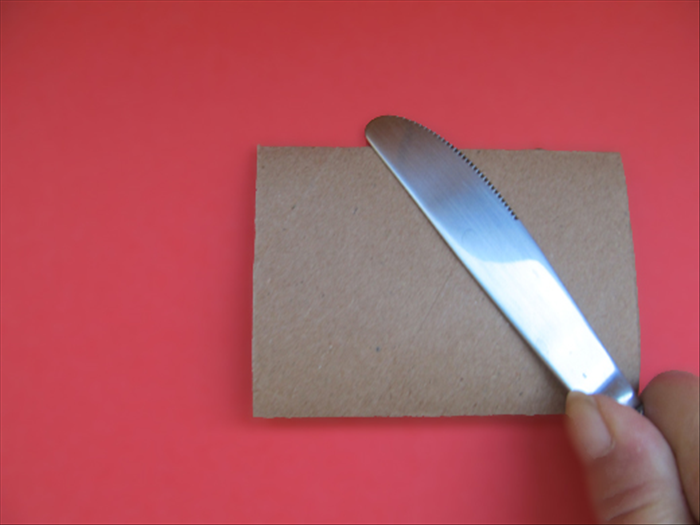 Squash the toilet paper roll flat. Run a knife or similar flat object along the edges to give it a sharp crease Flip it over and crease it from the back also
 -
- 3
Step 3
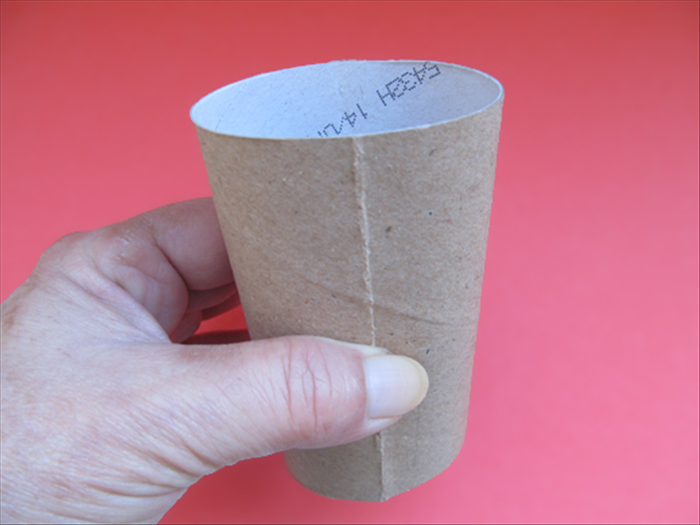 Open the roll and align the creases
 - 4
Step 4
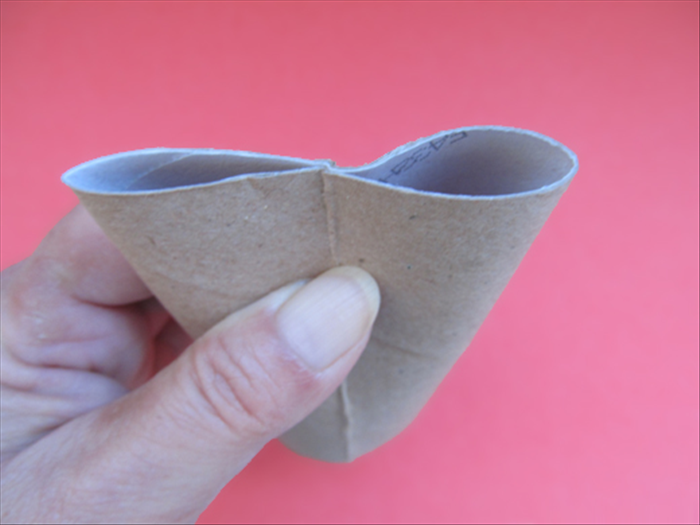 Press the crease lines together
 - 5
Step 5
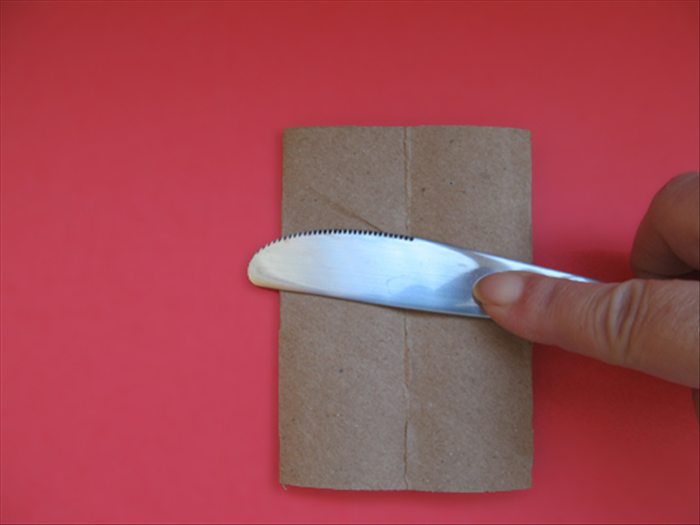 Flatten the crease lines together Make sharp creases with your knife on both edges Flip it over to the back side and sharpen the crease even more
 - 6
Step 6
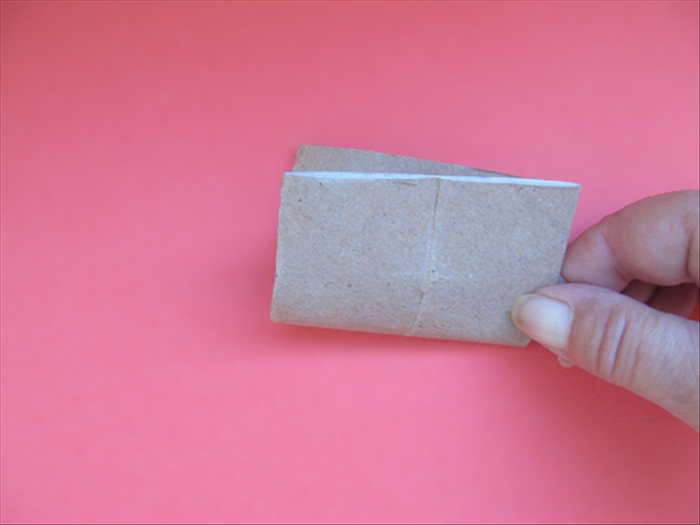 Bring the bottom edge up to the top edge as if you were going to fold it in half Do not fold only pinch the edge to get a halfway mark
 - 7
Step 7
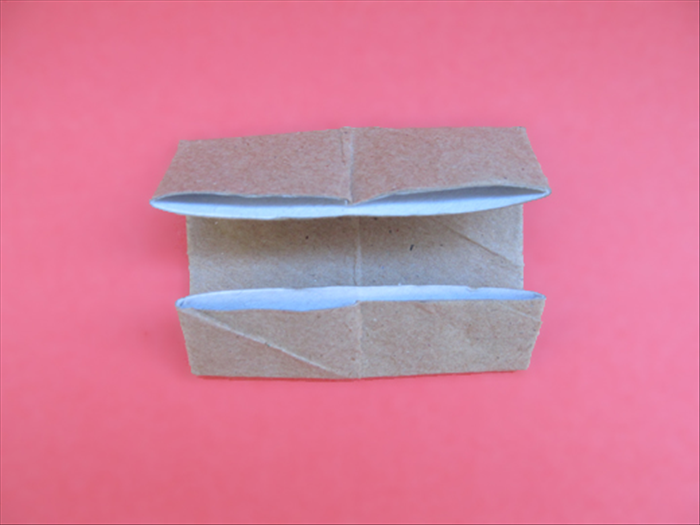 Fold the top edge down about ¼ inch away from the halfway mark. Fold the bottom edge up about ¼ inch away from the halfway mark.
 - 8
Step 8
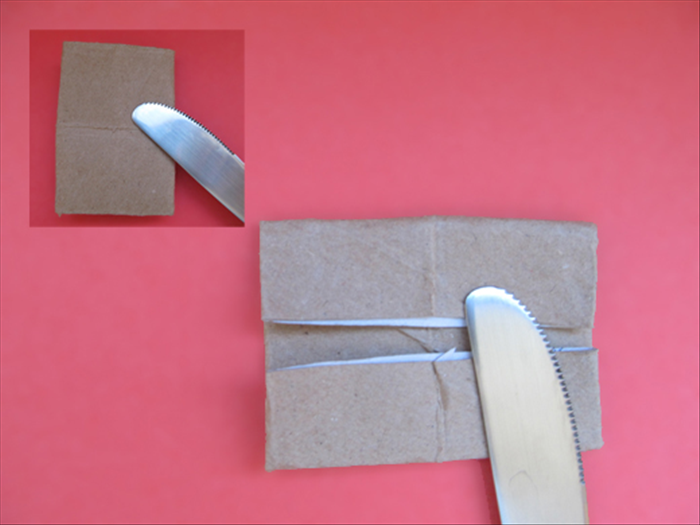 Give them a sharp crease with the knife Sharpen the crease from the back also
 - 9
Step 9
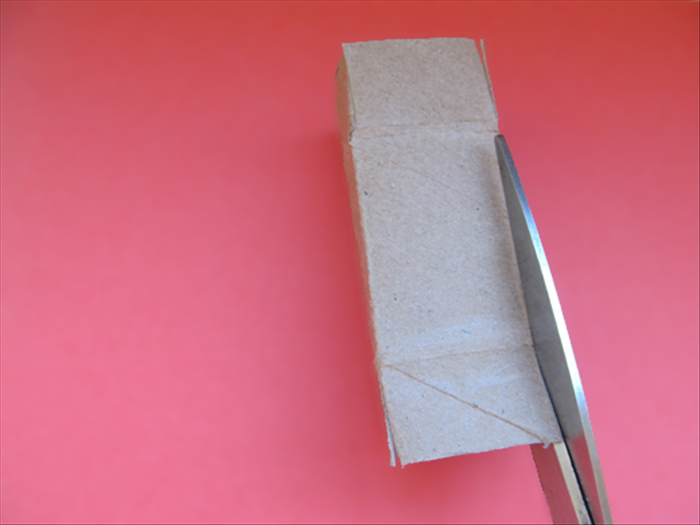 Unfold all the folds Separate the layers and form a 3d rectangle Make slits at each corner up to the horizontal creases you made in the last step.
 - 10
Step 10
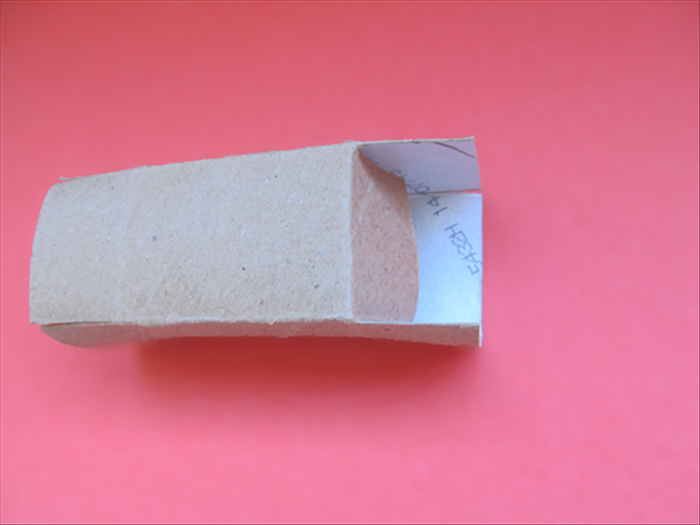 The slits you just made should give you 4 flaps on each side Press one of the flaps inward
 - 11
Step 11
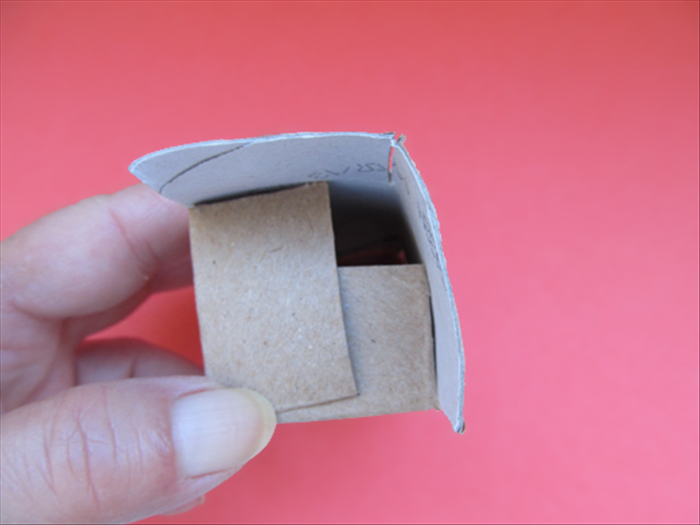 Press the flap next to it on top of it
 - 12
Step 12
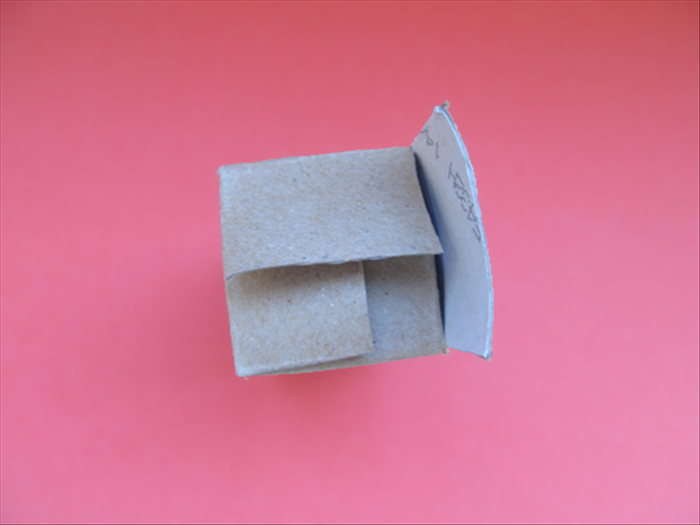 Press the next flap down
 - 13
Step 13
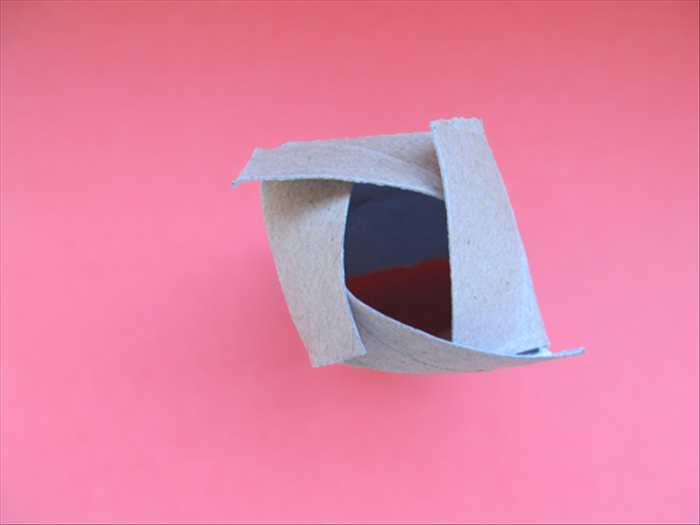 Press the last flap down Lift the flaps up a little so you can tuck the bottom edge under the first flap
 - 14
Step 14
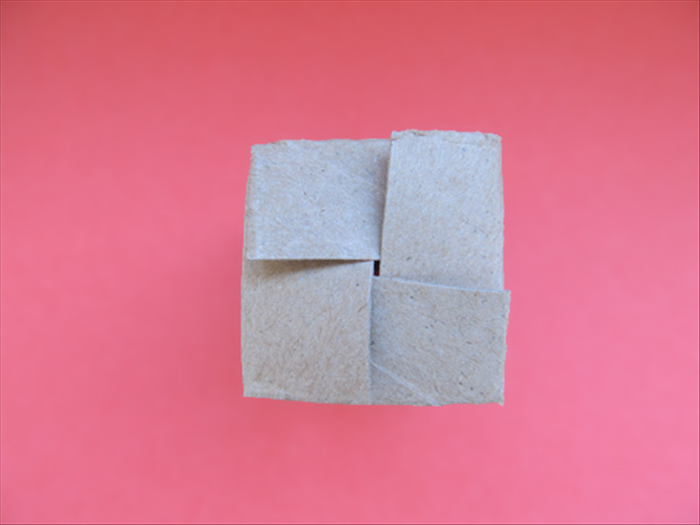 Press the flaps down to flatten them in place Repeat step 10 -14 on the bottom of the box You can stop here, decorate the box or wrap it as you would for a present. Continue to the next step if you want be able to open and close it when it is covered with paper
 - 15
Step 15
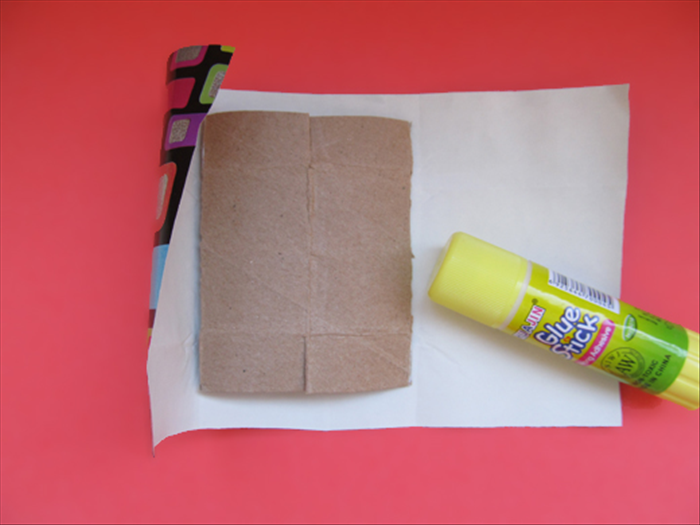 Flatten the box Cut a piece of wrapping paper that is big enough to wrap around the width of the box and slightly longer than the flaps Place the box slightly to the left of the center. Glue it in place.
 - 16
Step 16
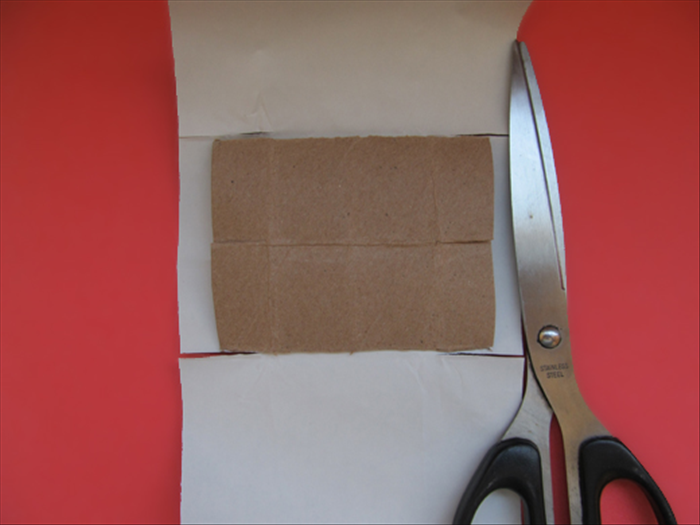 Use the slits in the box as a guide where to cut slits in the paper
 - 17
Step 17
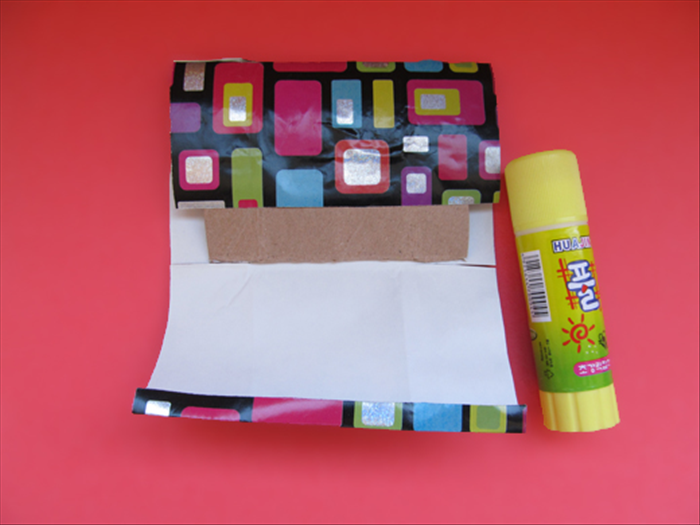 Glue the top of the paper to the box. Make a small fold at the bottom of the paper so it will have a neat edge.
 - 18
Step 18
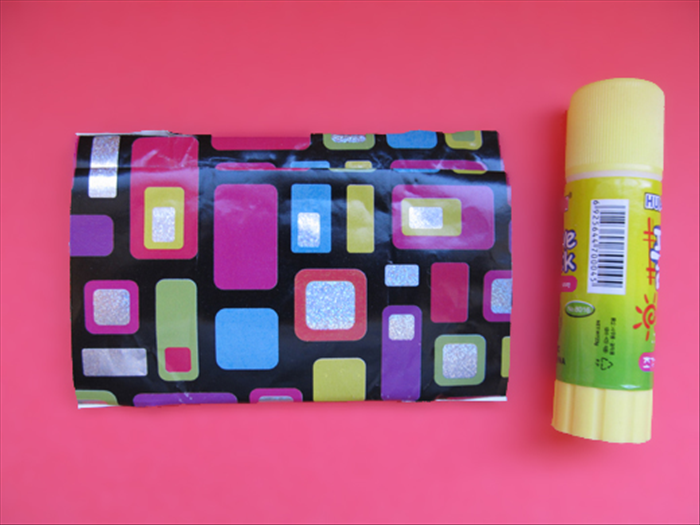 Bring the folded edge of the paper up and glue it in place. This part doesn't have the slits. Spread the 2 layers of the box and cut the 2 slits on each side that you didn't get to in step 16
 - 19
Step 19
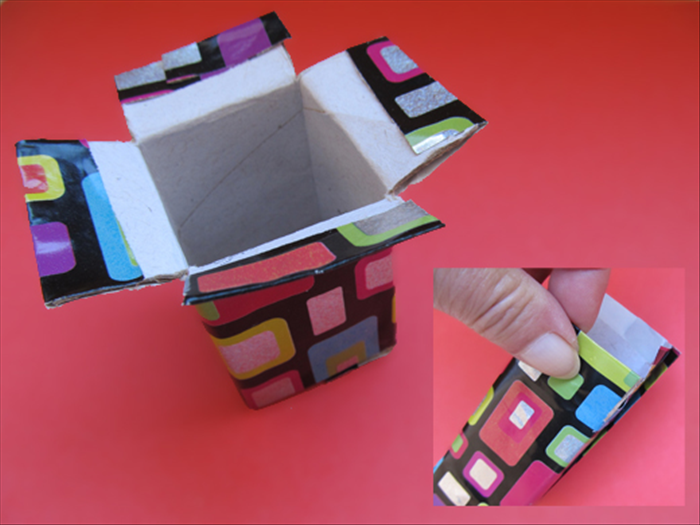 Spread to get the box shape Fold the extra paper over the flaps and glue them in place Fold the flaps backwards to get a good crease
 - 20
Step 20
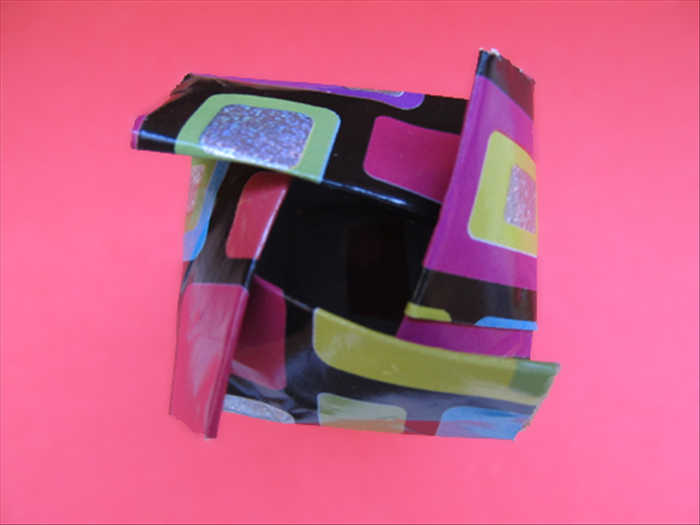 Fold the flaps over as you did in steps 10 to 14 Flatten the flaps Repeat on the bottom side and enjoy your new box!