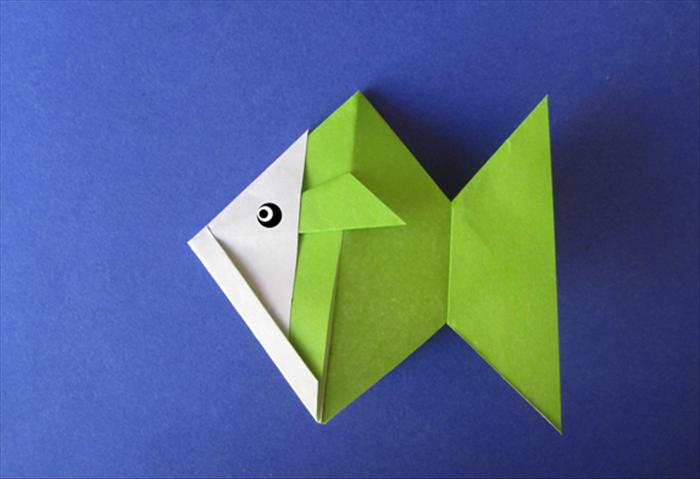
How to make an easy origami gold fish. Origami for kids
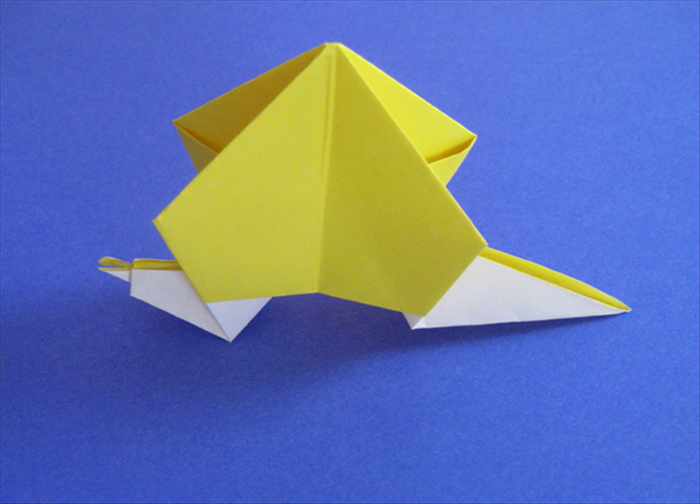
This is an easy traditional origami goldfish. It begins the same way as the samurai hat .
Easy 13,509 views
What You'll Need
- origami fish
- origami animals
- paper fish
- fold fish
- traditional origami
Steps
- 1
Step 1
 You will need one square of paper. Colored on one side looks best.
 - 2
Step 2
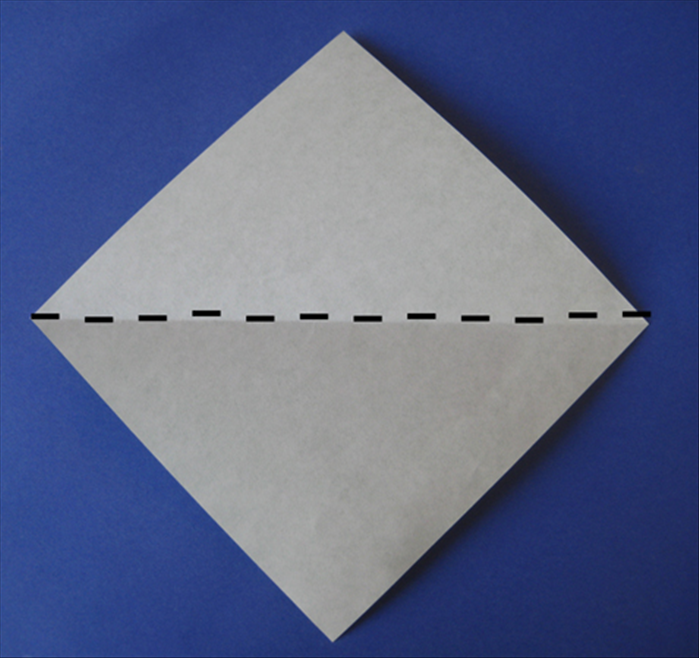 Place paper with colored side facing down Fold it in half diagonally.
 -
- 3
Step 3
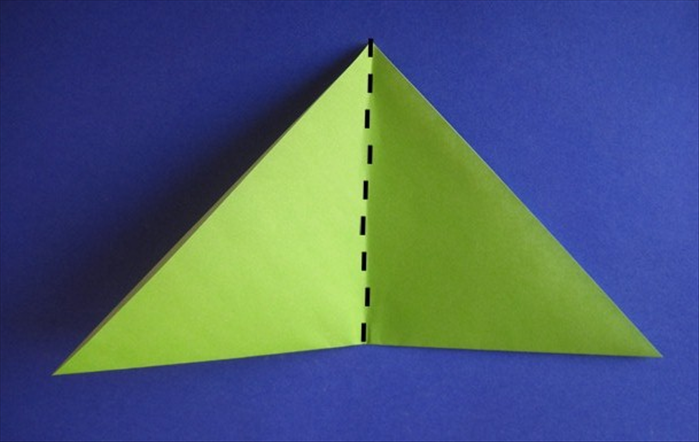 Fold it in half again. unfold
 - 4
Step 4
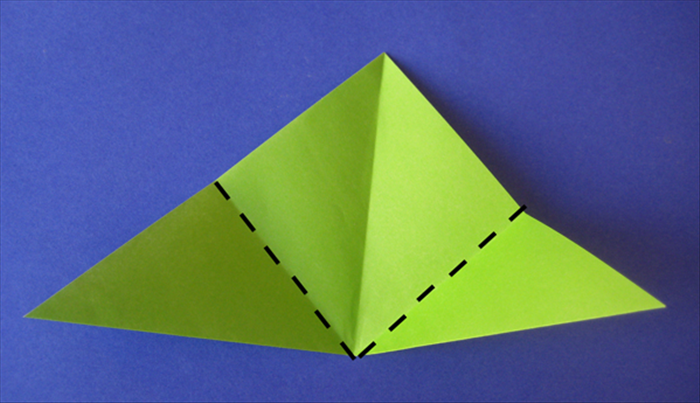 Fold the side points up to center crease.
 - 5
Step 5
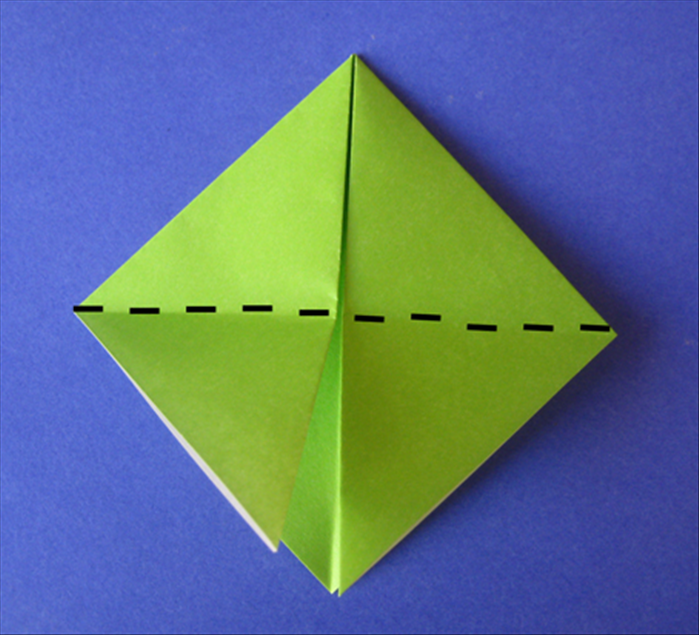 Rotate the paper so that the opening is on the bottom. Fold the 2 flaps up to the top.
 - 6
Step 6
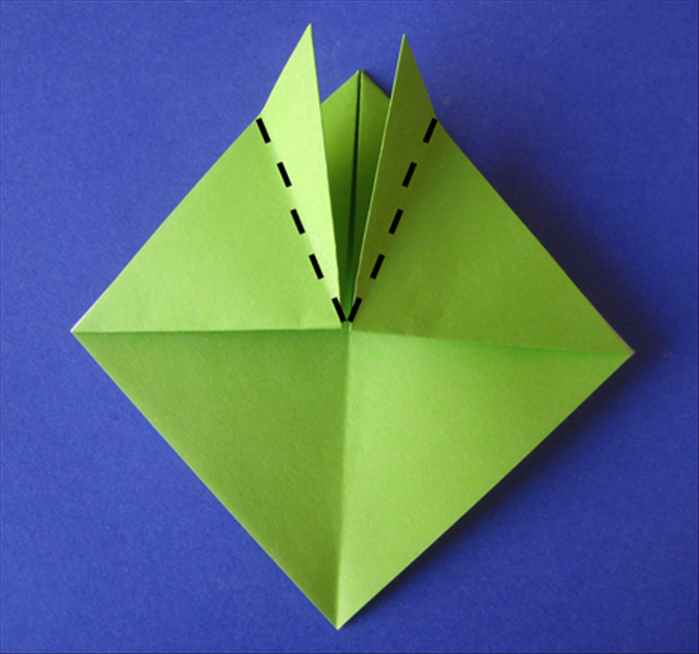 Fold the 2 points at the top down to the sides at an angle. See the next picture for results.
 - 7
Step 7
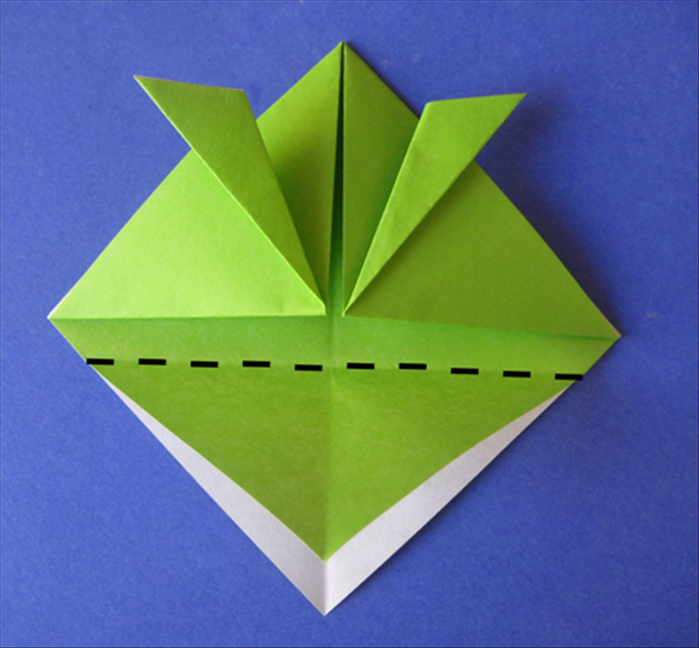 Fold the bottom point, of one layer, up from a little below the middle. See the next picture for the results.
 - 8
Step 8
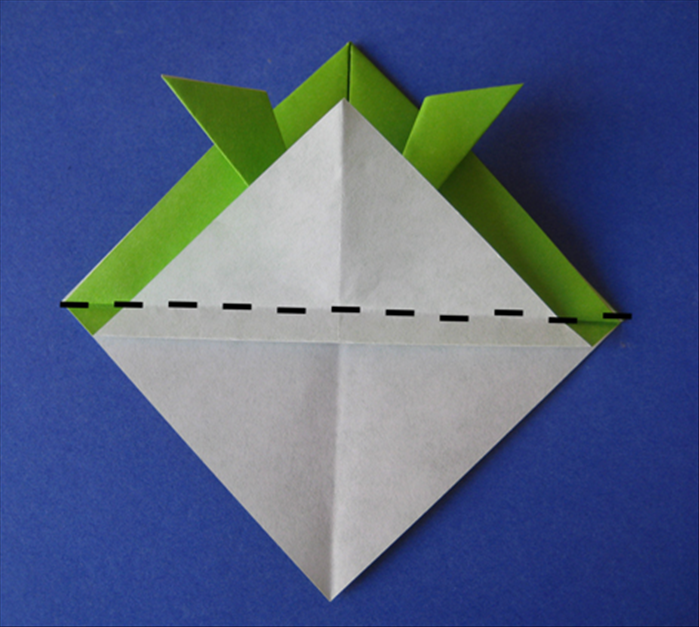 Fold it up again at the middle.
 - 9
Step 9
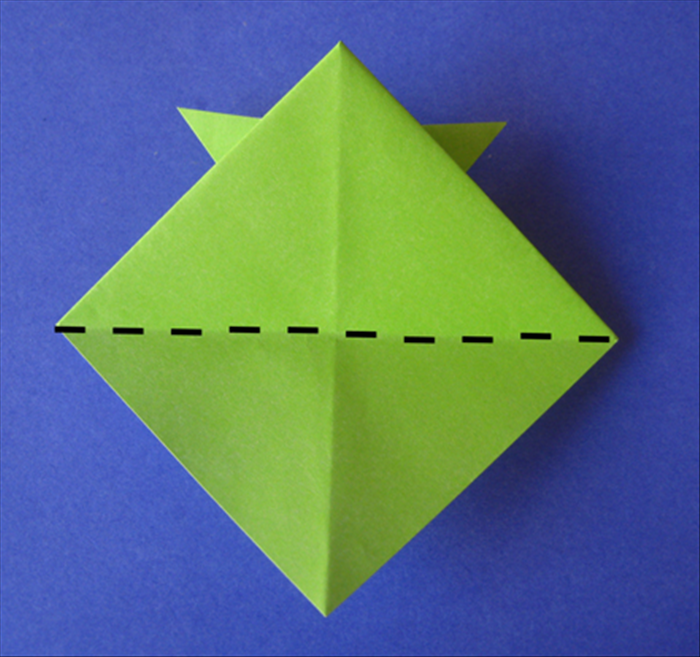 Flip the paper over to the back. Fold the bottom point up to the top point.
 - 10
Step 10
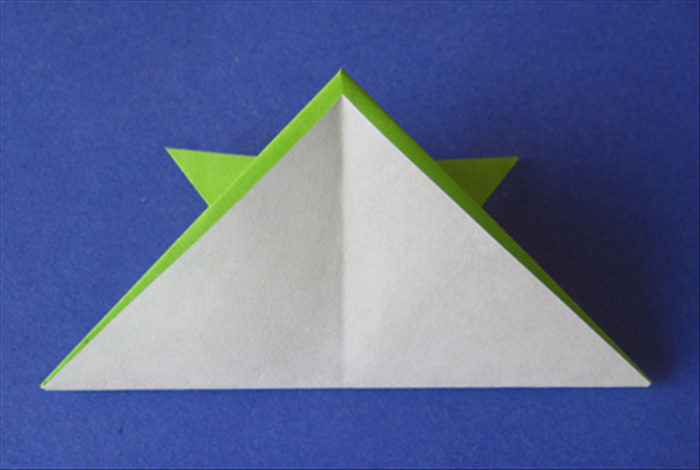 Result
 - 11
Step 11
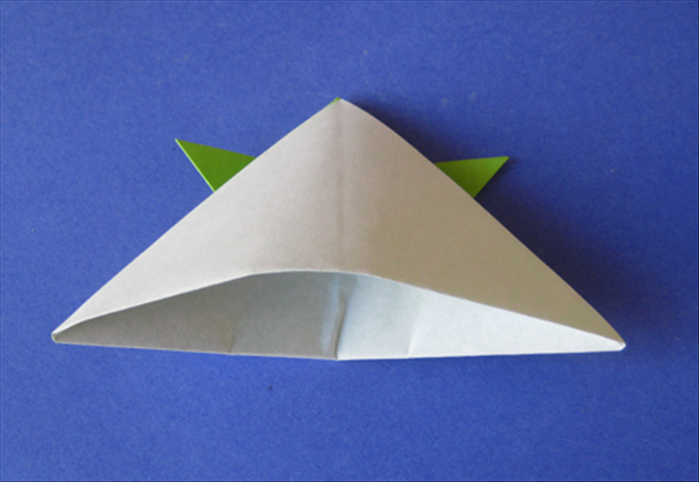 Separate the 2 layers and pull them apart.
 - 12
Step 12
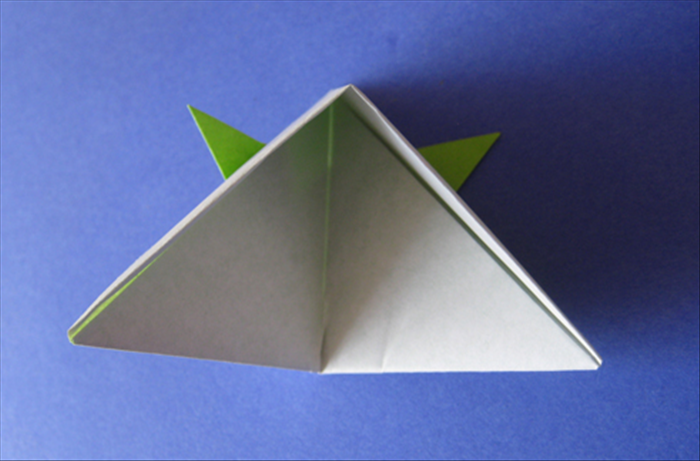 Keep pulling and then squash it flat.
 - 13
Step 13
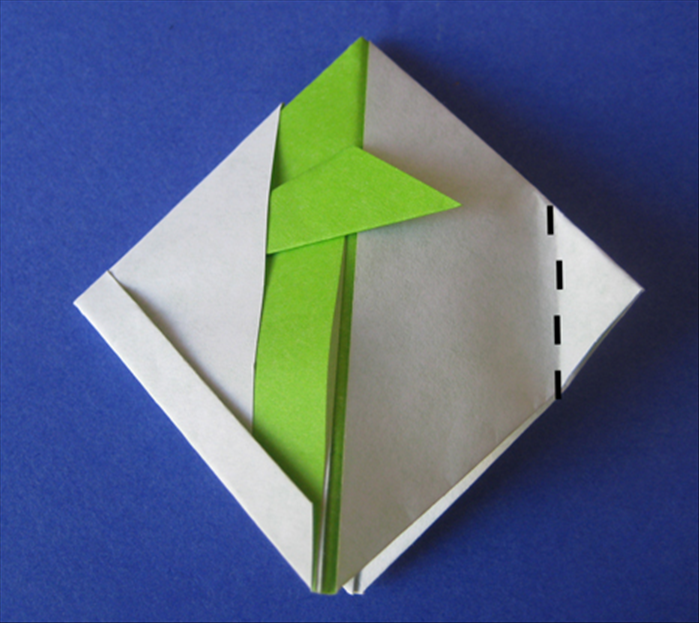 Fold the right point as shown in the picture.
 - 14
Step 14
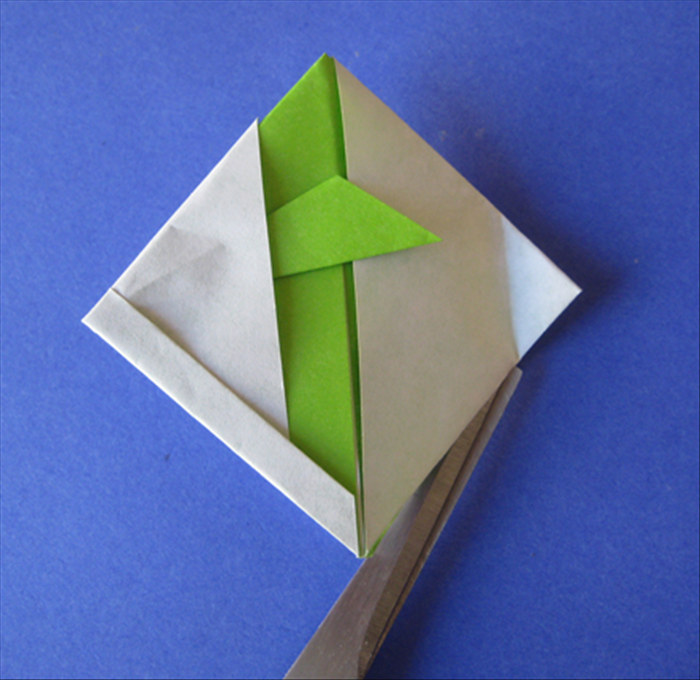 Lift the top layer and cut from the bottom point until the fold you just made. Do not cut all the way to the end. Flip the paper over and cut the other side the same way – only until the crease.
 - 15
Step 15
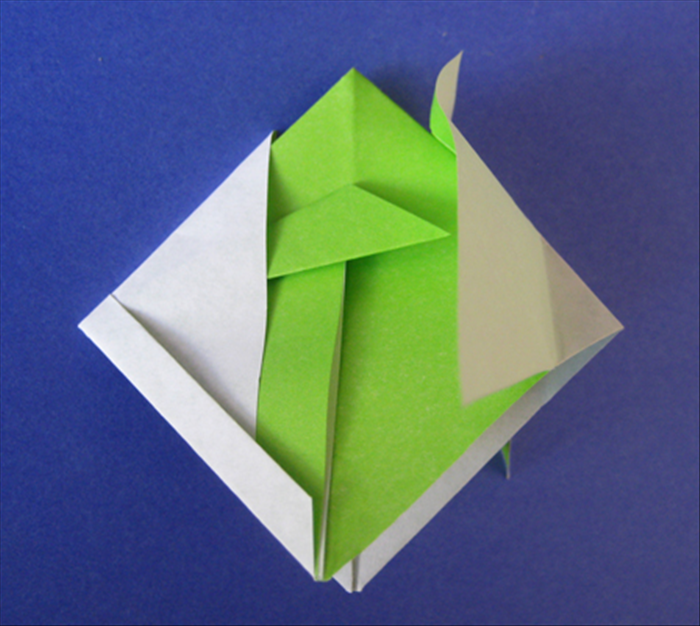 Gently pull the top right flap back.
 - 16
Step 16
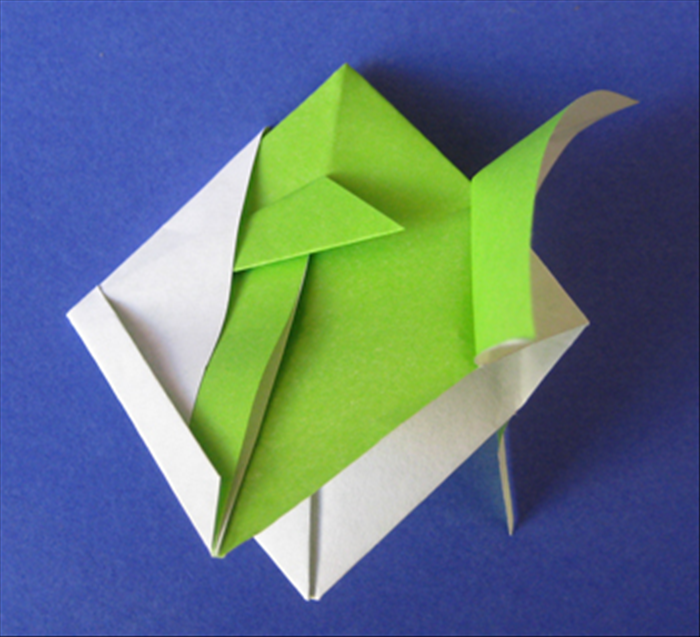 Continue pulling until it folds back inside out. The bottom will rise together with it and flatten.
 - 17
Step 17
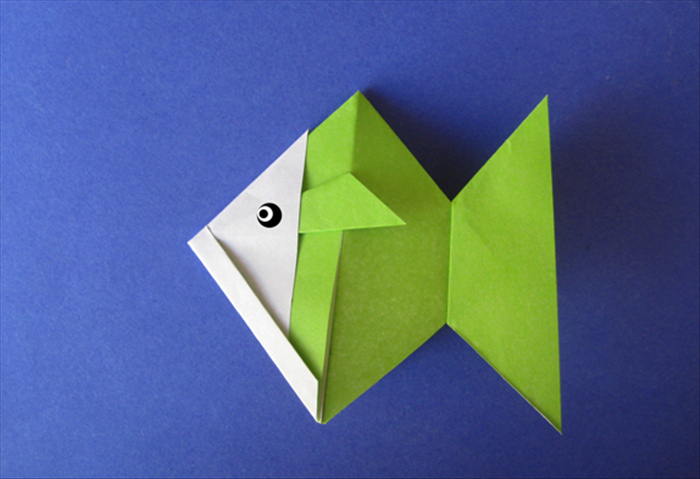 Your origami goldfish is finished!