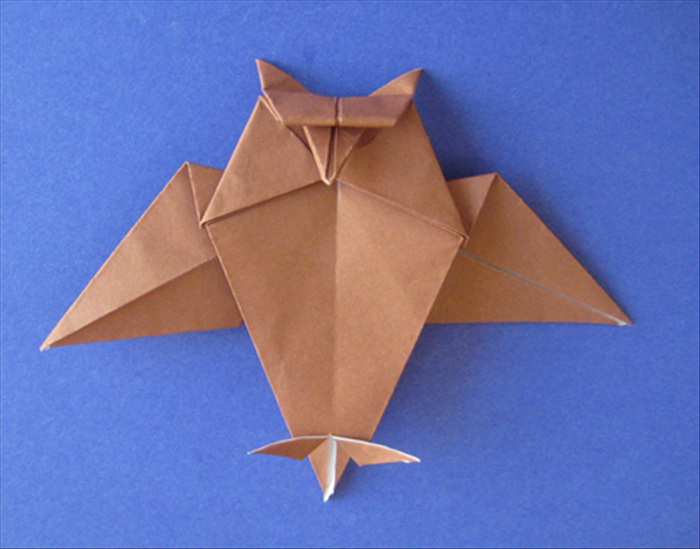
How to fold a traditional origami owl
This guide will show you how to fold the traditional origami owl.
Medium 18,275 views
What You'll Need
- origami owl
- paper owl. traditional origami
- paper folding
- paper crafts
- origami birds
- origami animals
Steps
- 1
Step 1
 Materials: 1 square sheet of paper. Scissors
 - 2
Step 2
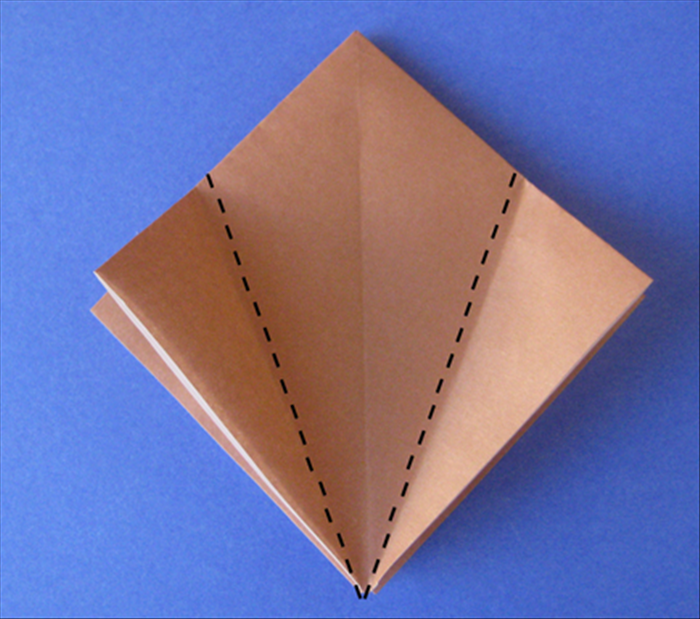 This model begins with the square base. See the instructions for folding a square base if you do not know how to do it. Place your square base with open side on the bottom. Fold the side points up to the center crease.
 -
- 3
Step 3
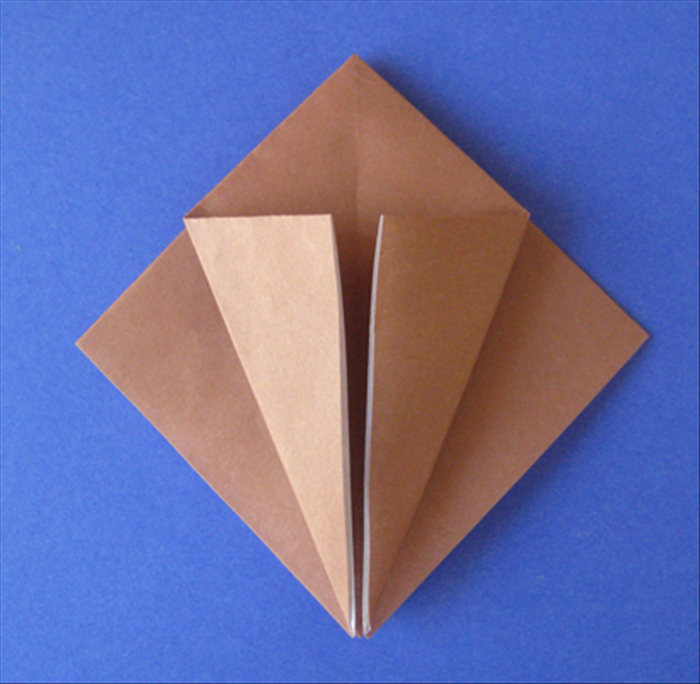 Result Flip the paper over and repeat on the back.
 - 4
Step 4
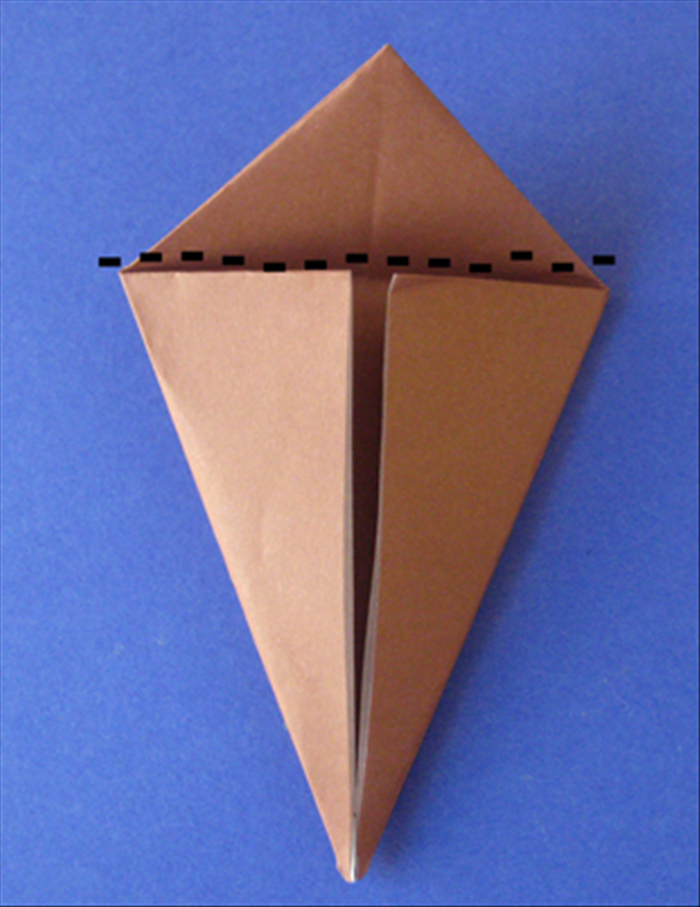 Fold the top triangle down along the flaps. Make a sharp crease and unfold. Flip the paper over and repeat on the back.
 - 5
Step 5
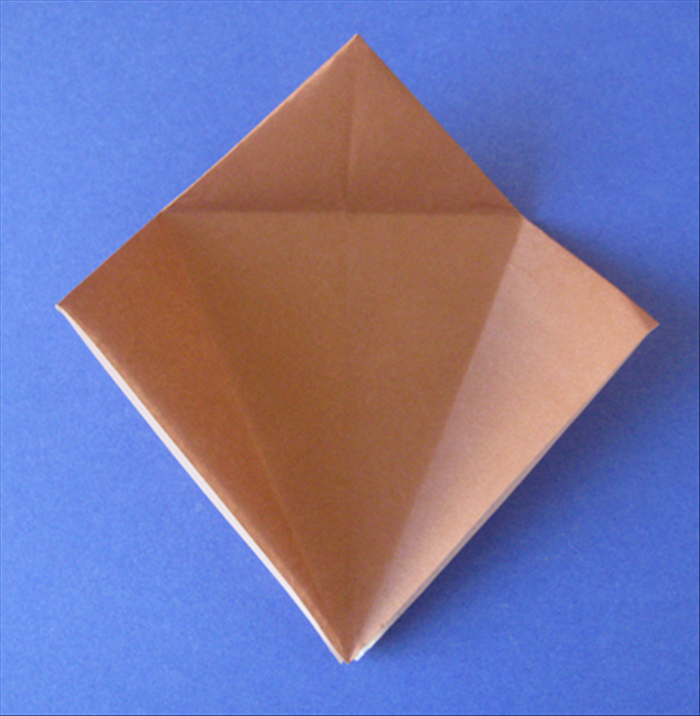 Unfold the flaps.
 - 6
Step 6
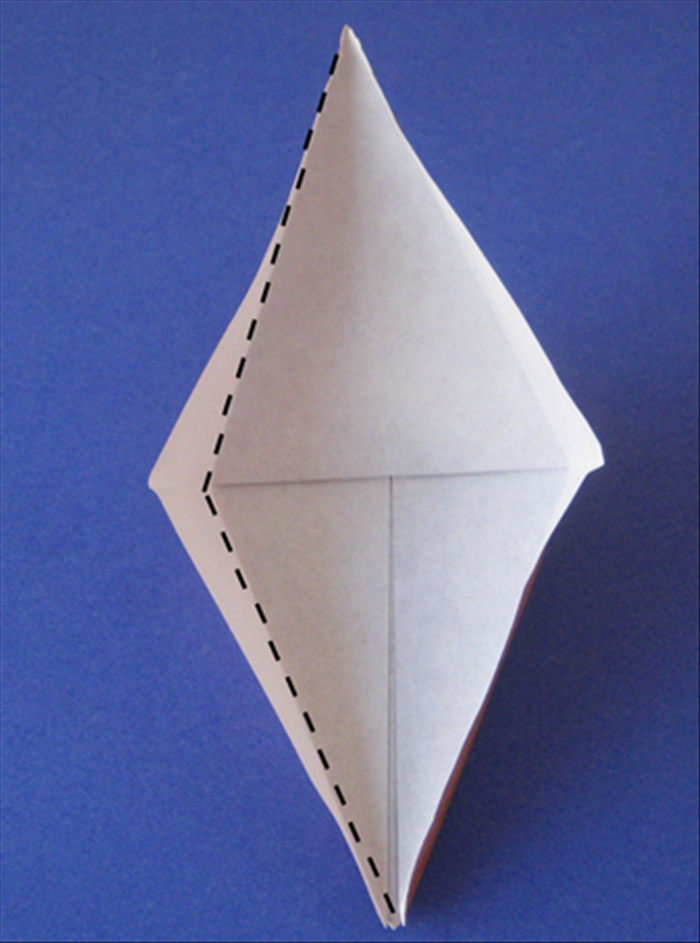 Pull the first layer up from the bottom. Use the center crease you just made to know where to stop pulling it up to. Press down along the creases on both sides including the top and bottom.
 - 7
Step 7
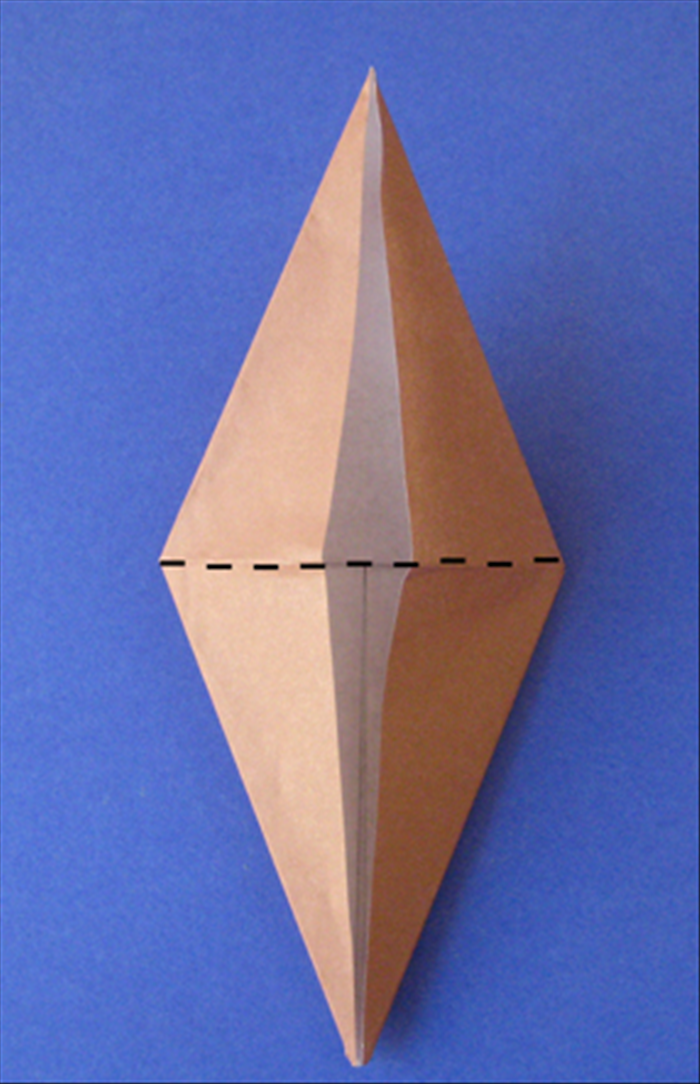 Result Fold the top point down to the bottom point. Flip the paper over and repeat steps 6 and 7.
 - 8
Step 8
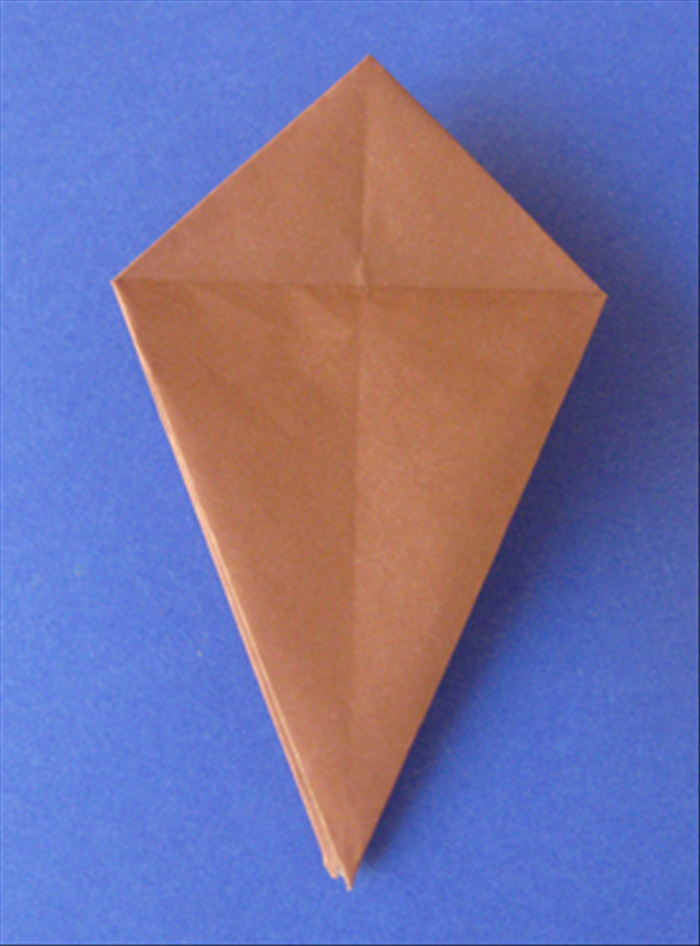 Result
 - 9
Step 9
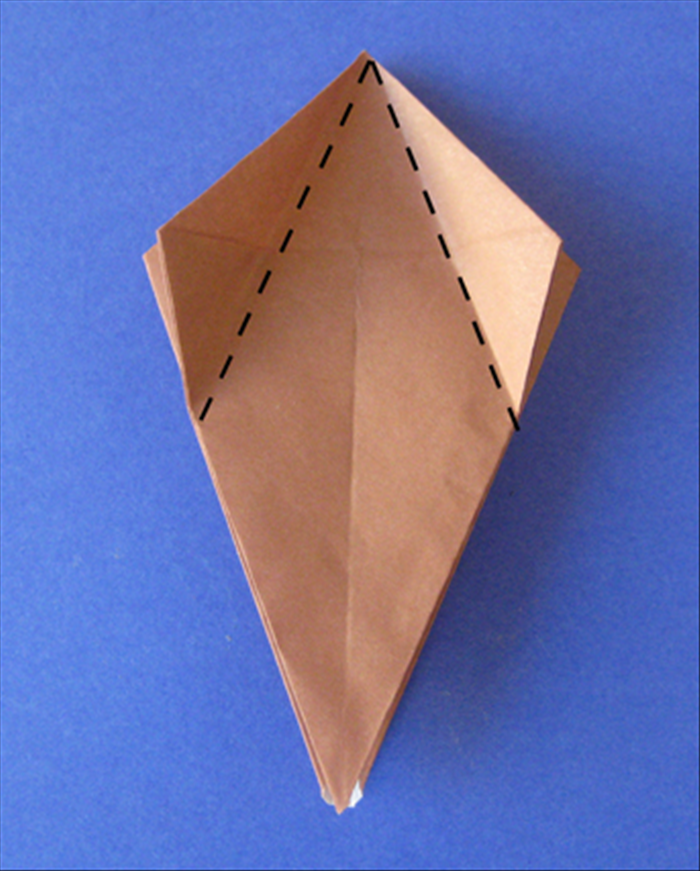 Fold the side points of the top layer down to the center crease.
 - 10
Step 10
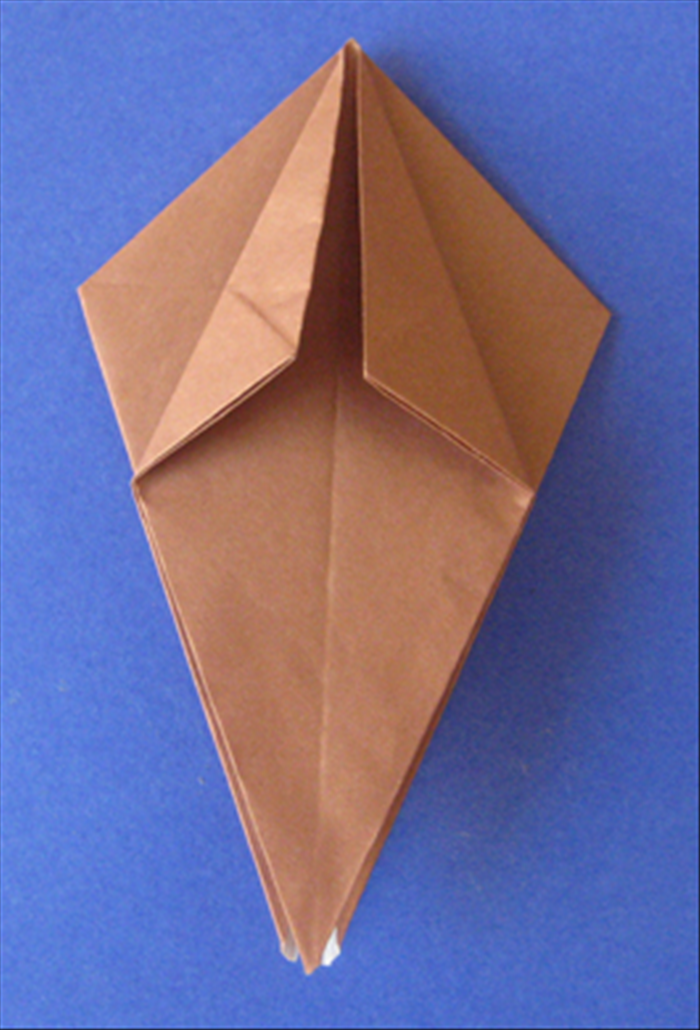 Result Flip over the paper and repeat on the back.
 - 11
Step 11
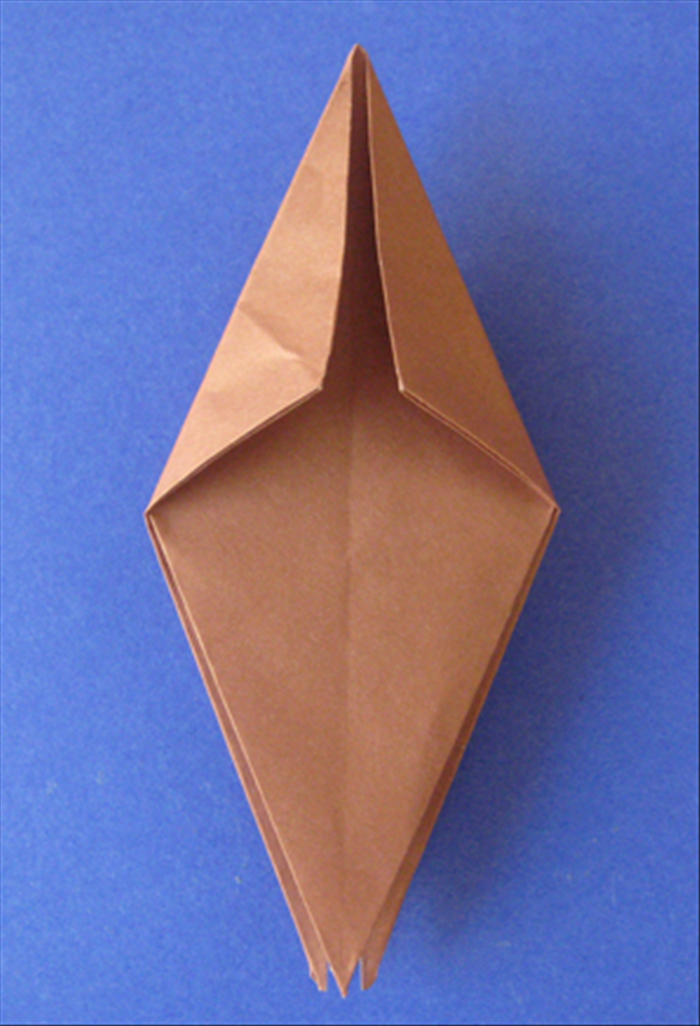 Result
 - 12
Step 12
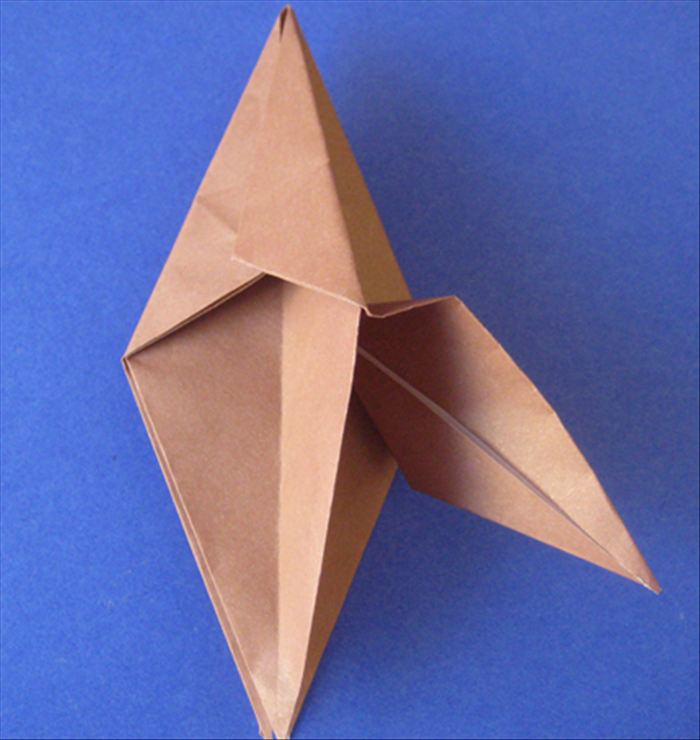 Pull out the second layer on one side.
 - 13
Step 13
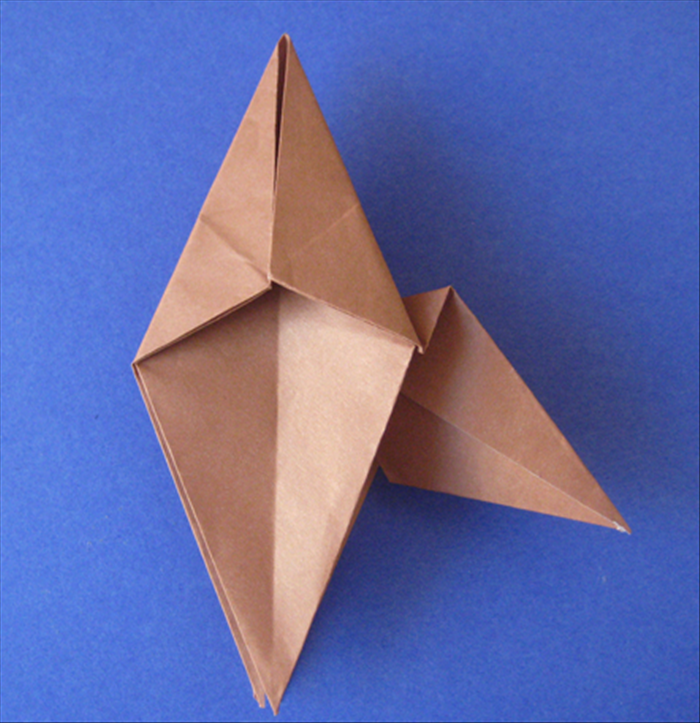 Pull it up and press to crease. Repeat on the second side.
 - 14
Step 14
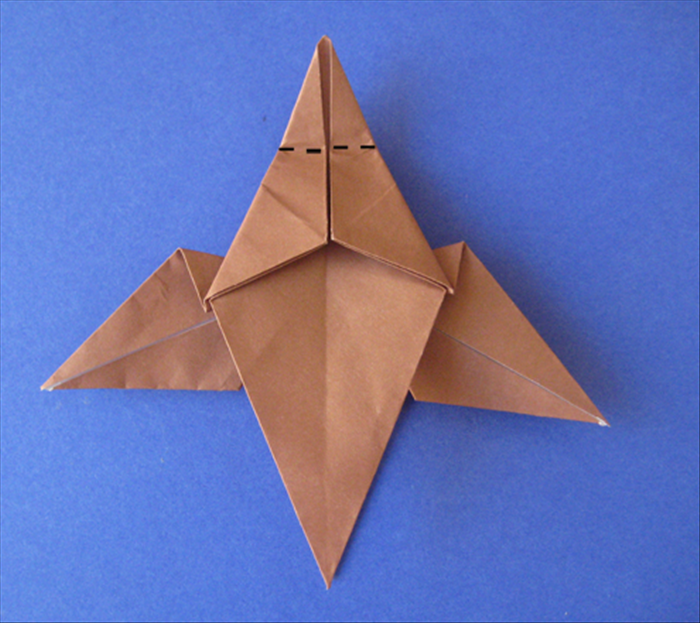 Fold the top point down to where the flaps meet.
 - 15
Step 15
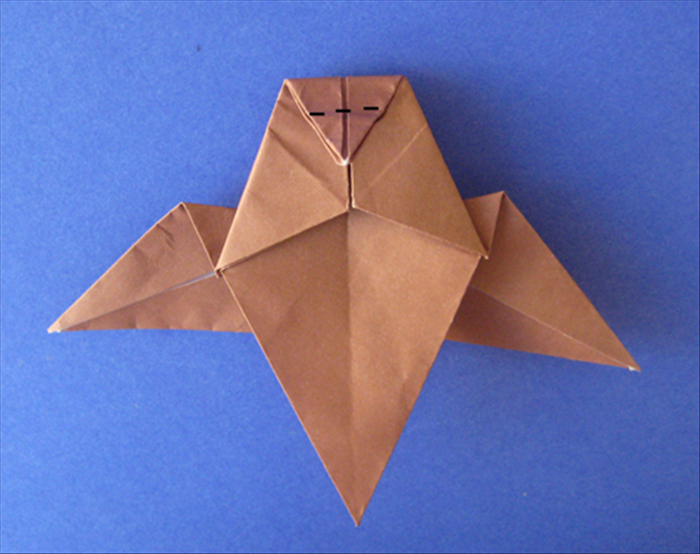 Fold the point up past the top. See next picture for the result.
 - 16
Step 16
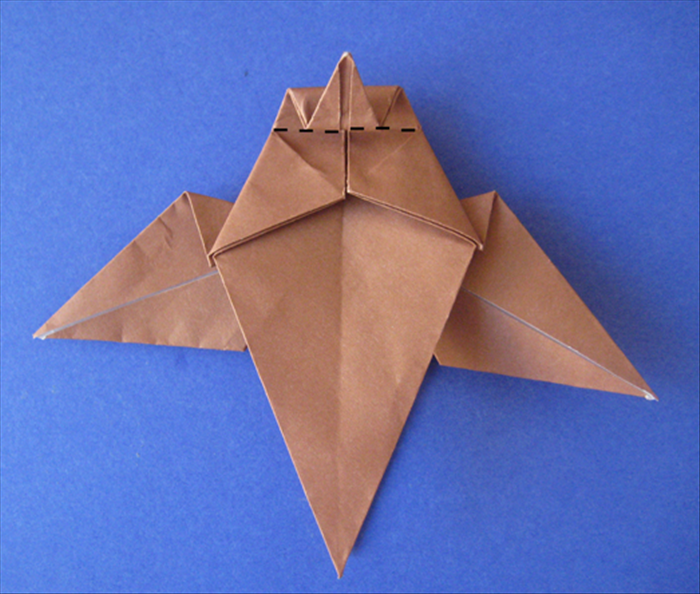 Fold down along the bottom of the top flap you just made.
 - 17
Step 17
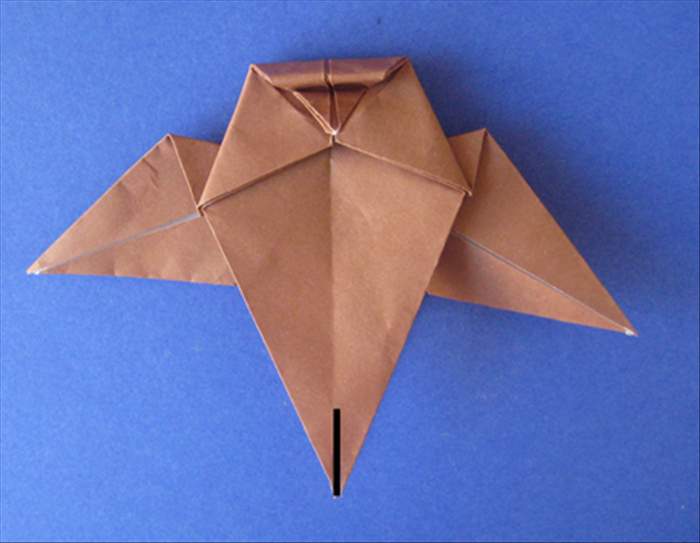 Cut a slit on the top layer - only at the center of the bottom point.
 - 18
Step 18
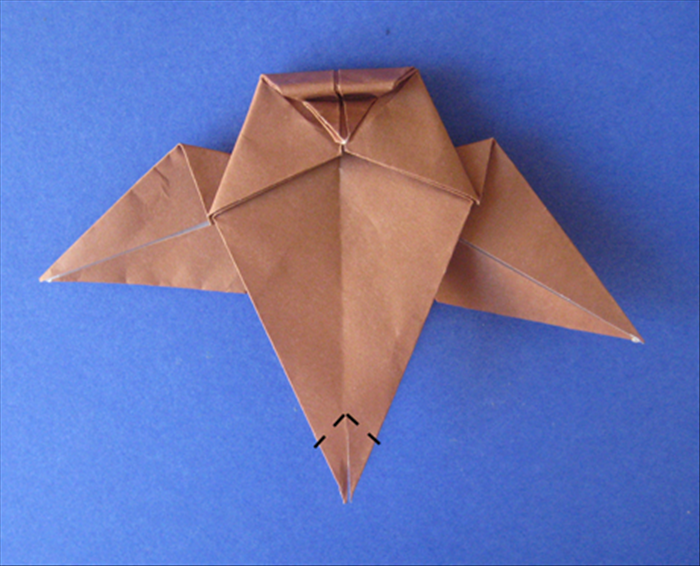 Fold the 2 sides up at an angle.
 - 19
Step 19
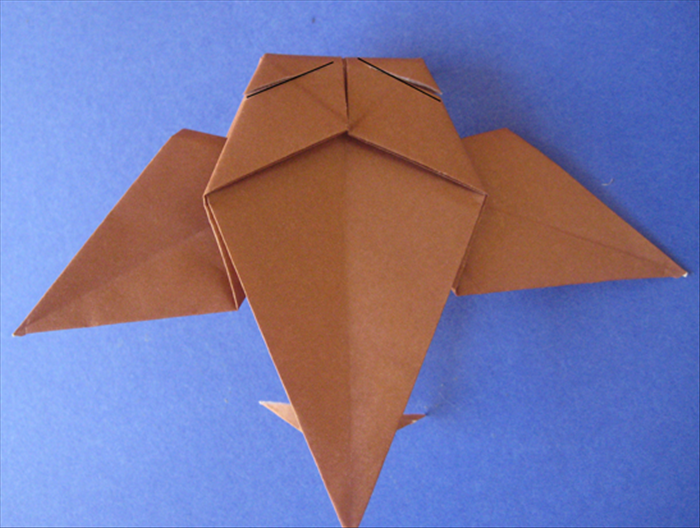 Flip the paper over and cut 2 slits at the top, on the top layer only.
 - 20
Step 20
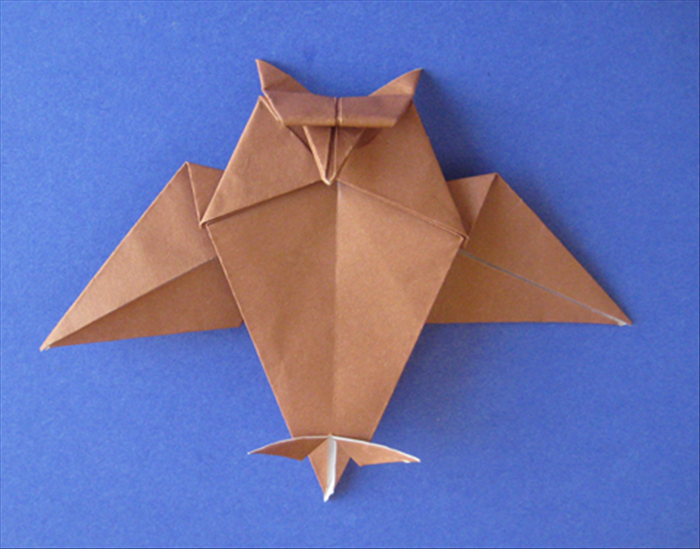 Pull the paper up where you just made the slits. Flip the paper over to see your finish origami owl!