DIY Apple Candle Holders: Easy Fall & Holiday Decor
Create beautiful, natural apple candle holders for your fall harvest and holiday table decor. This easy DIY guide provides step-by-step instructions, material lists, and safety tips for festive centerpieces.
What You'll Need
- Fresh, firm apples (Gala, Fuji, Honeycrisp, or similar are recommended for their stability)
- Small candles (tea lights, votives, or small pillar candles). For a safer, reusable option, consider battery-operated LED candles.
- Optional decorative elements: Cinnamon sticks, twine or ribbon, small berries, autumnal leaves, pinecones, or dried orange slices.
- Apple corer or a small, sharp paring knife
- Spoon (for widening holes if needed)
- Cutting board
- Marker or pen
Add a touch of natural elegance to your fall harvest gatherings and holiday celebrations with these charming DIY apple candle holders. This easy-to-follow guide will walk you through creating beautiful, festive centerpieces that are sure to impress your guests, complete with step-by-step instructions, a comprehensive materials list, and essential safety tips.
Candle Safety is paramount! Always place apple candle holders on a heat-resistant, stable surface, well away from any flammable materials like curtains or tablecloths. Never leave burning candles unattended. Keep them out of reach of children and pets. Ensure the candle flame is completely contained within the cored apple and not touching any part of the fruit. For peace of mind and reusability, battery-operated LED candles are a fantastic alternative.
1. Prepare Your Apples
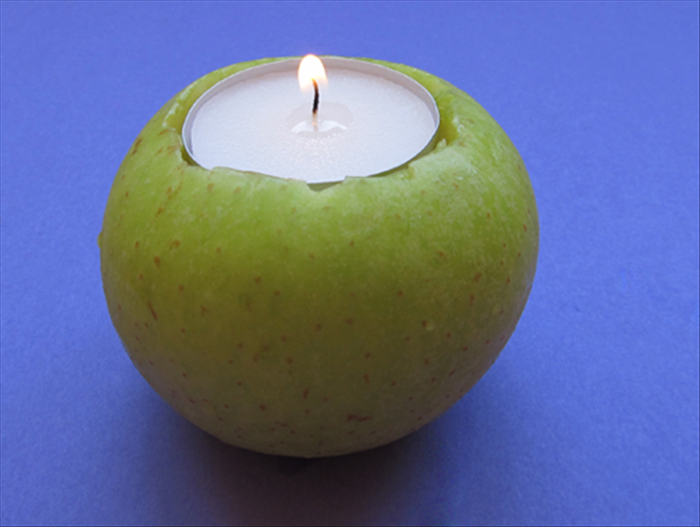
Begin by selecting fresh, firm apples that are free of bruises or blemishes. Varieties like Gala, Fuji, or Honeycrisp work well due to their sturdy nature. Wash and thoroughly dry each apple to ensure a clean surface for your project. Using ripe, but not overly soft apples, will help ensure your candle holders last longer.
To prevent your cored apples from browning, lightly brush any cut edges with a small amount of lemon juice immediately after coring. This simple trick will help maintain their fresh appearance.
2. Core the Apples for Candles
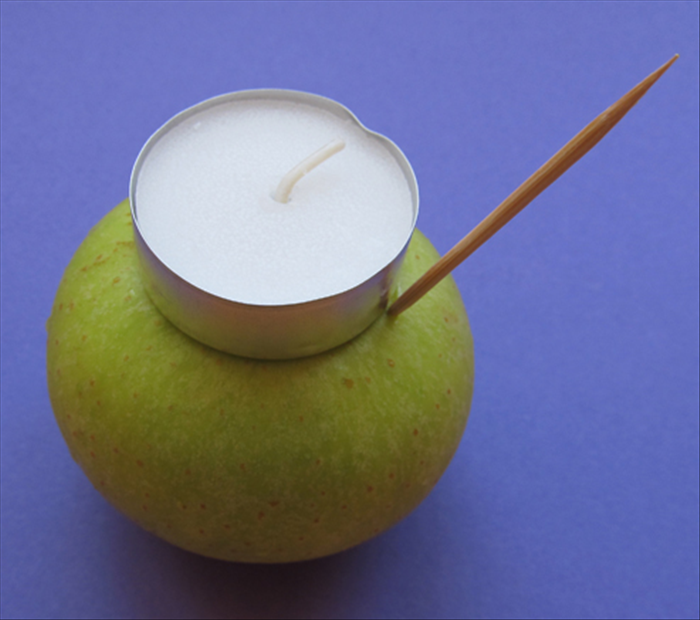
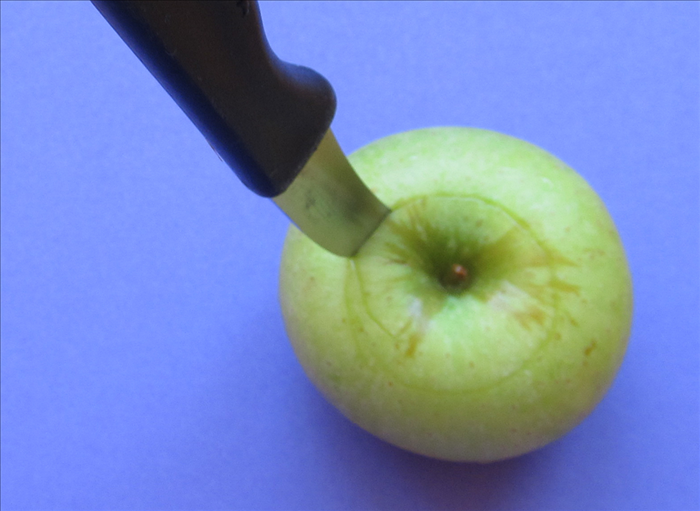
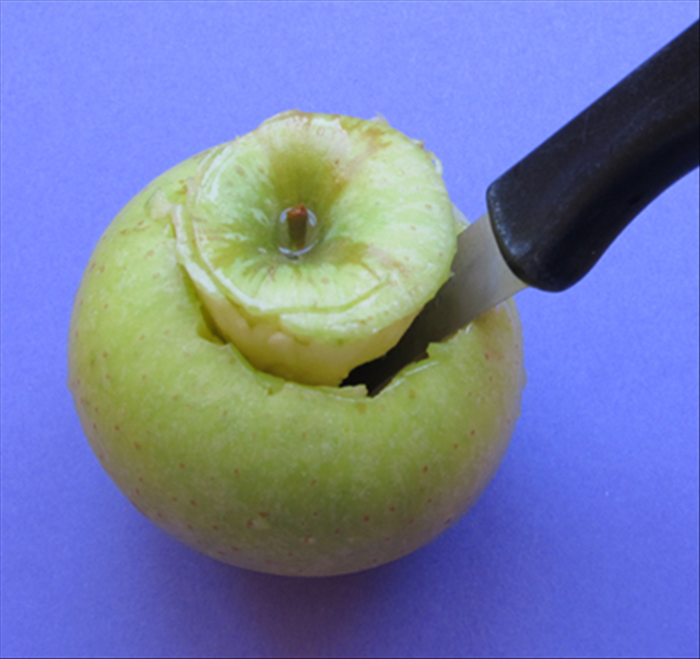
Take your chosen candle (tea light, votive, or small pillar) and place it on top of the apple to estimate the ideal depth and width needed for the cavity. Use a marker or pen to carefully outline the candle's base on the apple's top. Using an apple corer, or a small, sharp knife, carefully cut a circular hole that matches the diameter of your candle. Ensure the hole is deep enough for the candle to sit securely and stably, with at least half an inch of clearance from the flame to the apple's rim. If using a knife, cut around the marked circle and then use a spoon to scoop out the apple flesh, taking care not to cut all the way through the bottom.
3. Secure Your Candles
Once the hole is cored, gently press your candle into the cavity. It should fit snugly and stand perfectly upright. If the hole is slightly too small, carefully widen it with your knife or spoon. If, however, the hole is a bit too large, you can wrap the base of the candle with a small piece of aluminum foil or a paper towel to create a tighter, more secure fit.
4. Personalize Your Holders (Optional)
Now for the fun part – personalizing your apple candle holders! Tie a piece of twine or a festive ribbon around the apple for a charming, rustic touch. For an extra seasonal flair, tuck in small decorative elements like cinnamon sticks, a few sprigs of berries, or tiny autumnal leaves around the base of the candle. You can also experiment with small pinecones, dried orange slices, or even evergreen sprigs to match different seasonal themes.
Tips for Display & Longevity
Experiment with various apple colors, such as vibrant reds, crisp greens, and sunny yellows, to create a dynamic and visually appealing display. Consider the size of your apples when choosing candles; larger apples can accommodate votives or small pillar candles. For maximum longevity, store your apple candle holders in a cool, dry place until you're ready to display them. If you're using real candles and notice any browning, simply replace the apples every few days to keep your decor looking fresh.
With your beautiful DIY apple candle holders complete, it’s time to arrange them to create a warm and inviting atmosphere. They make stunning centerpieces for your dining table, or can add a cozy glow to a mantelpiece, sideboard, or entryway. Perfect for fall harvest gatherings, Thanksgiving, Christmas, or any seasonal celebration, these natural decorations bring a festive charm to any space. Enjoy your handcrafted decor!