DIY Cardboard Stocking Ornaments: Easy Paper Christmas Craft (No Printer Needed)
Create charming DIY cardboard stocking ornaments with this easy paper craft guide! Perfect for homemade Christmas decorations, no printer required. Learn how to transform simple cardboard or thick paper into delightful holiday accents, ideal for family fun.
What You'll Need
- Cardboard (cereal boxes, gift boxes, or shipping boxes)
- Construction paper, scrapbook paper, or felt (for decorating)
- Glue (craft glue or school glue)
- Scissors or craft knife (adult supervision for craft knife)
- Pencil
- Ruler
- Embellishments (glitter, markers, paint, sequins, buttons, fabric scraps – optional)
Transform ordinary cardboard or thick paper into charming, personalized Christmas stocking ornaments with this fun and easy DIY guide! Perfect for adding a handcrafted touch to your holiday decor.
Prepare Your Workspace & Materials
Gather all your materials and tools. Choose your cardboard, thinking about the size and thickness you desire for your stockings. Thicker cardboard will result in sturdier ornaments.
Design Your Stocking Template (No Printer Needed!)
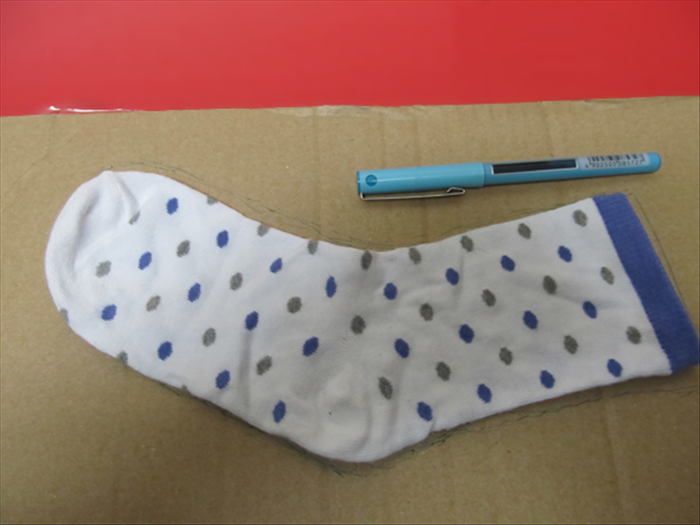
Since we're going printer-free, you'll create your own stocking template. On a piece of scrap paper or directly on your cardboard, sketch a simple stocking shape. Use a ruler to keep lines straight if needed.
Cut Out Your Cardboard Stockings
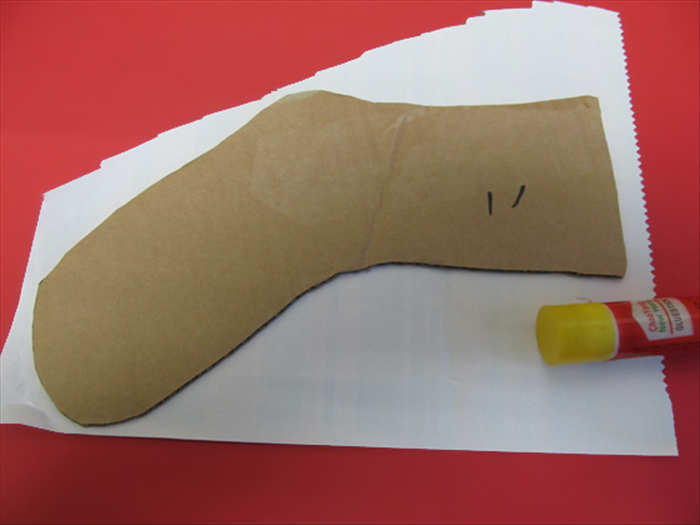
Place your stocking template on your chosen cardboard. Trace around the template with a pencil. Repeat this process to make as many stocking ornaments as you desire. Carefully cut out each stocking with scissors or a craft knife.
Decorate Your Ornaments
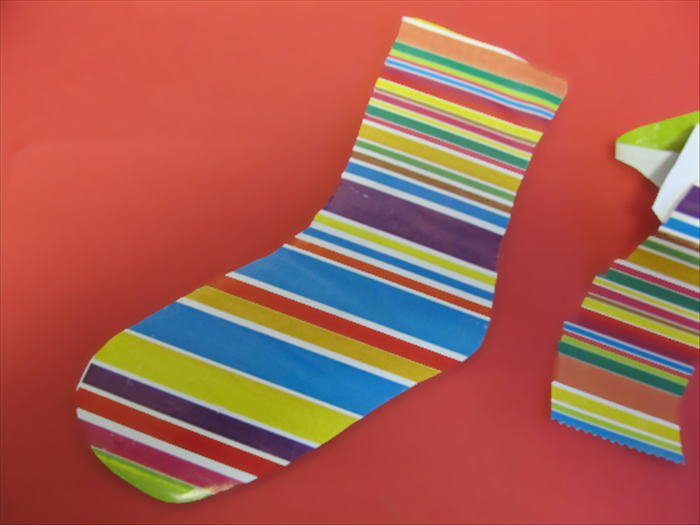
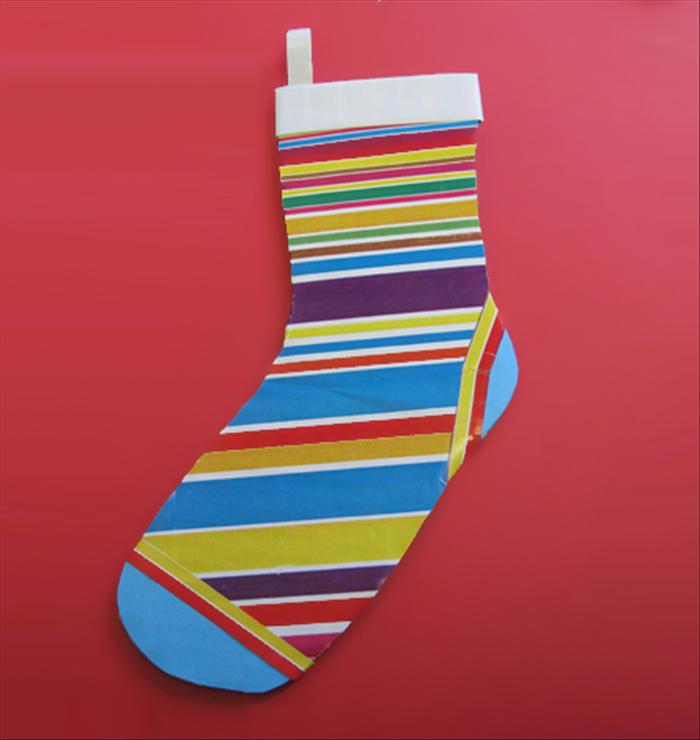
Now for the fun part – decorating! Use construction paper, felt, or fabric scraps to cut out cuffs, toes, and heels. Glue these onto your cardboard stockings. Add embellishments like glitter, markers, paint, sequins, or buttons to personalize each ornament.
Extra Sparkle
For extra sparkle, add a thin layer of white glue and sprinkle glitter before it dries.