How to Make a 3D Paper Garland from Circles and Squares
Fold pairs of 2–4 inch paper circles or squares into 3D units, glue them, then string every 3–6 inches. About 1–3 hours.
What You'll Need
- Cardstock or craft paper
- PVA craft glue
- String, twine, or fishing line
- Craft scissors
- Ruler 12 inch
- HB pencils (pack)
Cardstock and string are the main buys; glue you may already have.
Each unit is two identical shapes glued along matching crease lines so they puff into 3D. Default size: 2–4 inches (5–10 cm). Heavier cardstock (65–80 lb) holds shape better than thin printer paper. Budget 1–3 hours depending on garland length.
Supervise kids with scissors. If you switch to a craft knife for squares, cut on a mat.
Cut matching pairs
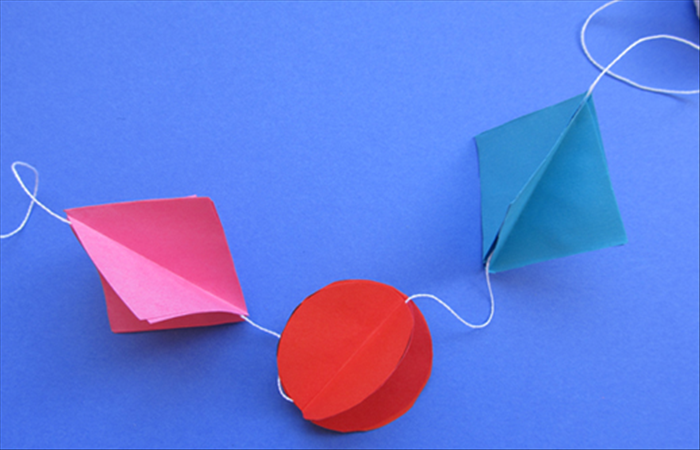
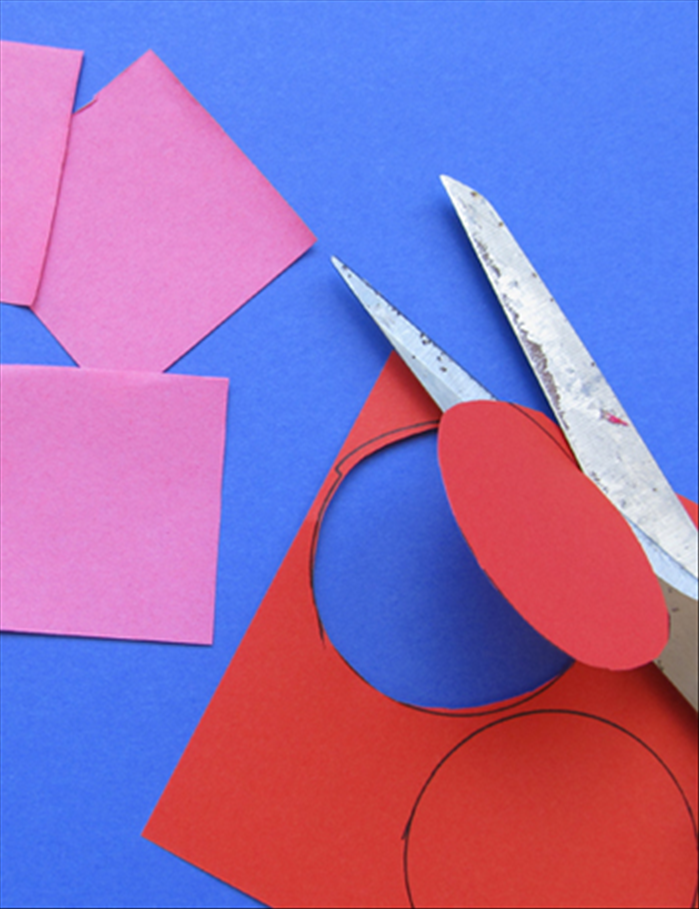
Decide shape size (2–4 inches). For each 3D unit you need two identical circles or two identical squares. Count units wanted × 2 = total shapes. Mark with ruler (and a jar lid or compass for circles), then cut.
Fold and crease
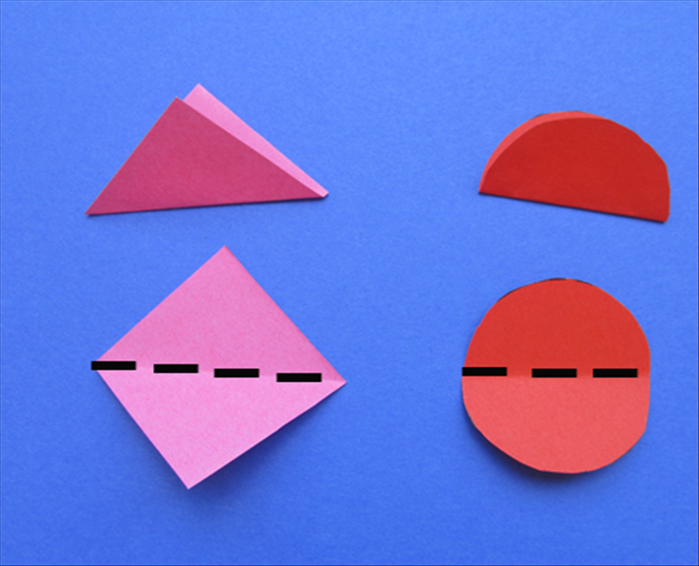
Squares: fold in half, unfold; rotate 90°, fold in half again — cross creases.
Circles: fold in half, unfold; fold perpendicular; then fold each half again so you get eight pie segments from the center.
Press each crease firmly (fingernail or ruler edge).
Sharp creases matter more than fancy paper. Thin stock collapses; step up to cardstock if units go flat.
Glue two shapes into one unit
Take two identical folded shapes. Glue along one outer crease of the first; align the matching crease of the second and press. Continue pairing crease to crease until the two shapes form one 3D unit. Thin glue line — excess warps paper. Let PVA set before stringing.
String the units
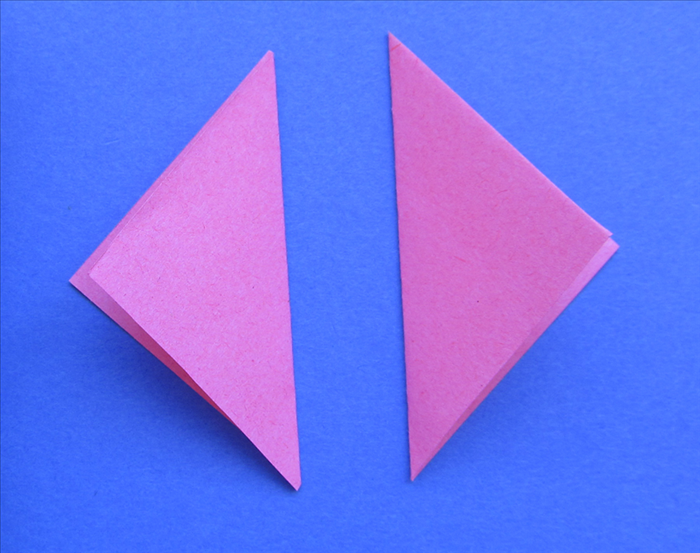
Cut string to hang length plus extra for tying. Glue a short run of string into a top crease of each unit, or punch a small hole at the top point and thread. Space units about 3–6 inches (7–15 cm) apart. Keep orientation consistent.
Open and hang
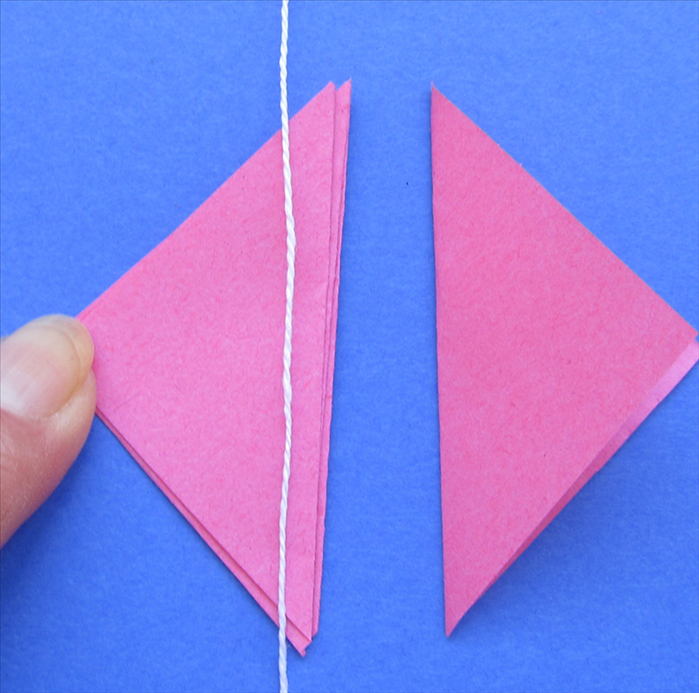
When glue is dry, gently fan each unit open. Hang with hooks or removable tape. No beads or lights required for the garland to work.