DIY Easter Eggs from Broken Eggshells
Turn clean broken eggshells into decorative Easter eggs using glue and paint.
What You'll Need
- Clean, dry broken eggshells
- Craft glue (PVA, white school glue, or Mod Podge)
- Acrylic paints, markers, or food coloring
- Small paintbrushes, sponges, or cotton swabs
- Small bowl for mixing glue or paint (optional)
- Craft knife or scissors
Use clean, dry broken eggshells to create decorative Easter eggs. Active time is 1–2 hours plus drying time.
Safety
Handle broken eggshells carefully to avoid sharp edges. Wear thin gloves when breaking or trimming.
Prepare Eggshells
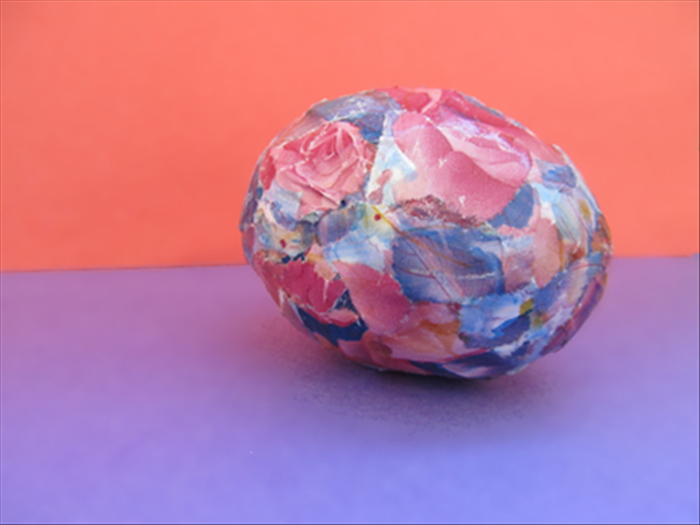
Rinse all eggshell pieces under cool running water. Remove inner membrane. Let dry completely.
Variety
Use eggshells from different birds (chicken, duck, quail) for natural color and texture variation.
Create Base Shape
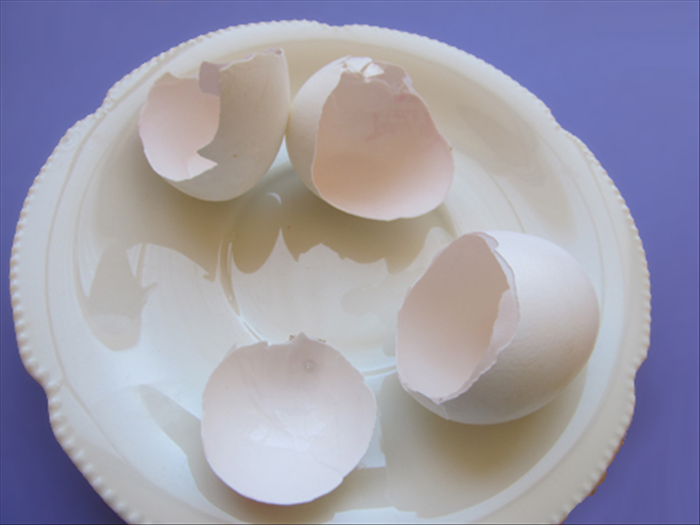
Choose a core structure: a whole egg blown out, a cardboard egg shape, or a foam egg. This will be your base.
Apply Glue and Shells
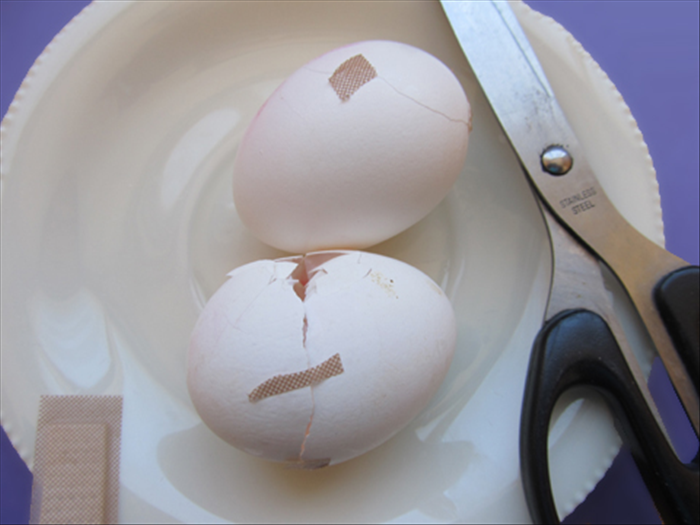
Brush a thin layer of glue onto a small section of the base. Press broken eggshell pieces onto the glue, slightly overlapping. Continue until the base is covered. Let dry completely.
Decorate
Paint or color the shell-covered surface with acrylic paints, markers, or food coloring. Add patterns or designs as desired. Let dry.
Sealing
For a glossy finish, apply a thin layer of Mod Podge or clear craft sealant after painting.