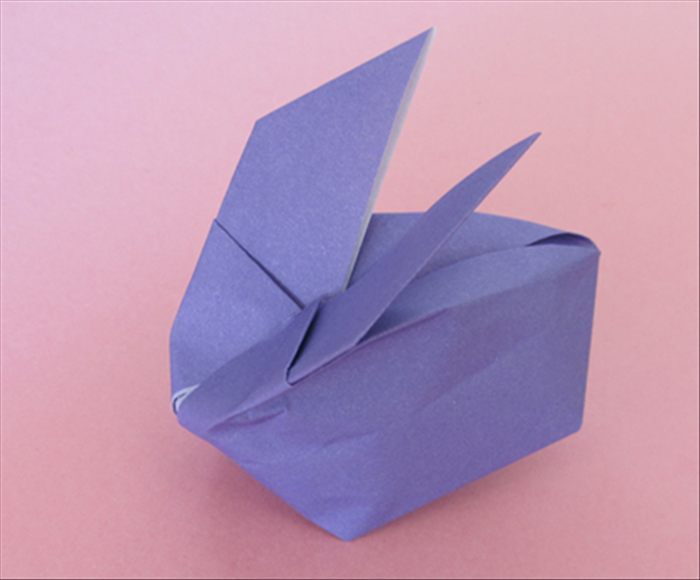
How to Fold an Inflatable Origami Bunny
Fold a blow-up paper rabbit with this step-by-step guide.
What You'll Need
- 1 square sheet of origami paper (15x15 cm recommended)
Use one square sheet of paper to make an inflatable origami bunny. Works best with origami paper, but any thin square paper will do. Time: 15–30 minutes.
Make the Initial Folds
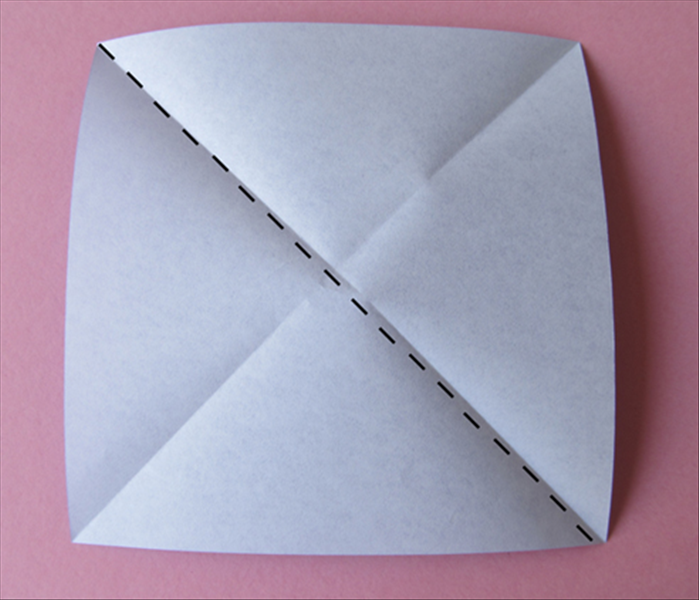
Place the paper colored-side up. Fold diagonally corner to corner, crease well, unfold. Repeat with the other diagonal, then unfold. Flip the paper over and fold in half horizontally and vertically, creasing and unfolding each time. Collapse along the creases into a smaller square (preliminary base).
Shape the Ears
With the open end of the square base facing you, fold the top layer's right edge to the center crease. Repeat with the left edge. Fold the top triangle down, then unfold the last three folds. Open the top flap and squash-fold to form a diamond. Repeat on the other side. Fold the two top points outward and down to create the ears.
Sculpt the Body and Tail
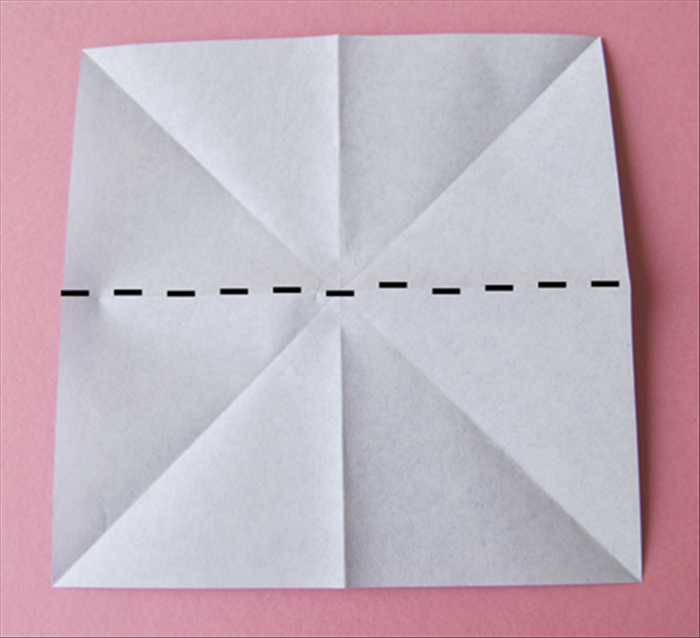
Turn the model over. Fold the two lower corners inward to the center line, forming a kite shape. Crease well. Fold the bottom point up to meet the top, then fold it back down slightly to create the tail.
Prepare for Inflation
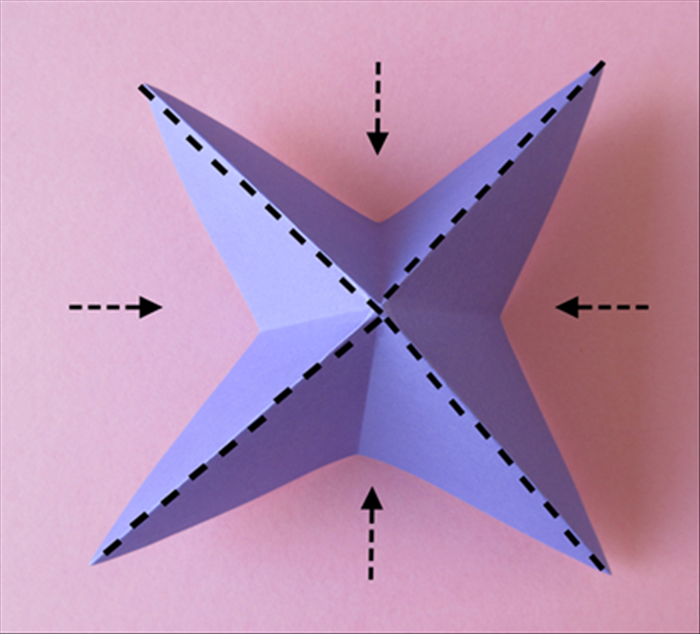
Look at the bottom of the bunny. Find the small opening between the paper layers. Gently separate the layers to widen the hole, being careful not to tear the paper.
Inflate the Bunny
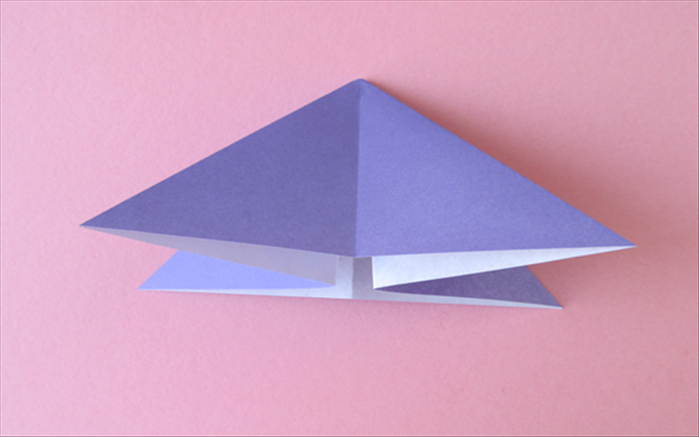
Hold the bunny firmly. Place your mouth over the opening and blow a slow, steady breath. Stop when the bunny is puffed but not tight. Seal the opening by tucking the flap inside.
Add Finishing Touches
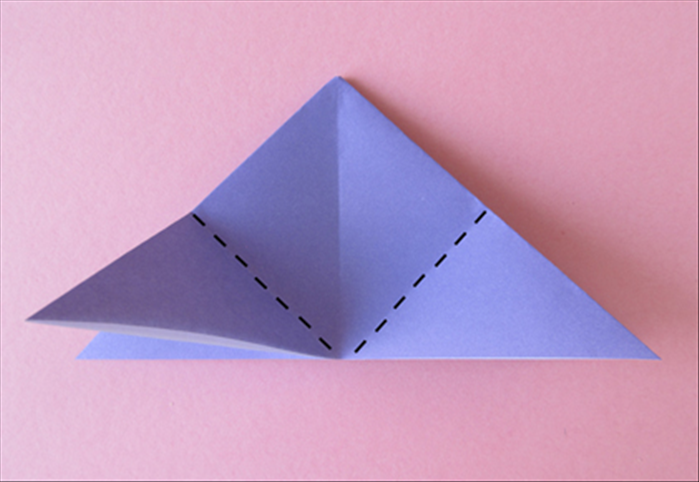
Draw eyes, nose, and whiskers on the face. Adjust the ears and tail to your liking.
Tips
Use slightly thicker paper for easier inflation. Blow slowly to avoid tearing. If the paper tears, patch with tape.
Warning
Do not over-inflate; the paper may burst. Keep small children away from the inflation step.