Easy Toilet Paper Roll Spider Craft for Halloween
Create spooky-fun DIY spiders from toilet paper rolls! This easy Halloween craft is perfect for kids and uses recycled materials for budget-friendly decorations.
Get ready for some spooky-fun Halloween crafting! This guide will show you how to transform ordinary toilet paper rolls into adorable (or creepy!) spiders, perfect for decorating your home or classroom. This easy and budget-friendly DIY project is ideal for kids of all ages, using recycled materials and simple steps to create festive decorations that everyone will love.
Step 1: Gather Your Materials
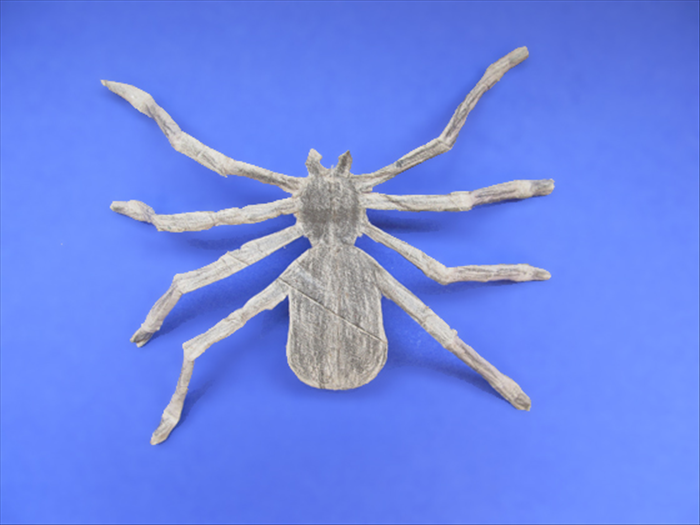
Before you begin, lay out all your materials on a protected surface. This ensures you have everything you need within reach and helps keep your crafting area tidy. If you're working with younger children, pre-cutting some materials can make the process smoother.
Step 2: Prepare the Spider Body
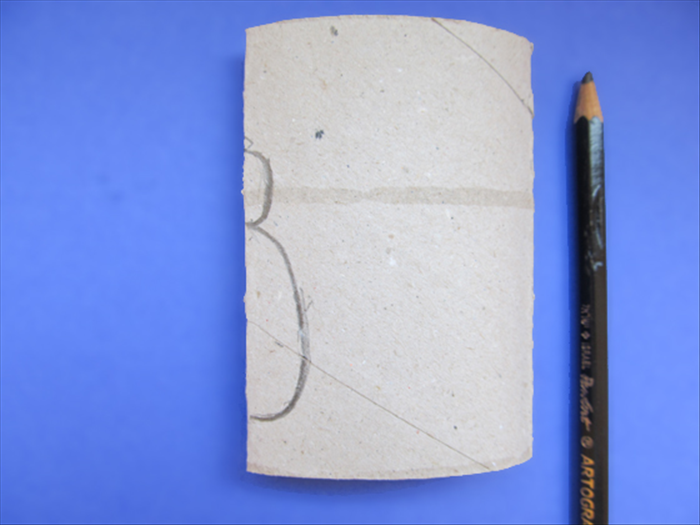
First, decide on the size of your spider. You can use a full toilet paper roll for a larger spider or cut the roll in half for smaller, more numerous arachnids. Once you have your desired length, it's time to color your spider's body. Paint the entire toilet paper roll black using your paintbrush. Apply a second coat if needed for full coverage. Alternatively, you can cover the roll completely with black construction paper, securing it with craft glue. Allow the paint to dry thoroughly before moving to the next step – patience is key!
Step 3: Attach the Legs
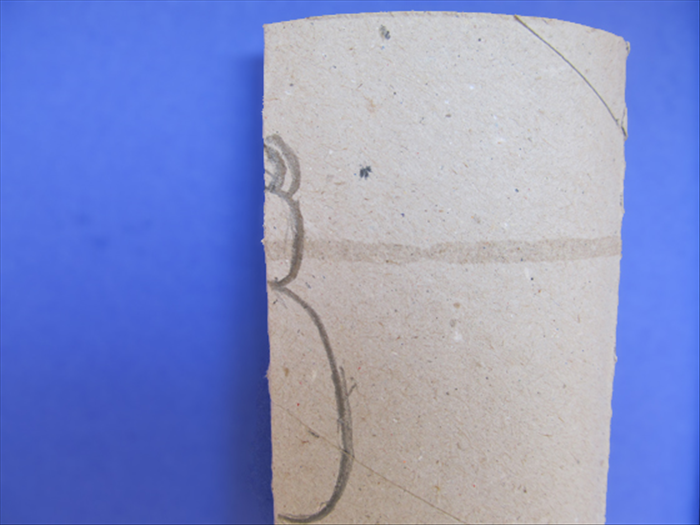
Now for the legs! Spiders typically have eight, so we'll aim for that. Carefully poke four small holes on each side of the toilet paper roll, near the bottom edge. A pencil or skewer works well for this. Next, take four pipe cleaners and cut each one in half, giving you eight leg pieces. Insert one end of each pipe cleaner into a hole. Once inserted, bend the end inside the roll to secure it in place. Repeat for all eight legs. Once all legs are attached, gently bend and shape them to create a realistic, slightly creepy spider posture.
Step 4: Add the Eyes
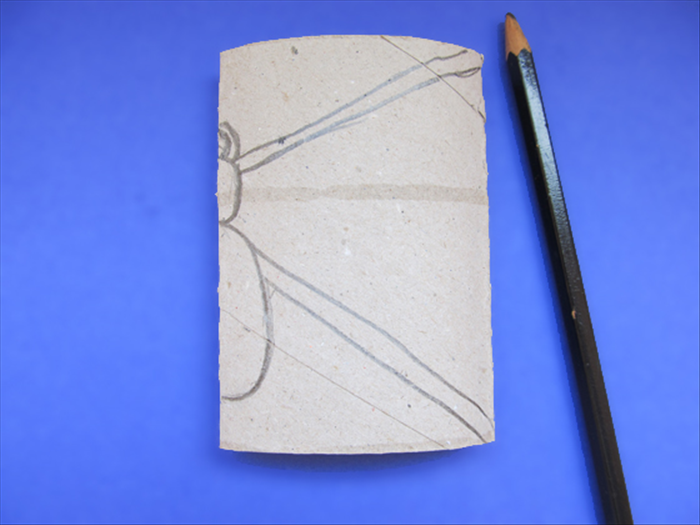
Bring your spider to life by adding its eyes! Glue two googly eyes onto the front of your toilet paper roll body. You can use a craft glue for this, or if you're an adult and comfortable, a low-temp hot glue gun offers quicker adhesion. Feel free to use different sized googly eyes for a fun, quirky look. If you don't have googly eyes, don't worry! Simply cut out small white circles from paper, draw a black pupil in the center with a marker, and glue them on.
Step 5: Customize & Display
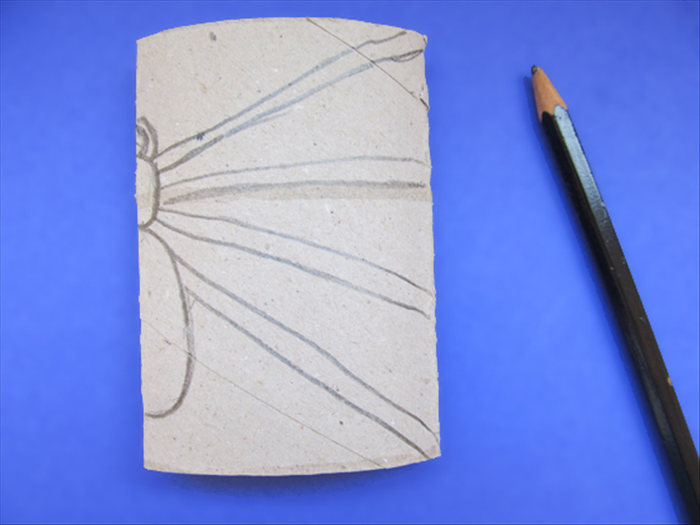
Your spider is almost complete, but here's where you can let your creativity shine! Experiment with different colored pipe cleaners for the legs, add glitter to the body for a sparkly spider, or even attach small stickers. Make a whole family of spiders in various sizes. Once you're happy with your creations, it's time to display them! Attach a piece of string or fishing line to the top of the spider to hang it from ceilings, doorways, or tree branches. They also look great perched on shelves, windowsills, or as part of a Halloween centerpiece.
Safety Tips
Adult supervision is required when using scissors or a hot glue gun to prevent injuries. Ensure good ventilation if using spray paint or strong adhesives. This craft is suitable for children aged 4 and up, with appropriate assistance for younger crafters.
You've successfully created a fun and festive toilet paper roll spider! This easy craft is not only a great way to decorate for Halloween but also an excellent opportunity to teach kids about recycling and unleash their artistic side. Enjoy your spooky new decorations!