How to make a Jester's Hat
This guide will show you how to make a paper jester’s hat that will fit you perfectly.
Easy 15,169 views
What You'll Need
- Jester's hat
- Jester costume
Steps
- 1
Step 1
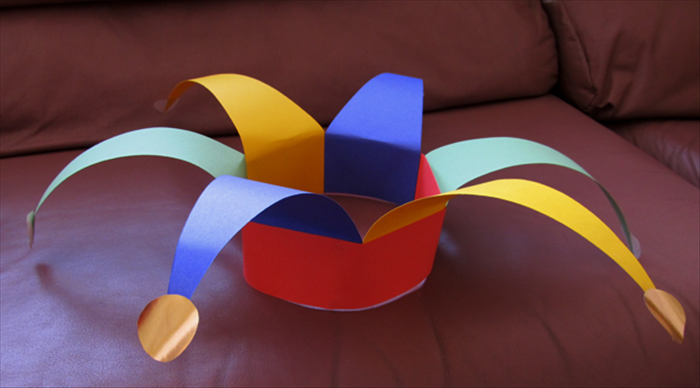 Materials: Stiff colored paper Scissors Pen or pencil Paper glue Ruler Bottle cap
 - 2
Step 2
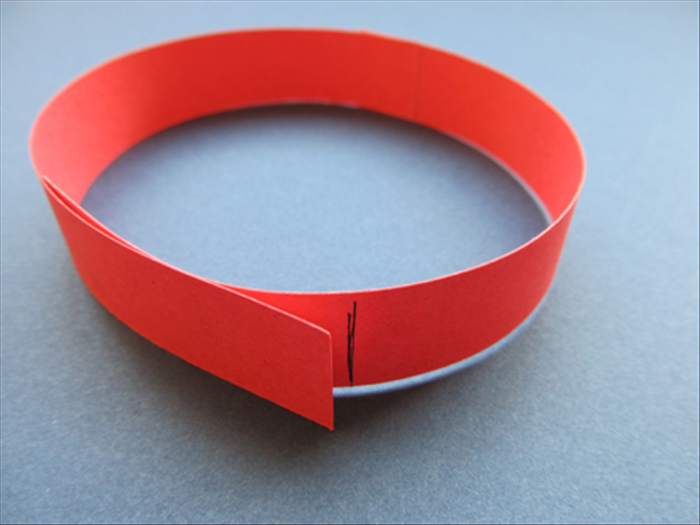 Cut 2 ½ inches wide strips. Glue enough of them together to go around your head. Wrap the strip around your head and mark the place where it overlaps.
 -
- 3
Step 3
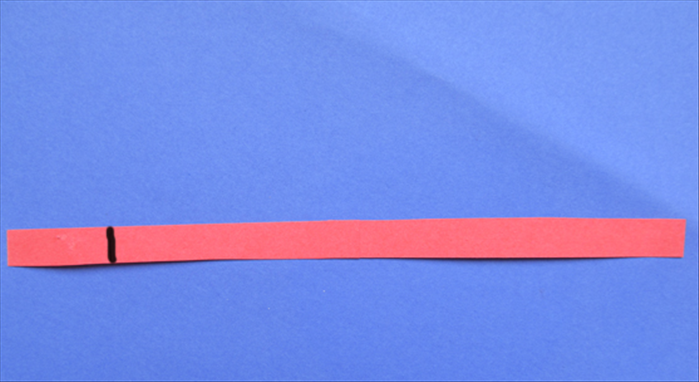 Measure the length of the strip until the mark – for the length that went around your head.
 - 4
Step 4
Divide the length you measured into 6. – This will be the width of each triangle base - 5
Step 5
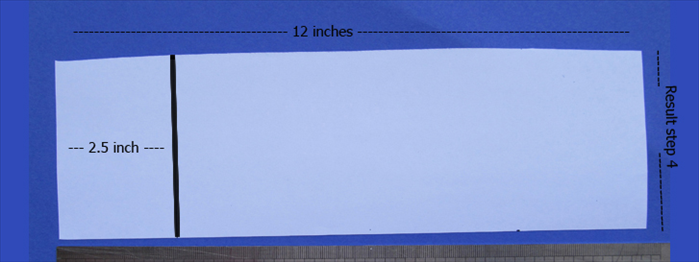 Cut a piece of scrap paper 12 inches long and the width result you got in the last step Measure 2 ½ inches from the end and draw a vertical line
 - 6
Step 6
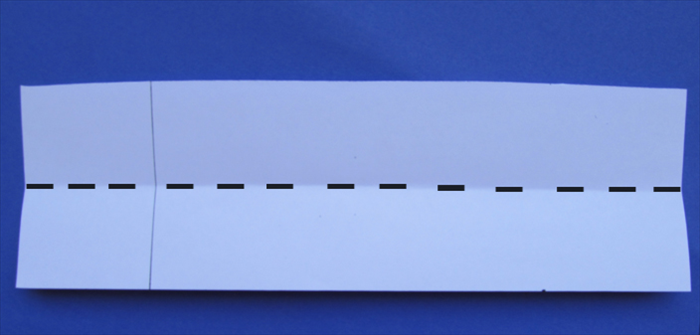 Fold the paper in half lengthwise and unfold
 - 7
Step 7
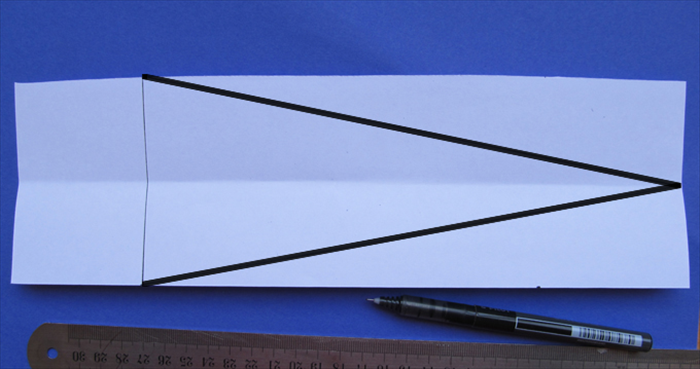 Draw a straight line from the end of the fold to the each corner of the of the vertical line you made in step 5 Cut along the 2 slanted lines. This will be your template. See the next picture for the result.
 - 8
Step 8
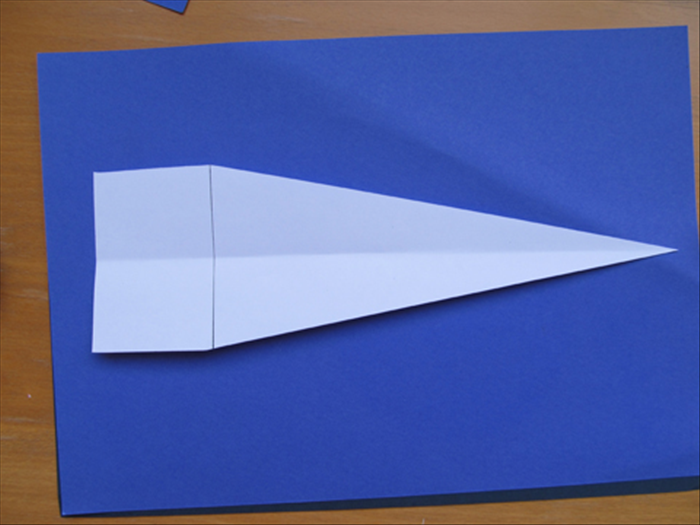 Use the template to cut 6 pieces - 2 of each color
 - 9
Step 9
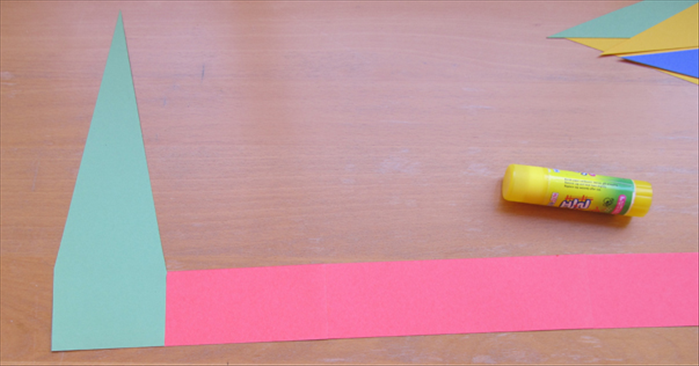 Place the strip with the mark on the right side. Glue the first piece to the strip to the left side. It should be aligned to the side and bottom edge
 - 10
Step 10
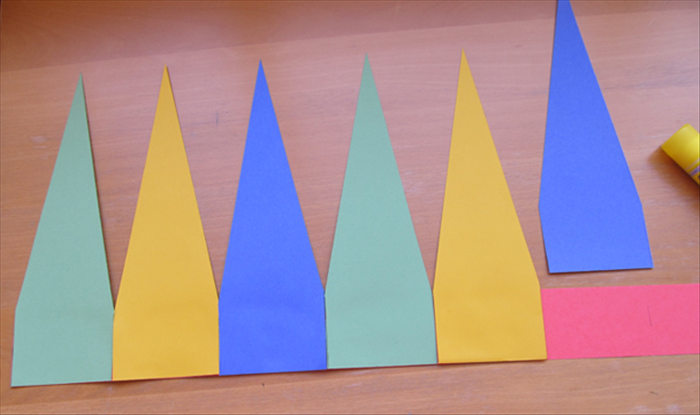 Glue all the remaining pieces. Your last piece should end at the line you marked in step2
 - 11
Step 11
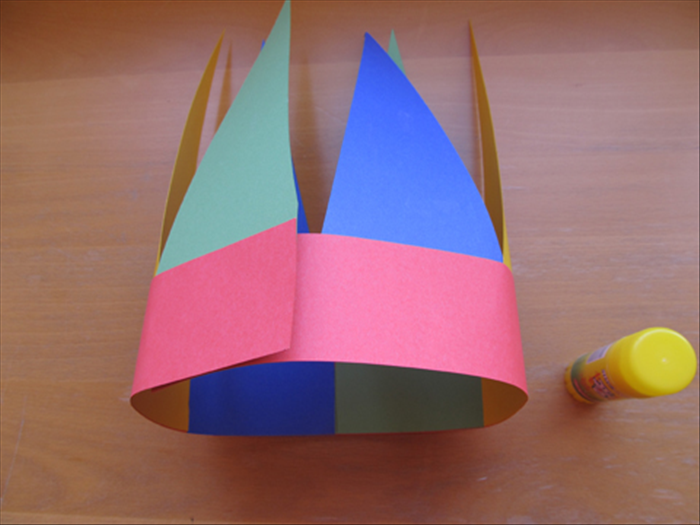 Bring the sides around to make a circle and glue in place as shown in the picture
 - 12
Step 12
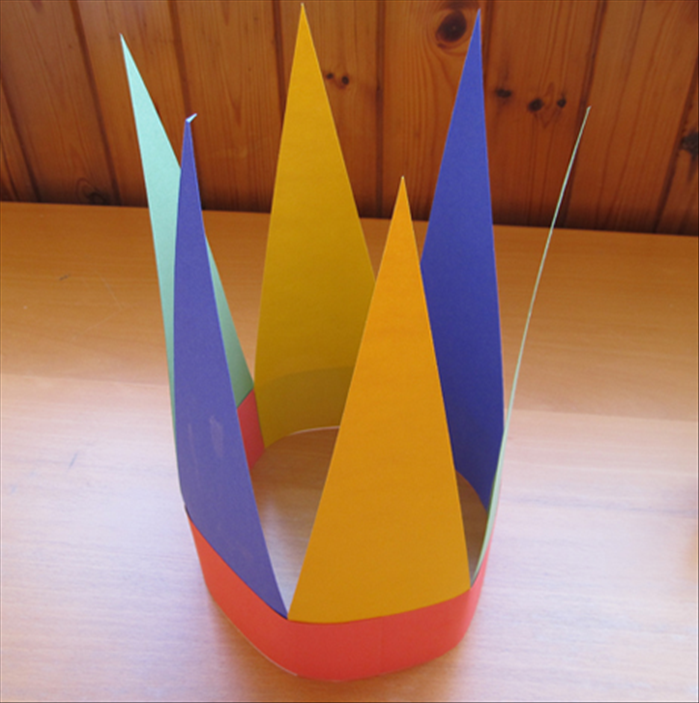 Result
 - 13
Step 13
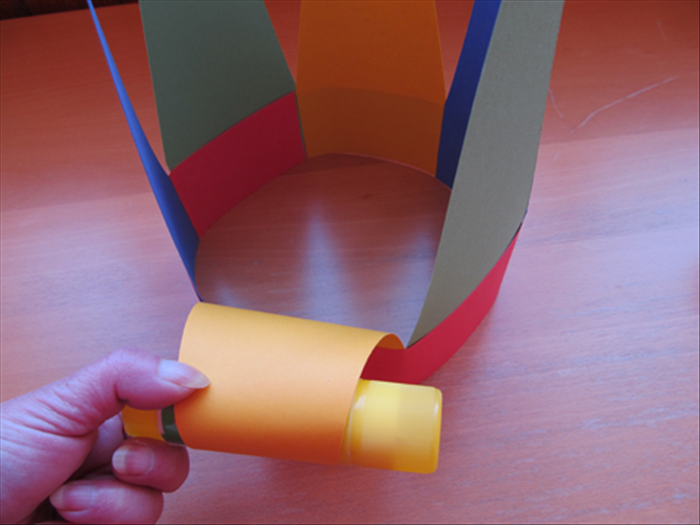 Use a round object to curl the triangles downward.
 - 14
Step 14
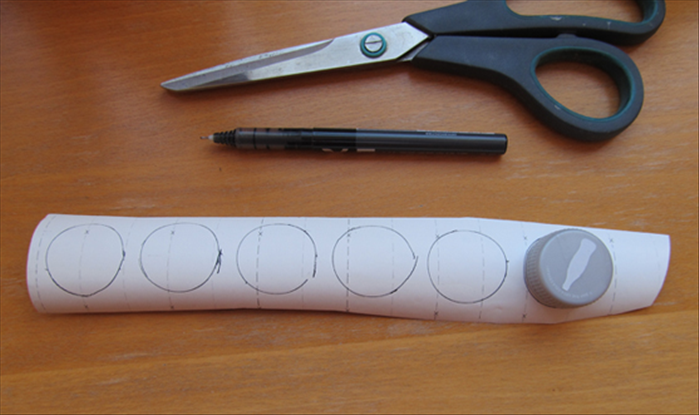 Trace the outline of the bottle cap 6 times on gold or colored paper. Cut out the circles.
 - 15
Step 15
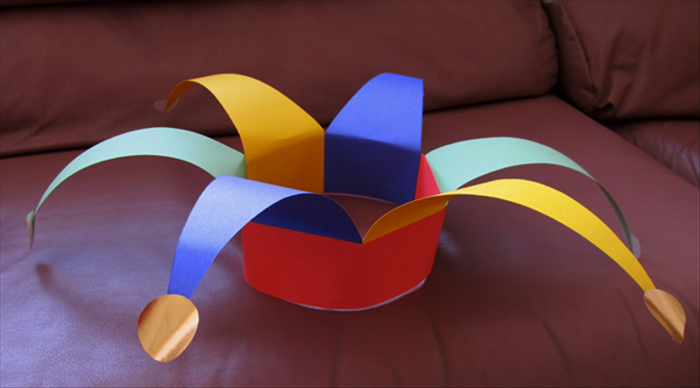 Glue the circles to the ends of the triangles. Press the triangles down along the rim if you like your hat to be more droopy.